Acrylic should be the easy win of laser crafting. It cuts with polished edges, engraves with a frosted glow, and comes in every color and finish imaginable. Yet the first acrylic project is where a lot of new laser owners get burned: the engraving comes out dull gray instead of bright white, the cut edge is gummy and rough, or the beam passes straight through the sheet and does nothing at all.
Material type and laser wavelength are the first checks, but focus, power, speed and airflow also affect the result. Identify your sheet and machine before adjusting settings.
Tip
Short answer: buy cast acrylic, not extruded, for anything you plan to engrave. A CO2 laser cuts and engraves every acrylic color including clear. A blue diode laser works with selected compatible dark acrylics; ordinary clear acrylic does not absorb its beam well enough for direct cutting.
Cast vs Extruded: The Decision That Matters Most
Acrylic sheet is made two ways, and the manufacturing process decides your results before the laser ever fires.
Cast acrylic is poured into molds and cured slowly. Under the laser it engraves to a bright, frosted white that catches light beautifully, which is the entire basis of edge-lit LED projects. It also chars less and gums less while cutting, and it comes in the widest range of colors and specialty finishes: fluorescent edges, mirror, glitter, marble effects.
Extruded acrylic is pushed through a die like pasta. It is cheaper and dimensionally very consistent, and it cuts with an especially glossy flame-polished edge. But engraving it produces a faint, translucent gray mark instead of frosted white, and it melts more readily, so fine cut details are more likely to fuse or gum up.
| Cast acrylic | Extruded acrylic | |
|---|---|---|
| Engraving | Bright frosted white | Dull translucent gray |
| Cut edge | Clean, polished | Very glossy, but melts easier |
| Fine detail | Holds well | Prone to fusing |
| Color range | Huge, including specialty finishes | Mostly basics |
| Price | A little more | Cheapest |
The rule is simple. If the project has an engraving on it anywhere, buy cast. If you are purely cutting shapes and want the cheapest glossy edge, extruded is acceptable. If the listing does not identify the type, ask the supplier before buying for an engraving project.
Which Laser Handles Acrylic
This is physics, not a settings issue, so it is worth being blunt about.
CO2 lasers are the acrylic machines. Their 10.6 micron infrared beam is absorbed by acrylic of every color, including completely clear sheet. Cutting, engraving, scoring, edge-lit signs: all of it works, which is why acrylic is a signature CO2 material.
Blue diode lasers emit visible light at around 445 nanometers, and clear acrylic is transparent to it. The beam goes through the sheet the way sunlight goes through a window, so there is nothing to heat. Diode owners can still work with acrylic by choosing opaque and dark colors, which absorb the beam well enough to engrave and, on thinner sheets with patience, sometimes cut. Some machines offer an infrared diode module that marks dark acrylics more effectively.
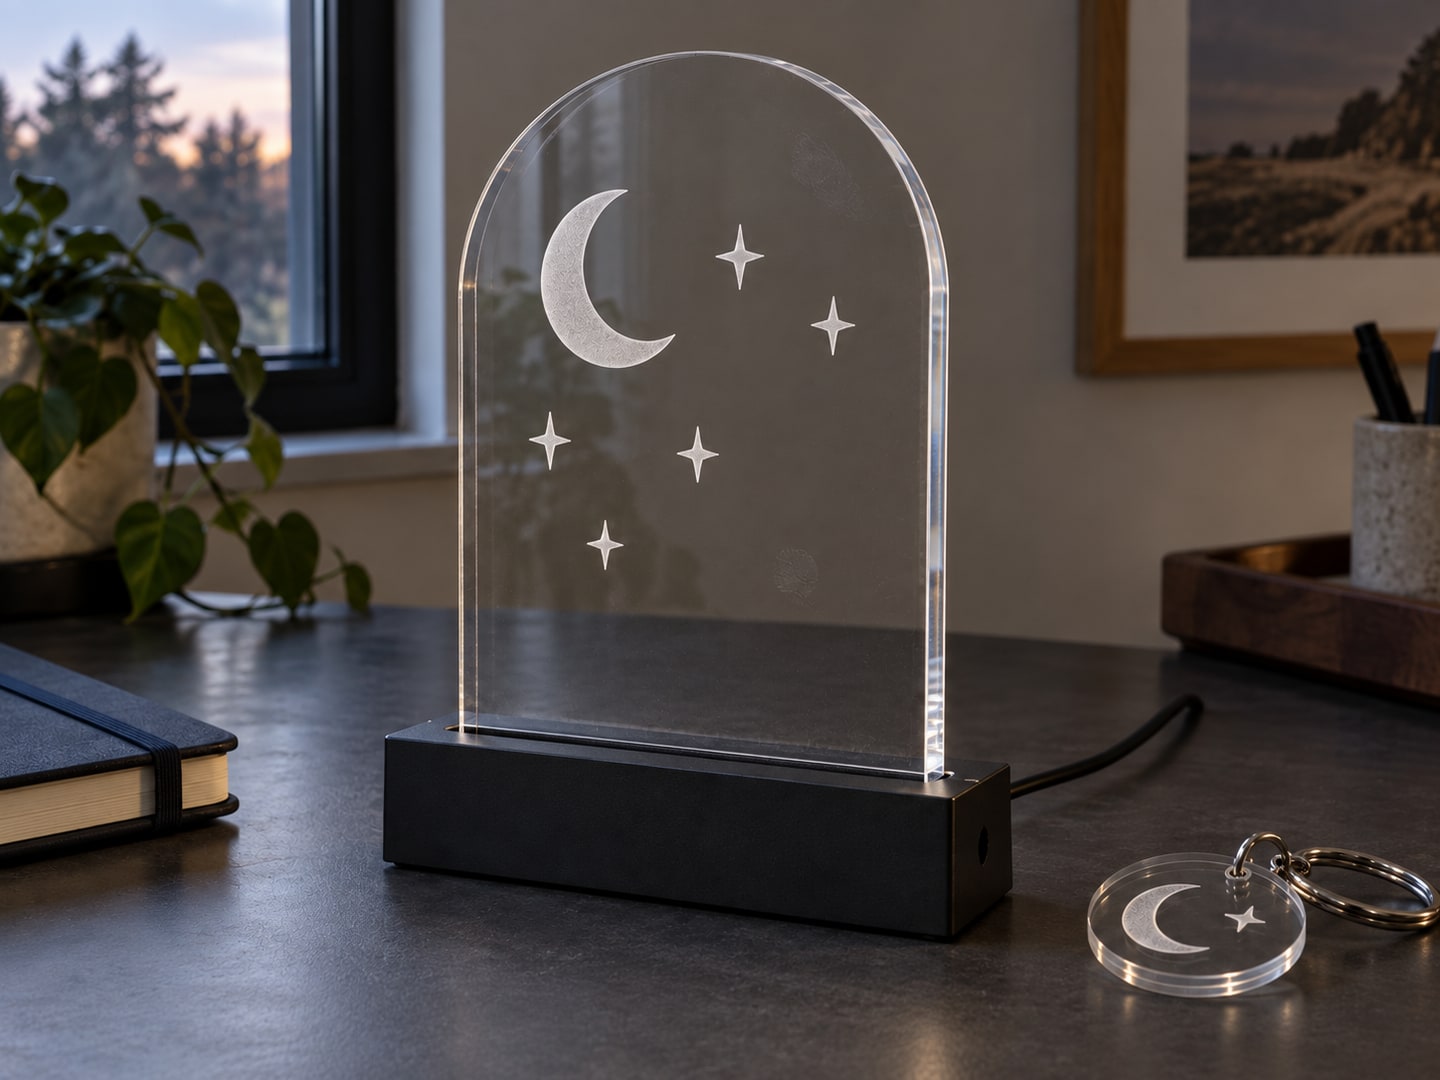
A pre-cut clear blank solves the outline-cutting step, but it does not make direct blue-diode engraving possible. For the conventional frosted edge-lit effect shown here, use a suitable CO2 process or buy an already engraved panel. Check the specific acrylic against your machine supplier’s compatibility list; opacity alone is not enough. xTool’s acrylic guidance explains this wavelength limitation.
Safety First
Acrylic is one of the safer plastics to laser, but it earns three real precautions.
- Ventilation is not optional. Acrylic fumes are less nasty than many plastics but still irritating, and there are a lot of them during a cut. Run proper exhaust every time.
- Never laser PVC or polycarbonate. Both look like acrylic on a shelf. PVC releases corrosive, toxic chlorine gas, and polycarbonate smokes heavily and burns rather than cuts. If a sheet is not clearly labeled acrylic (also sold as PMMA, Plexiglas, or Perspex), do not laser it.
- Watch the machine. Acrylic is flammable and cutting it involves an open flame risk, especially with slow passes on thick sheet. Never leave a cut unattended, and keep a fire extinguisher within reach.
Use the exhaust and air-assist configuration specified for your machine and acrylic. More air is not always better for edge finish; Trotec’s acrylic guide describes using low pressure on its systems.
Settings: Where to Get Numbers You Can Trust
We publish design files, not settings charts, and any numeric chart written for a "typical" laser quietly assumes a wattage, lens, and focus you probably do not have. The trustworthy sources are the ones written for your exact machine.
Start with your manufacturer's material library. Glowforge ships tested Proofgrade acrylic settings, xTool maintains per-machine acrylic entries inside Creative Space, and most CO2 and diode brands publish a starting chart in the manual or support site. Those numbers were produced on your model and are worth more than any third-party table.
From there, the behavior of acrylic follows a few reliable patterns you can test toward:
| Operation | What you are aiming for | How to get there |
|---|---|---|
| Engraving | Even frosted white, no melting | Fast speed, modest power; step power up on a test grid until the frost is solid |
| Cutting | One clean pass all the way through | Slow speed, high power; a single pass beats multiple passes, which remelt the edge |
| Scoring | A visible line without depth | Fast and light, treated as a decorative etch |
Run a small material test grid on a scrap corner before any real project. LightBurn has a built-in Material Test generator for exactly this, and five minutes of scrap testing saves full sheets. Our laser engraving settings guide walks through the test-grid workflow in detail.
Preparing SVG Files for Acrylic
This part we can speak to directly, because it is what we do all day. Acrylic is unforgiving of sloppy files in a way wood often hides.
Cut lines must be closed paths. An open path with a tiny gap cuts a shape that never releases from the sheet. Our files ship with closed, cleaned outlines, but if you edit a design, check that your modifications did not break a path.
Separate filled engraving from line work. Use a filled operation for broad frosted areas and a suitable line or scoring operation for outlines. Both can be useful; a hairline path will not automatically become a broad filled mark. Check the software preview so the operation matches the design.
Mind minimum feature sizes on cuts. Acrylic melts at the kerf, so interior details narrower than about a millimeter tend to fuse or fill back in. Keychain-scale projects want simple, chunky shapes; save the intricate linework for engraving, where it renders beautifully.
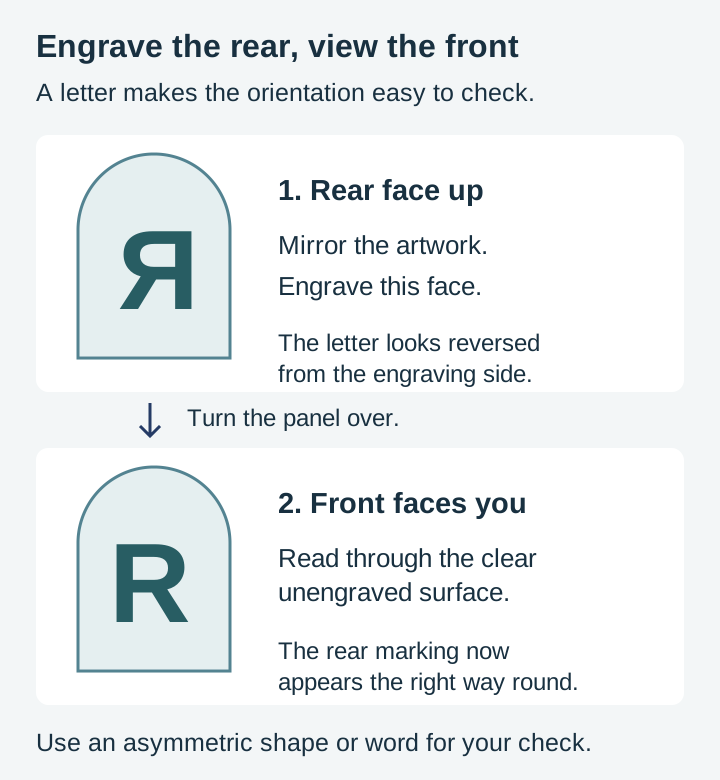
Engrave clear acrylic on the back for a glass-like look. Mirror the design, engrave the reverse face, and view the piece through the glossy front. The frost floats behind polished acrylic, which is the standard trick for premium cake toppers and awards.
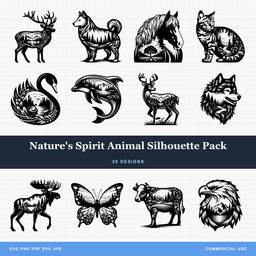 Natures Spirit Animal Silhouette Pack28 designs, commercial license included$3.99
Beginner Project Ideas
Keychains
Cut small shapes from 3mm (1/8 inch) acrylic and engrave a design on one face, with a keyring hole cut in the same job. Clear acrylic with frosted engraving looks elegant, glitter and fluorescent sheets grab attention at craft fair tables, and per-piece material cost is pennies. Keep the outline simple and the engraving bold so it reads at small size.
LED-Lit Acrylic Signs
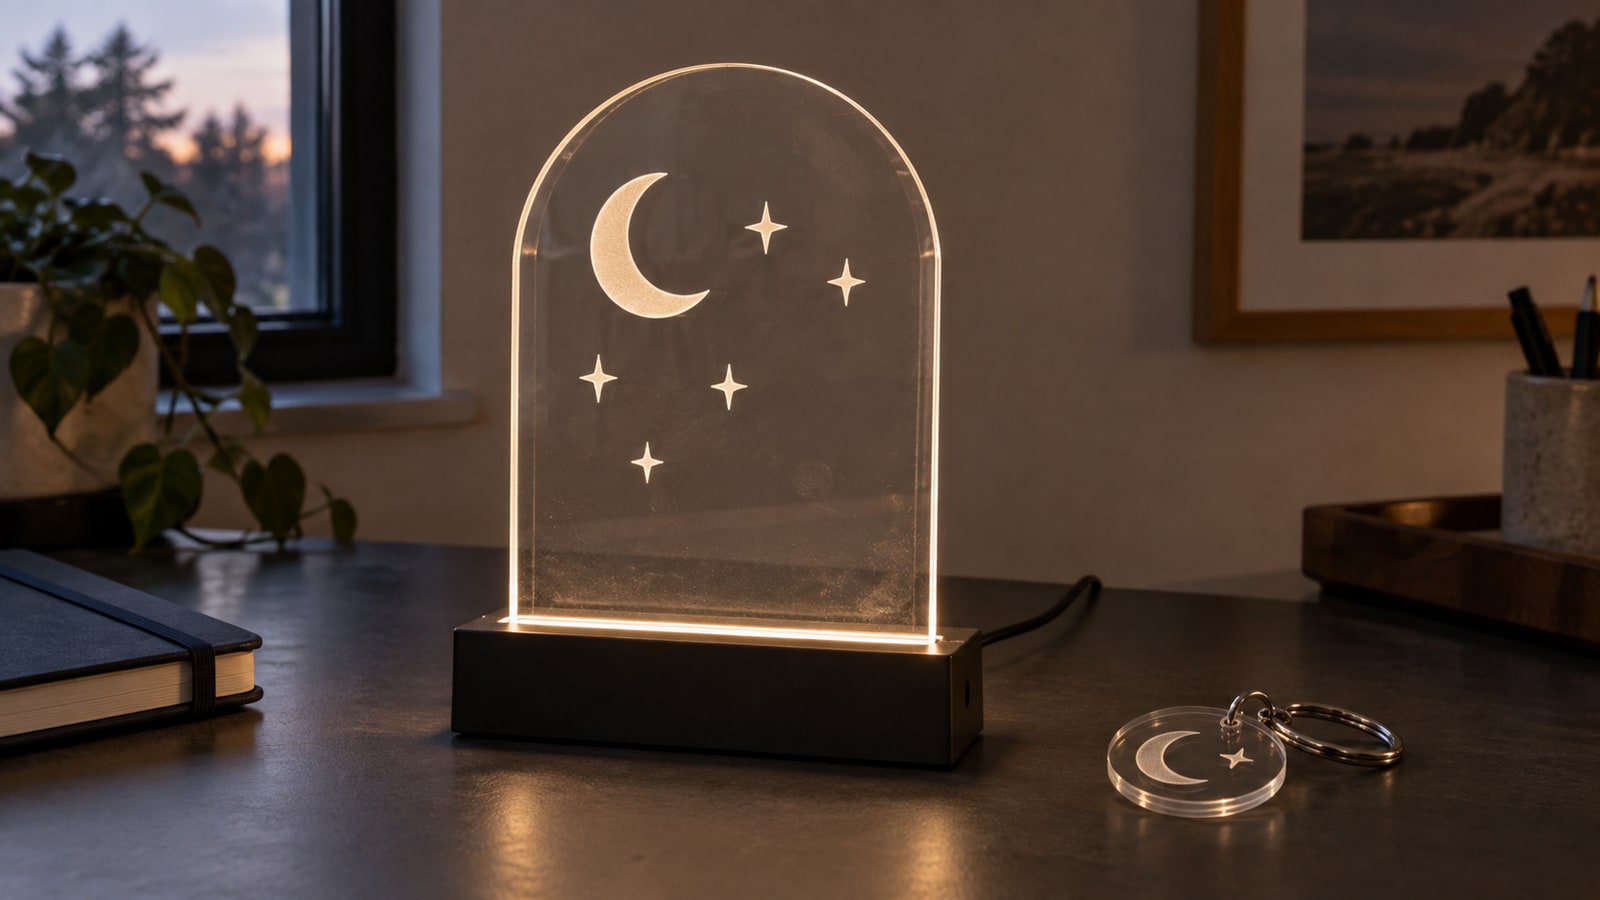
Engrave a design on clear cast acrylic, then stand it in an inexpensive LED base. Light enters through the bottom edge and scatters wherever the surface is frosted, so the engraving glows while the rest stays invisible. Night lights, desk signs, and holiday pieces all work this way, and celestial artwork of moons, stars, and constellations is practically made for it.
Ornaments
Cut ornament shapes from clear or colored acrylic and engrave the design in the center. Acrylic ornaments are lightweight, but thin areas can crack and sharp edges need attention. Protect them during packing and choose the construction for the intended use. Add a small hanging hole to the cut layer and a ribbon at packing time.
Cake Toppers
Wedding and birthday toppers cut from mirrored or glitter acrylic look far more expensive than they cost to make. Score lines add decorative detail without cutting through, and the back-engraving trick above gives clear toppers a glassy, professional finish. Remember the cut-detail rule: elegant topper silhouettes need enough connecting material to survive handling.
Earrings
Thin acrylic (1/16 to 1/8 inch) cuts into lightweight earrings in every color imaginable, with the findings hole cut in the same pass. Translucent and fluorescent sheets make especially striking jewelry. Because the pieces are tiny, choose designs with strong simple outlines rather than fine interior cutouts.
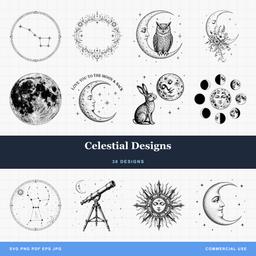 Celestial Designs30 designs, commercial license included$3.99
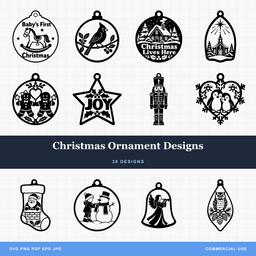 Christmas Ornament Designs38 designs, commercial license included$3.99
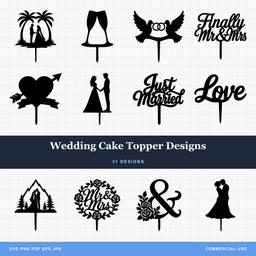 Wedding Cake Topper Designs31 designs, commercial license included$3.99
Tips for Great Acrylic Results
- Leave the masking on for cutting. The paper film keeps smoke and flame flare from marking the surface. Peel it after the job for a spotless finish. For dense fine engraving, test with the film removed, since weeding hundreds of masked slivers out of an engraved area is miserable.
- Follow the machine’s acrylic airflow guidance. Exhaust and nozzle air have different roles; excessive nozzle pressure can dull an otherwise clear edge.
- Paint-fill engravings for color. Engrave the design, brush acrylic paint into the frosted recess, and wipe the excess off the glossy surface with a damp cloth before it dries. The paint stays only in the engraving.
- Edge-light from the bottom. For LED projects, the most even glow comes from light entering the bottom edge directly under the engraved area.
- Elevate the sheet for cleaner cuts. Cutting on pins or a honeycomb-style support keeps the flame-polished underside from picking up reflection marks off the bed.
Find Designs That Suit Acrylic
Bold silhouettes, clean single-layer artwork, and designs with solid filled areas are what acrylic rewards, and that describes most of our catalog. Every pack is $3.99, ships as SVG, PNG, JPG, PDF, and EPS, and includes a commercial license, so the keychains and ornaments you cut are yours to sell.
For the wider material landscape, start with our complete materials guide. When you are ready to set the job up, the LightBurn SVG tutorial covers getting our files onto your workspace with layers intact.
Designs for this project
Frequently Asked Questions
Can a diode laser cut clear acrylic?
No. Blue diode light passes straight through clear and transparent acrylic instead of being absorbed, so the beam cannot heat it. Diode lasers can engrave and sometimes cut opaque or dark-colored acrylic, and some infrared diode modules mark dark acrylics, but clean cutting of clear acrylic needs a CO2 laser.
What is the difference between cast and extruded acrylic for laser work?
Cast acrylic is poured into molds and engraves to a bright frosted white, which is what you want for engraving and edge-lit projects. Extruded acrylic is cheaper and cuts with a flame-polished edge, but engraves faintly and unevenly and melts more readily. Buy cast for anything with an engraving on it.
Do you leave the protective film on acrylic when laser cutting?
Yes, leave the masking on for cutting so smoke and debris cannot mark the surface, then peel it after. For fine detailed engraving many makers remove the film first, since tiny masked slivers are tedious to weed out of the engraved areas. Test both ways on scrap.
Why does my acrylic engraving look dull and gray instead of white?
The usual culprit is extruded acrylic. It engraves to a faint translucent gray no matter how you tune the settings, while cast acrylic engraves bright frosted white. Check the sheet label or ask the supplier rather than identifying the manufacturing process from appearance alone.