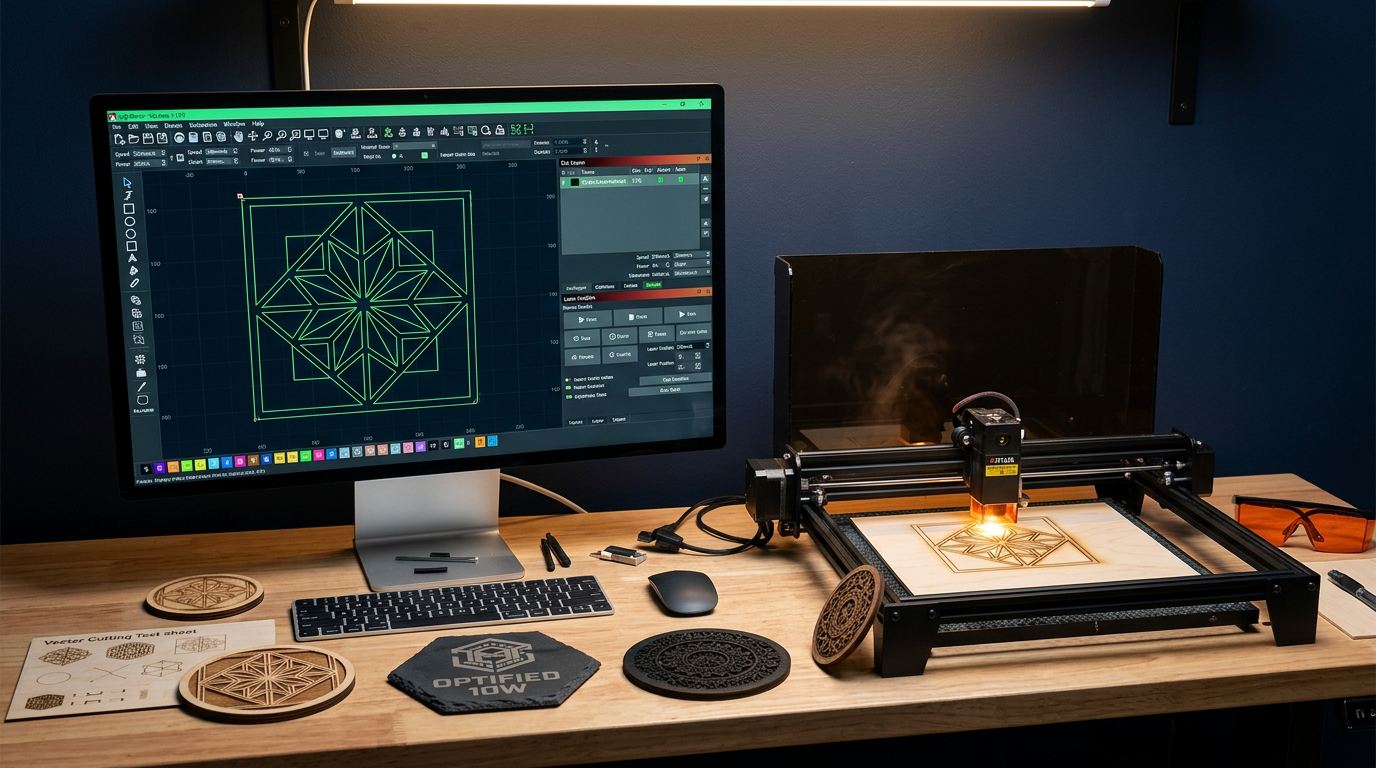
LightBurn is the most popular software for controlling laser cutters and engravers, and for good reason — it's powerful, intuitive, and works with most laser machines. This tutorial walks you through importing SVG files, setting up your project, and getting perfect results.
Importing SVG Files
There are three ways to get an SVG into LightBurn:
- File > Import — Opens a file browser. Navigate to your SVG and click Open.
- Drag and drop — Drag the SVG file directly from your file browser onto the LightBurn workspace.
- Copy/paste from Inkscape — If you've edited an SVG in Inkscape, you can copy objects and paste them directly into LightBurn.
After importing, your design appears on the virtual workspace. LightBurn preserves the SVG's structure — all paths, groups, and colors come through intact.
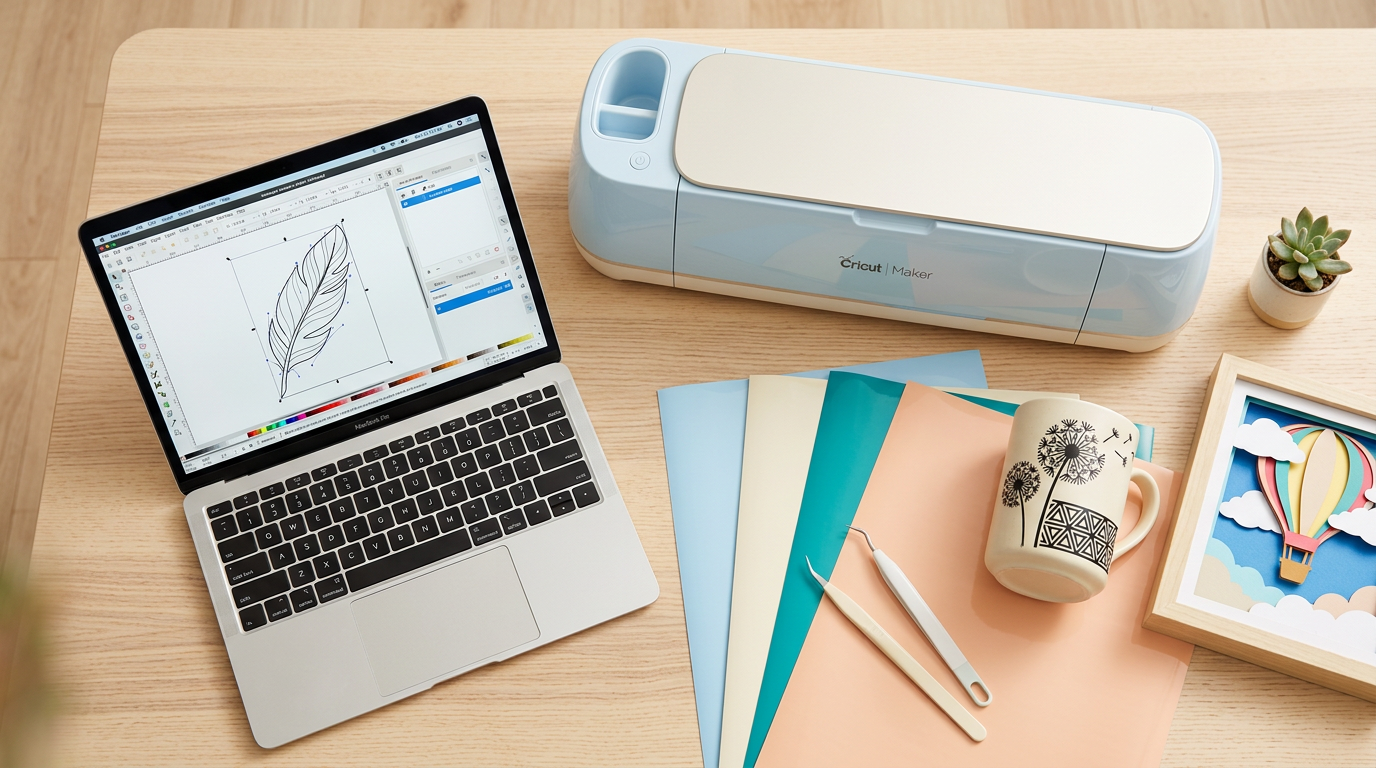
Have a PNG or photo instead of an SVG? Use Craftgineer's MonoTrace (free) to vectorize any image into a clean SVG before importing into LightBurn.
Understanding LightBurn's Layer System
LightBurn assigns each imported element to a color layer. Each layer has its own speed, power, and mode settings. This is incredibly useful because you can set different operations for different parts of your design:
- Black layer — Engrave the filled areas at 3000 mm/min, 60% power
- Red layer — Cut the outline at 200 mm/min, 90% power
- Blue layer — Score a decorative border at 1000 mm/min, 30% power
To change an element's layer, select it and click a different color in the layer palette at the bottom of the screen.
Layer Modes
Each layer in LightBurn can operate in one of several modes:
| Mode | What It Does | Use Case |
|---|---|---|
| Fill | Rasters back and forth inside shapes | Engraving filled areas, images |
| Line | Traces the outline path | Cutting through material, scoring |
| Fill + Line | Engraves the fill, then traces the outline | Engraved designs with a cut border |
| Offset Fill | Fills using concentric passes from outside in | Rubber stamps, certain engraving styles |
For most SVG designs from our laser engraving collection, you'll use Fill mode to engrave the design and Line mode to cut an outline if desired.
Setting Speed and Power
Double-click a layer in the Cuts/Layers panel to open its settings. The two most important parameters:
- Speed (mm/min or mm/s) — How fast the laser head moves. Higher = faster job but lighter engraving.
- Max Power (%) — The laser's output intensity. Higher = deeper engraving or cutting.
LightBurn also has Min Power, which controls power during acceleration and deceleration. For consistent results, set Min Power to the same value as Max Power for fill operations, and slightly lower for line operations.
For a complete settings reference by material type, see our laser engraving settings guide.
Positioning Your Design
Origin Settings
LightBurn offers several origin modes. For most projects, use Current Position — the laser starts wherever the head is currently positioned. Set the job origin (green square) to indicate which corner of the design aligns with the laser head position.
Frame Button
Before running your job, click Frame to have the laser trace the bounding rectangle of your design at low power. This shows you exactly where the design will engrave on your material so you can adjust positioning without wasting material.
Optimization Settings
Scan Angle
By default, fill engraving scans horizontally (0°). For some designs, changing the scan angle to 90° (vertical) or even 45° (diagonal) can reduce visible banding and improve the finished look.
Overscanning
Enable Overscan in the layer settings to prevent dark edges on fill engravings. Overscan adds extra travel beyond the edges of the design, giving the laser head room to accelerate and decelerate without burning extra material.
Line Interval
This controls the spacing between scan lines during fill engraving, directly affecting resolution. A value of 0.1mm (254 DPI) is a good default. Reduce it for finer detail, increase it for faster jobs.
Previewing Before Burning
Click Preview (Alt+P) to see a simulation of what the laser will do. The preview shows:
- The order of operations (which layers run first)
- The travel paths (where the head moves without firing)
- Estimated time for the complete job
Review this every time before running a job. It's the best way to catch mistakes.
Common Issues and Fixes
Design Appears as Outline Only (Not Filled)
The SVG may have strokes but no fills. Select the elements, check that the layer is set to Fill mode, and verify the shapes are closed paths. Open paths won't fill.
Double Lines / Ghost Lines
Some SVGs have overlapping duplicate paths. Select all, then use Edit > Delete Duplicates to clean them up.
Engraving Is Too Light or Too Dark
Adjust your speed and power. Too fast or too low power gives a light result. Too slow or too high power burns too deeply. Run test squares at different settings to find the sweet spot for your material.
Start Your Next Laser Project
Browse our design library for high-quality SVG files optimized for laser work. Every download includes commercial licensing, so you can sell your engraved creations.
Also check out our Glowforge tutorial if you use a Glowforge, or our guide to best materials for laser engraving.