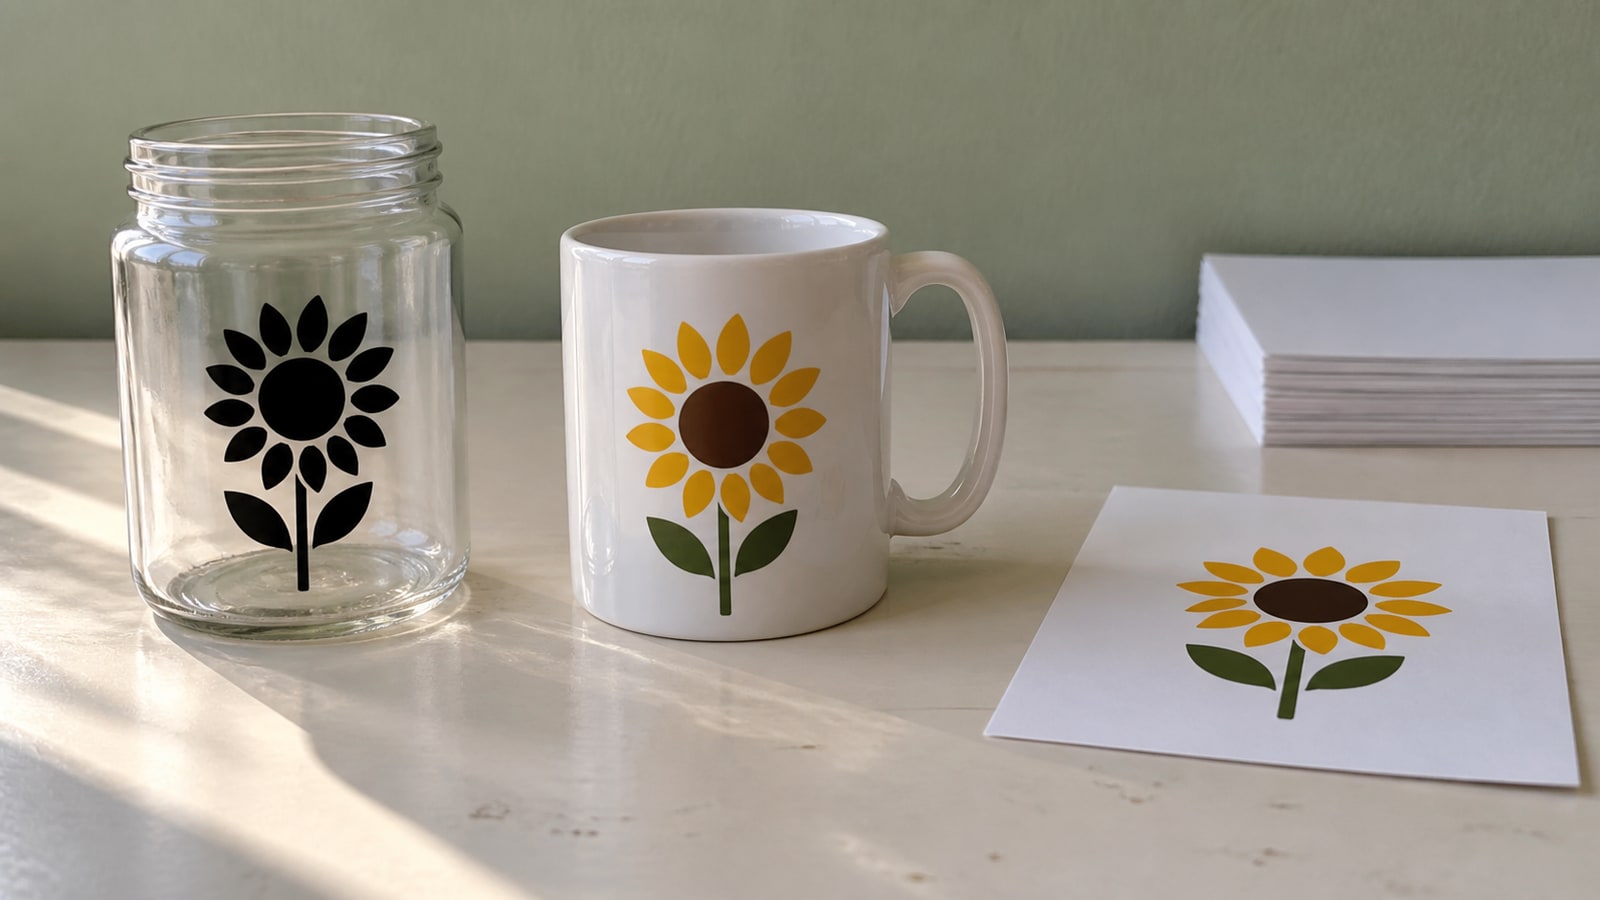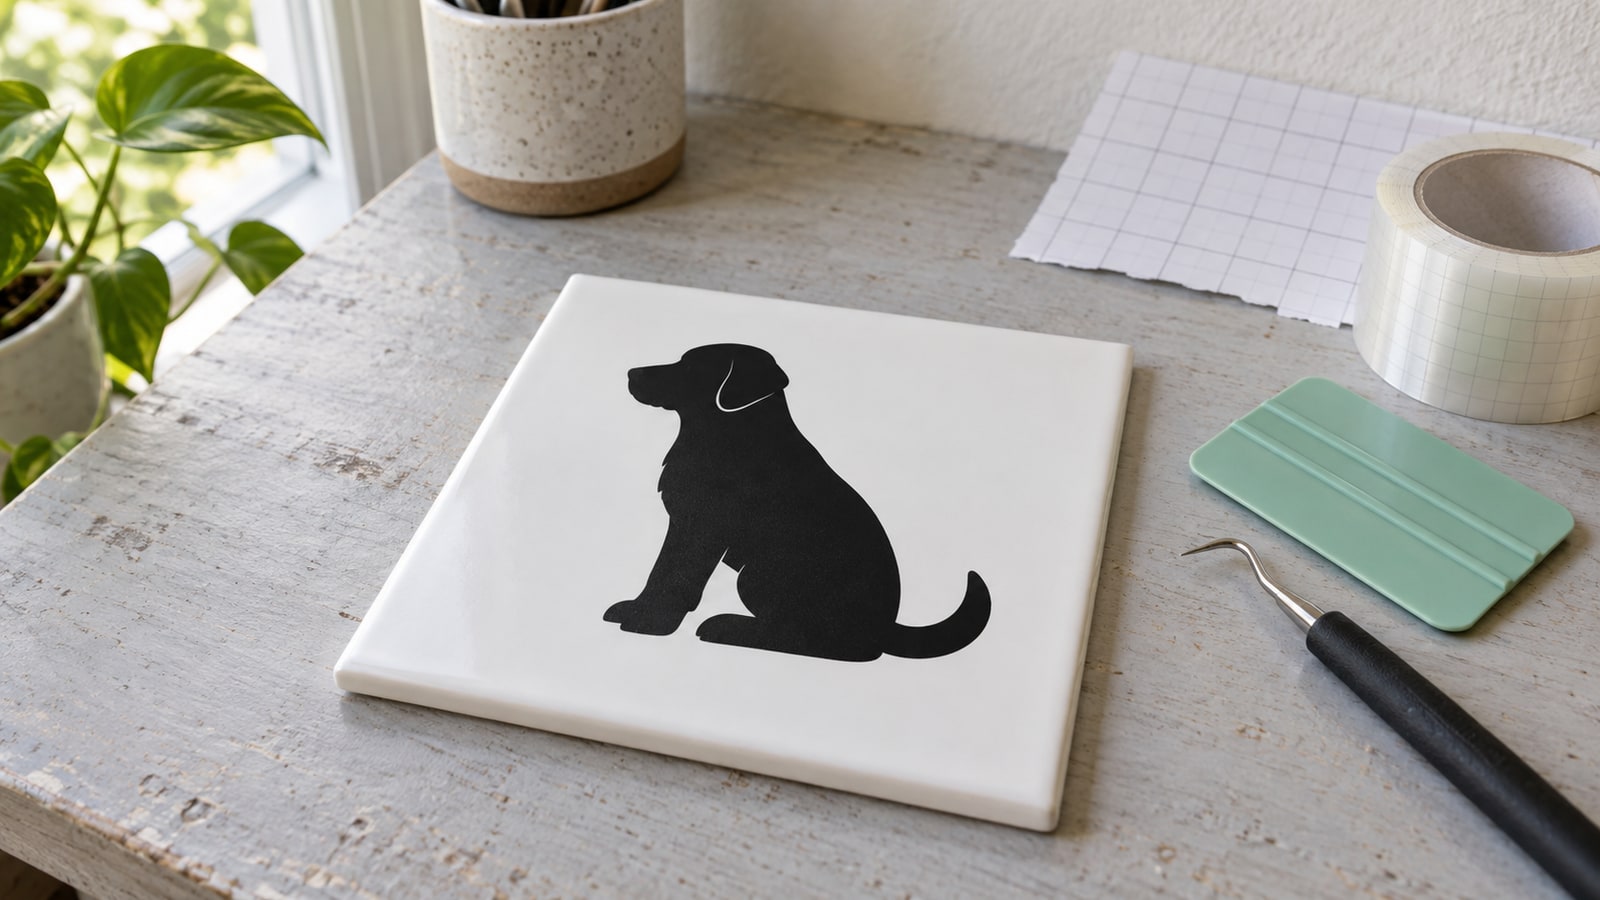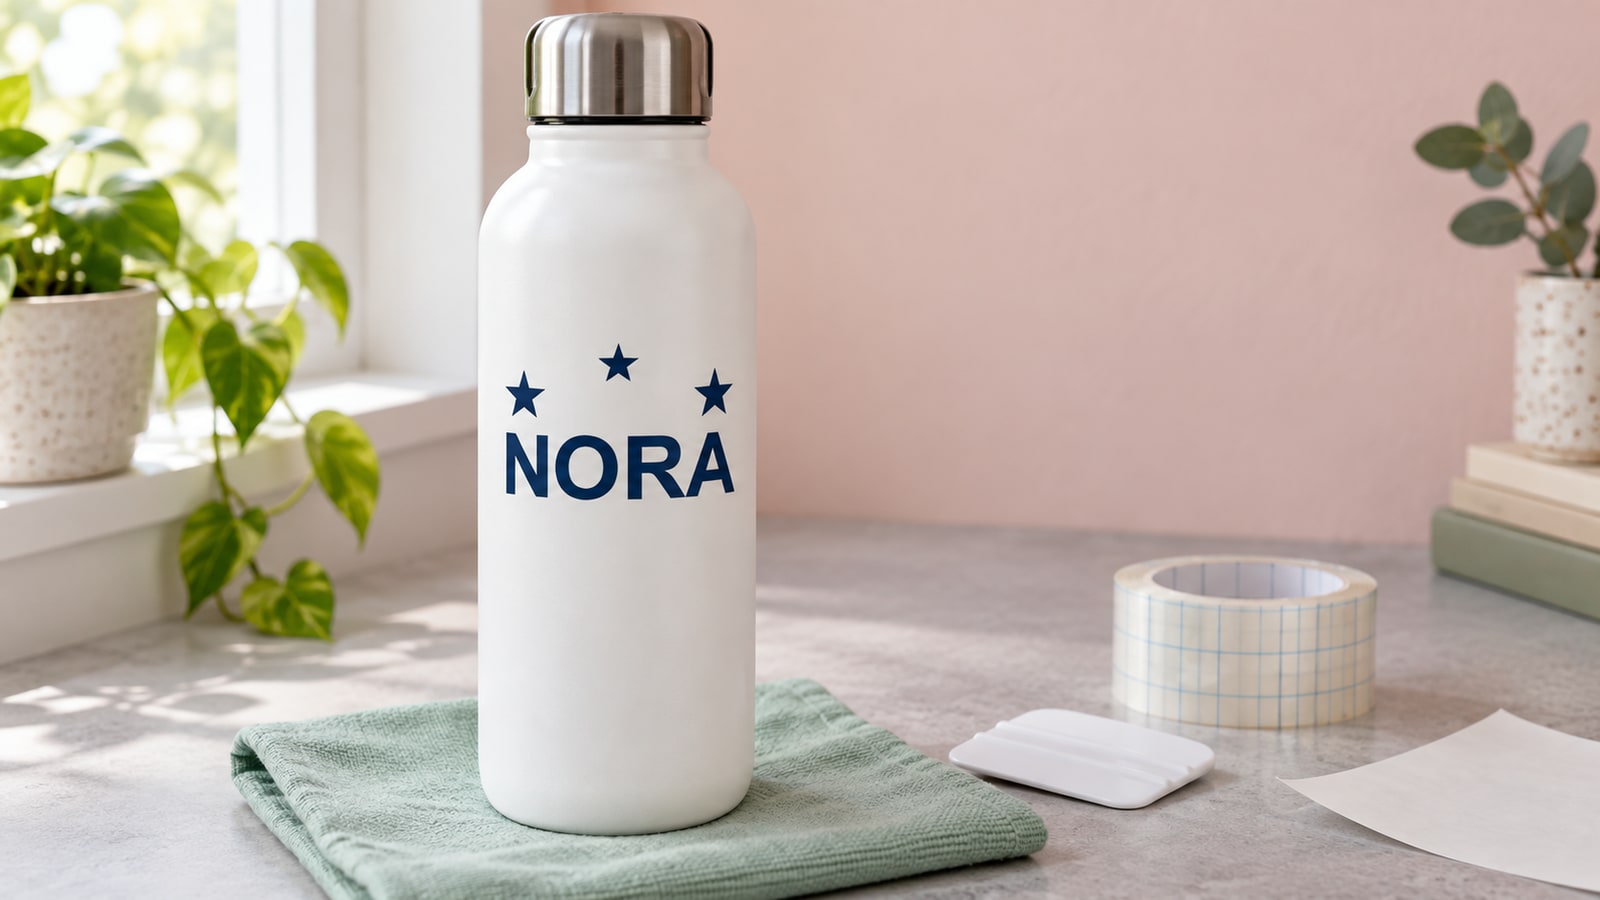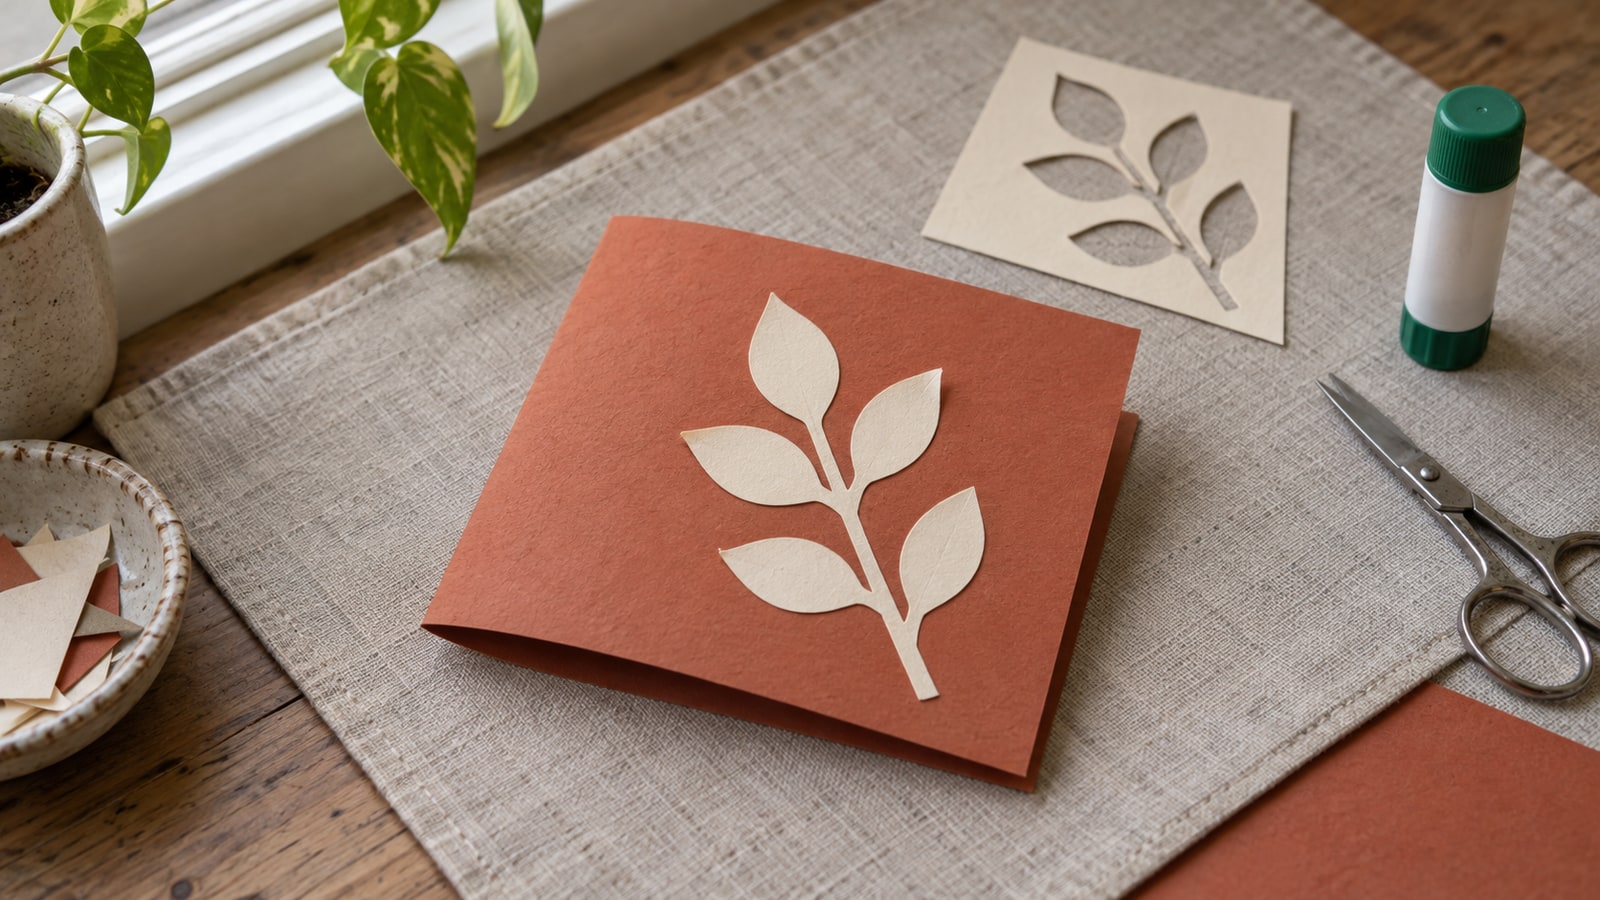
You bought the machine. It is sitting on the table, the sample project went fine, and now every tutorial, every Facebook group, and every marketplace listing keeps repeating the same three letters: SVG. Nobody stops to explain what an SVG actually is, why your machine wants one, or what to do with the folder of files you just downloaded.
This guide is that missing explanation. We make SVG files for a living, thousands of them, so this is the on-ramp from the people who build the things: what the format is, what software opens it, how to get from download to first cut, and the beginner mistakes that cause almost every "my file won't work" moment.
Tip
Short answer: An SVG is a drawing made of mathematical paths instead of pixels. Your cutting machine follows those paths as cut lines, and because they are math, the design stays perfectly sharp at any size. Download, unzip, upload the .svg file into your design software, resize, cut.
What an SVG file actually is
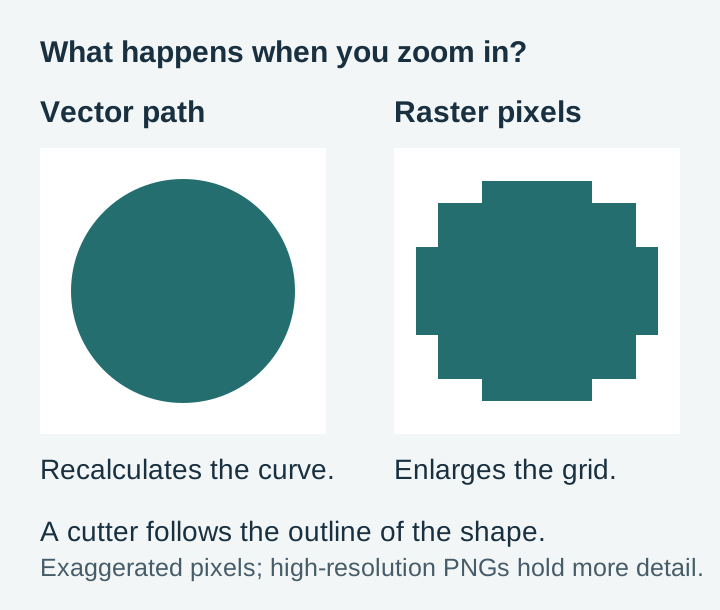
SVG stands for Scalable Vector Graphics. A normal image like a JPG or PNG is a grid of colored squares, and if you zoom in far enough you can see them. A cut-ready SVG describes its artwork with vector paths. It is a list of instructions: start a shape here, curve to there, close the outline.
That difference sounds academic until you connect it to your machine. A Cricut blade, a Silhouette blade, a laser beam, and a CNC bit all do the same fundamental thing: they travel along a line. A pixel image has no lines in it, only squares that look like lines from a distance. An SVG is nothing but lines. That is the entire reason the crafting world runs on this format.
The math has a second consequence that makes crafters fall in love. When you resize an SVG, the software just multiplies the numbers. A design cut at 3 inches for a mug decal and the same design cut at 3 feet for a wall sign are equally crisp, because there is no resolution to run out of. Our resizing guide goes deep on this, but the short version is: scaling a vector is always safe.
Why cutting machines want vectors
It helps to see the failure case. Suppose you hand your machine a PNG of a dog silhouette. The software cannot cut it directly, because there is no path to follow. Some programs offer to trace the image, which means drawing a brand new vector that approximates the pixels. Traces of simple shapes come out usable. Traces of anything detailed come out with lumpy edges, rounded corners, and hundreds of junk points.
An SVG skips all of that. The path is already there, drawn deliberately, and the machine follows it exactly. This is also where file quality separates good SVGs from frustrating ones. Two files can look identical on screen while one has clean, smooth paths and the other has stray points and broken shapes that make a blade stutter. When we build a design, most of the work is invisible in the thumbnail: joining shapes into clean compound paths, removing stray nodes, and keeping details above the size that survives a real cut.
What is in the folder you downloaded
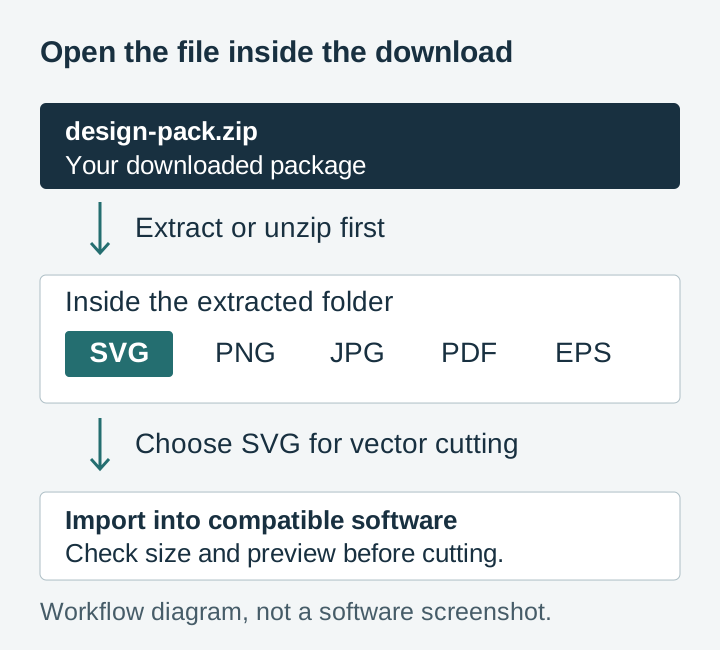
Every PrintCutCarve pack ships the same artwork in five formats: SVG, PNG, JPG, PDF, and EPS. The download arrives as a ZIP file, and the single most common beginner stumble happens right here: design software cannot open a ZIP. Unzip it first. On Windows, right-click and choose Extract All. On a Mac, double-click it. On an iPad or phone, use the built-in Files app to tap and extract.
Inside you will find the formats in their own folders. For cutting, you want the SVG folder, and the others each have a job:
| Format | What it is for |
|---|---|
| SVG | Cutting, engraving, CNC, and any editing. Your main format. |
| PNG | Sublimation and Print Then Cut, thanks to its transparent background |
| JPG | Quick previews and mockups |
| Printing on paper, or sending to a print shop | |
| EPS | Professional design tools like Illustrator and CorelDRAW |
If you only remember one rule: machines that follow a line want the SVG, workflows that print pixels want the PNG. When a project makes the choice less obvious, our quick format decision guide settles it in about a minute.
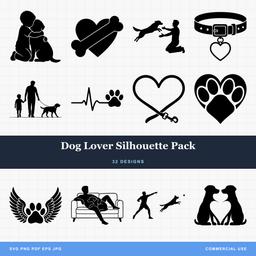 Dog Lover Silhouette Pack32 designs, commercial license included$3.99
The software, and what each one is for
You do not need to buy anything to start working with SVGs. Which program you use depends on the machine you own.
Cricut Design Space (free)
If you own a Cricut, this is home base. Upload the SVG, arrange it on the canvas, resize it, and click Make It. Design Space reads the vector paths as cut lines automatically and separates multi-color designs into their own mats. Our Design Space guide walks through the whole upload workflow step by step.
Silhouette Studio (free, with a catch)
Here is the caveat that surprises almost every new Silhouette owner: the free edition of Silhouette Studio does not open SVG files. SVG import requires the one-time Designer Edition upgrade. Most Silhouette users consider it the first accessory worth buying. Until then, you can open the PNG versions for print work, and our Silhouette Studio guide covers the details.
Inkscape (free, open source)
Inkscape is a full vector editor for Windows, Mac, and Linux, and it costs nothing. You do not need it to cut a file as-is, but the moment you want to change a color, remove an element, or add a name, Inkscape is the tool. Our Inkscape editing guide covers every common edit a crafter makes.
LightBurn and laser software (varies)
Laser owners typically run LightBurn, which imports SVGs directly and lets you assign cut, score, or engrave operations to each part of the design. Glowforge owners use the Glowforge app, which also takes SVG natively. Either way, the SVG in your pack is the file the laser wants.
CNC software
CNC routers use CAM software such as Carbide Create, Easel, or VCarve. All of them import SVG and convert the vector outlines into toolpaths for the bit to follow. The CNC router SVG guide covers that pipeline.
Your first project, start to finish
The workflow is nearly identical across every platform, which is good news: learn it once and you have learned it everywhere.
- Download and unzip the pack, and find the SVG folder inside.
- Open your design software and start a new project.
- Upload or import the .svg file. In Design Space this is the Upload button; in most other software it is File then Import or Open.
- Check the size. Imported SVGs do not always arrive at the dimensions you expect, because different programs assume different units. Type the exact width you want rather than trusting the default.
- Do a test cut on scrap. Before committing good vinyl or a nice wood blank, cut the design small on leftover material. This catches settings problems while they are still free.
- Cut, weed, and apply. For vinyl, weeding means picking away the excess material around your design. A hook-style weeding tool makes this dramatically easier on anything detailed.
For a vinyl-specific walkthrough of that last stretch, including transfer tape and application, the first vinyl project guide picks up exactly where this list ends.
Choose a beginner-friendly design
Not every SVG is a good first SVG, and this is somewhere our day job gives us a clear view. The designs that treat beginners kindly share one trait: bold, connected shapes with no fine interior detail. A single-color silhouette is the ideal first cut. There is one piece to weed, no layers to align, and the wide shapes forgive a slightly dull blade or an imperfect pressure setting.
Detail is the thing that punishes early projects. Thin lines tear during weeding, tiny interior pieces lift with the transfer tape, and closely spaced elements can merge at small sizes. None of that means detailed designs are bad; it means they are a second-month project, not a first-week one. Packs built from clean silhouettes, like our animal silhouette collections, are exactly the shape of file to learn on.
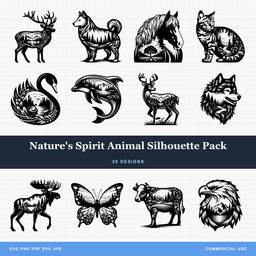 Natures Spirit Animal Silhouette Pack28 designs, commercial license included$3.99
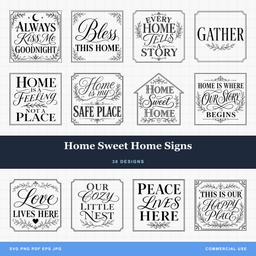 Home Sweet Home Signs30 designs, commercial license included$3.99
A first look at layers
Open some SVGs and you will see several colored pieces stacked together. That is a multi-layer design: each color is meant to be cut from a different material and assembled on top of each other. Design Space splits the colors onto separate mats automatically. In Silhouette Studio and Inkscape, you ungroup the design to separate the pieces.
Two things trip up beginners here. First, the colors in the file are labels, not orders; a red layer can be cut from any vinyl color you like. Second, always resize the whole design while it is still grouped. Resize layers individually and they will never line up again. When you are ready for multi-color work, understanding SVG layers explains how these files are built from the inside.
The problems every beginner hits, and the fixes
The file will not upload. Nine times out of ten, the ZIP was never unzipped, and the software is being handed a folder it cannot read. Extract first, then upload the .svg file inside.
The design imported at a strange size. Normal, and harmless. Unit assumptions differ between programs, so a file can arrive tiny or enormous. Select it and type the real dimensions you want. Nothing about the design quality changed.
Everything is one solid color. The design is probably still grouped. Ungroup it (sometimes more than once, since groups nest) and the individual pieces become selectable.
Silhouette Studio refuses the SVG. That is the free edition doing what it does. The Designer Edition upgrade unlocks SVG import.
Cut lines appear where there should be none, or a "hole" cuts as a solid shape. This usually points at a poorly built file, often a free download that was auto-traced and never cleaned up. It is the difference file craft makes, and the reason where your SVGs come from matters more than beginners expect.
Can you sell what you make?
Sooner or later a friend asks you to make one, then asks what you would charge. With PrintCutCarve files the answer is simple: every purchase includes a commercial license at no extra cost. You can make and sell unlimited physical products from any design, whether that is three tumblers for coworkers or a full craft fair table.
The main limit is easy to remember: the digital file itself cannot be resold or shared. Print-on-demand production is fine, and the license page has the full terms. If selling is on your roadmap, the commercial license explainer covers the details in plain language.
Where to go from here
You now know more about SVG files than most people who have owned a machine for a year: what the format is, why machines want it, which software opens it, and how to steer around the beginner traps. The only thing left is repetitions. Cut simple designs, weed them, apply them, and the skills compound fast.
Every pack in our catalog is $3.99, ships all five formats, and includes the commercial license, so the file side of your first project is already solved. Pick a silhouette pack that makes you smile, cut it at 4 inches on scrap vinyl this week, and you are officially past getting started.
Designs for this project
Frequently Asked Questions
What is an SVG file in simple terms?
An SVG is a set of drawing instructions rather than a picture. It describes shapes as mathematical paths, which is why it scales to any size without blurring and why cutting machines can follow its lines exactly.
Do I need to buy software to use SVG files?
No. Cricut Design Space and Inkscape are free. The one common exception is Silhouette Studio, where the free edition does not open SVG files; you need the Designer Edition upgrade, or you can work from the PNG in the meantime.
Why won't my SVG file upload?
The most common cause is trying to upload the ZIP folder instead of the SVG inside it. Unzip the download first, then upload the .svg file itself. If the software still refuses it, check that you selected the file from the SVG folder rather than a PNG or PDF.
Can I sell things I make from purchased SVG files?
With our files, yes. Every PrintCutCarve purchase includes a commercial license for unlimited physical products. You can sell what you make; you just cannot resell or share the digital file itself.