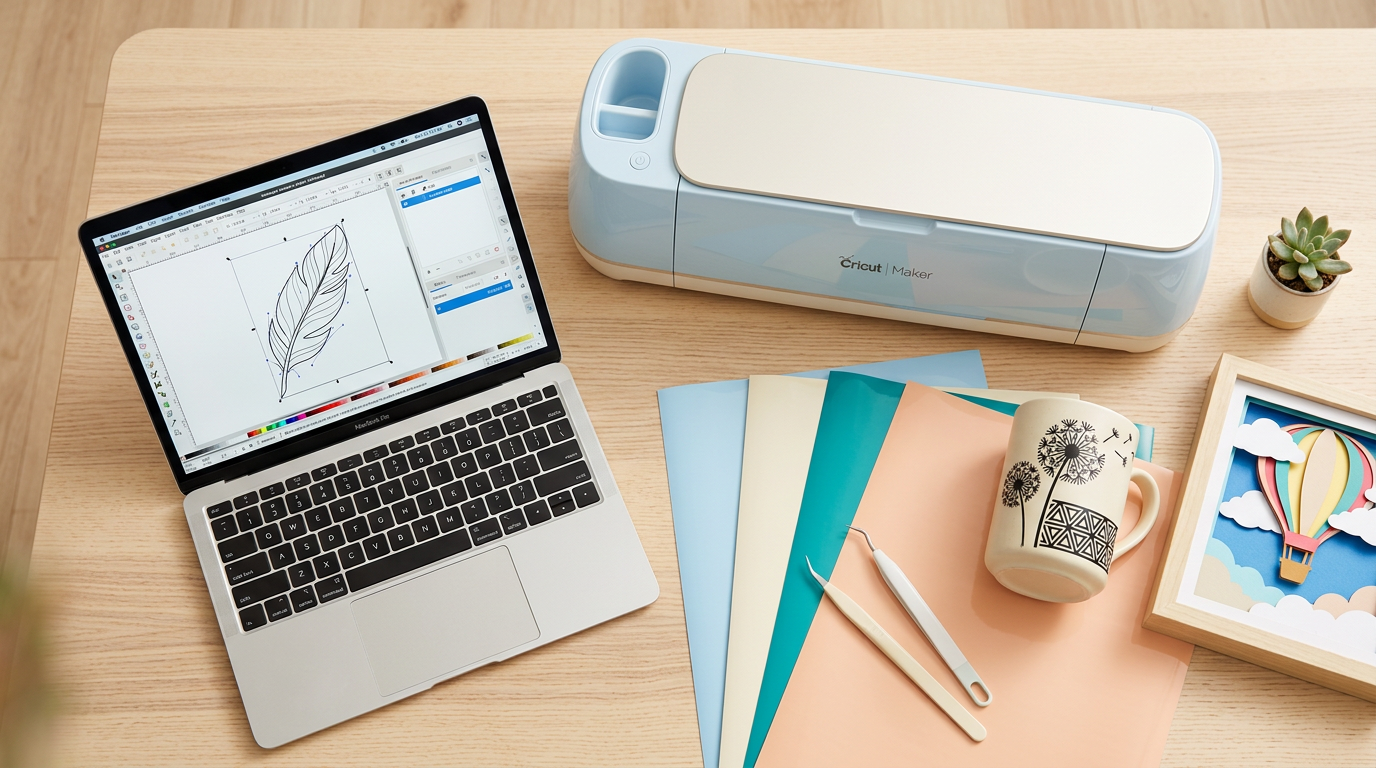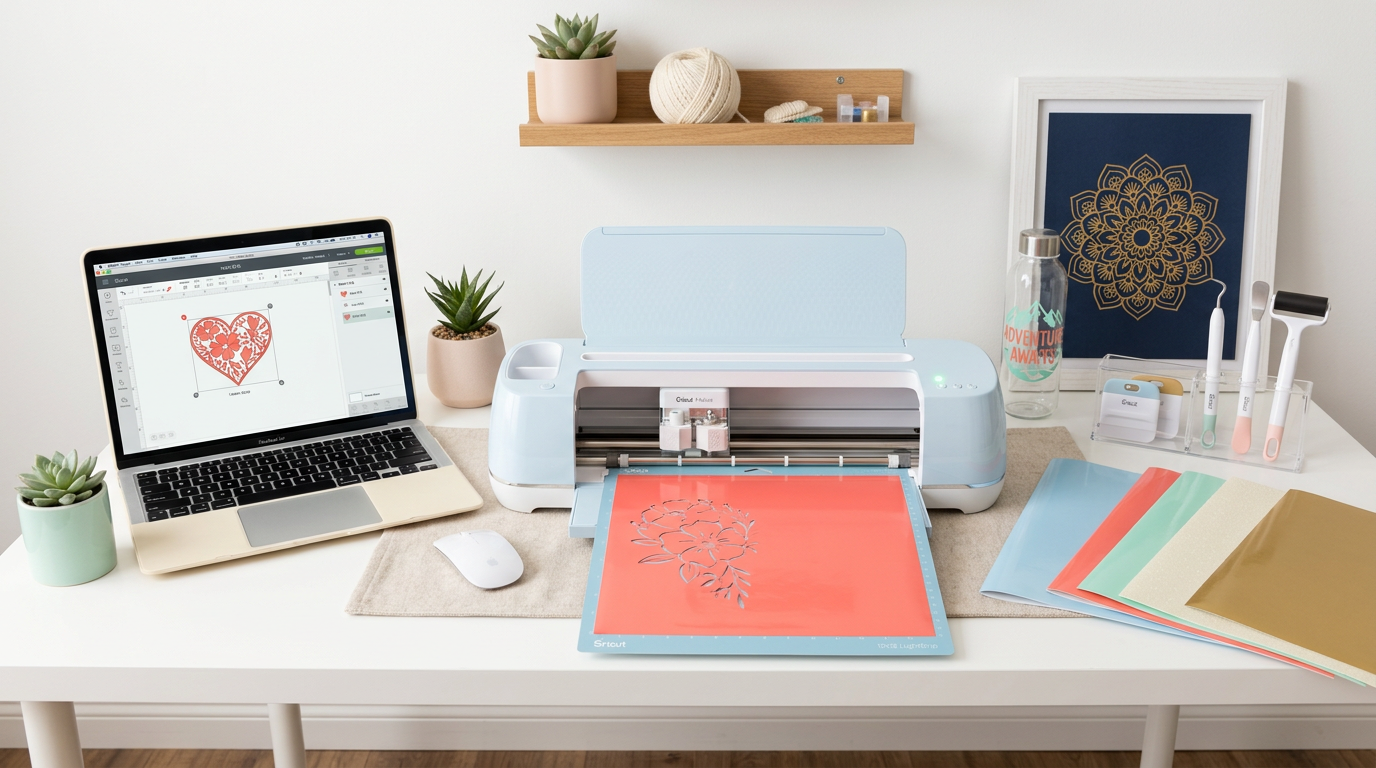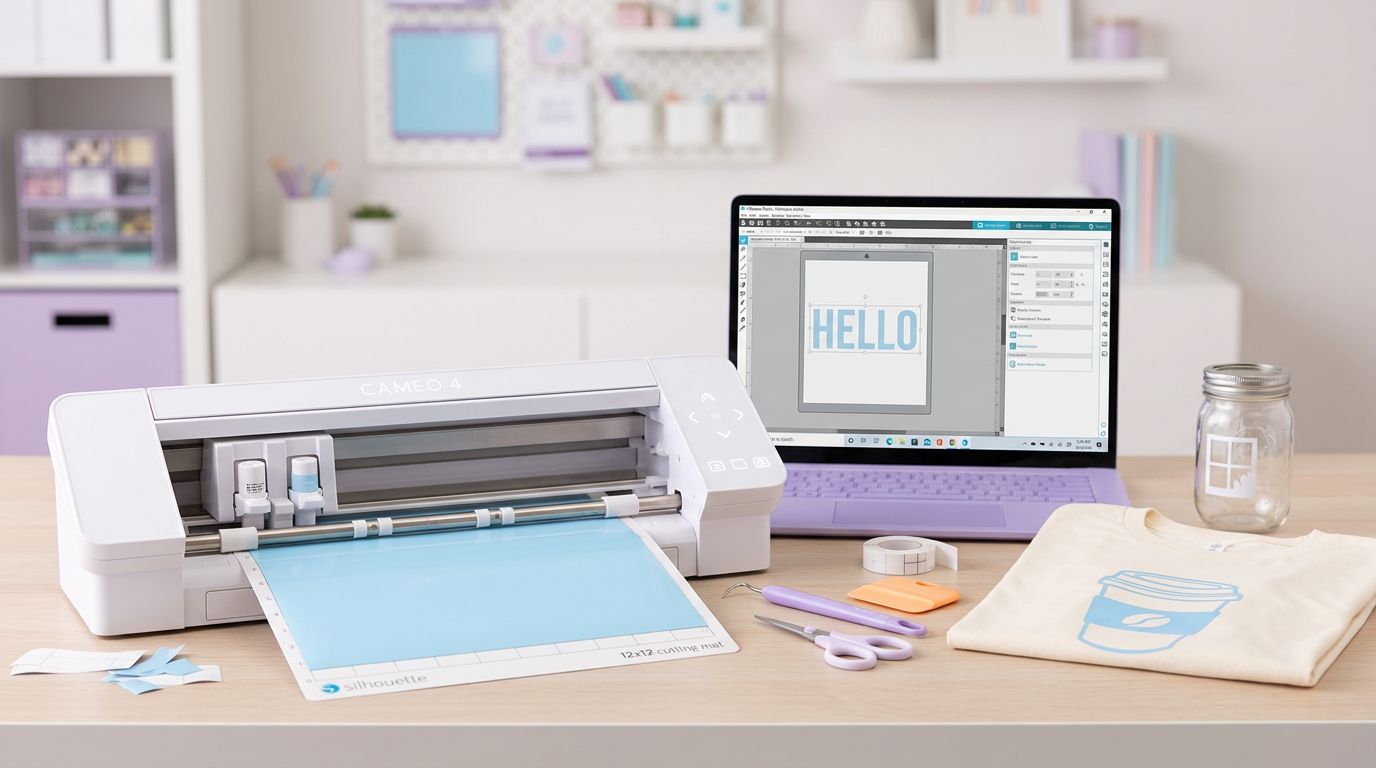
Silhouette Studio is the design software for Silhouette cutting machines — the Portrait, Cameo, and Curio. Whether you're using the free Basic Edition or the upgraded Designer Edition, this guide covers everything you need to import and cut SVG files like a pro.
A Note About Editions
The free Basic Edition of Silhouette Studio does not natively open SVG files — it only supports Silhouette's proprietary .studio3 format. To import SVGs directly, you need the Designer Edition ($49.99 one-time upgrade) or higher.
However, every design pack from our store includes PNG and PDF formats, which the free edition handles perfectly for Print Then Cut projects. If you're doing standard vinyl cutting, the Designer Edition upgrade is highly recommended.
Importing an SVG File
Method 1: File > Open (Designer Edition+)
Go to File > Open and navigate to your SVG file. Select it and click Open. The design appears on your virtual cutting mat immediately with all layers and paths intact.
Method 2: Drag and Drop
Simply drag the SVG file from your file browser directly onto the Silhouette Studio workspace. This is the fastest way and works well when you have multiple files to import.
Method 3: Merge (for combining designs)
Use File > Merge when you want to add an SVG design to an existing workspace without replacing what's already there. This is useful for combining multiple designs on one mat.
Working with Your Design
Resizing
Click the design to select it. Drag a corner handle while holding Shift to resize proportionally. You can also type exact dimensions in the Transform panel (right side). Silhouette Studio shows dimensions in inches by default, but you can change this in preferences.
Understanding the Cut Lines
After importing, open the Send panel (bottom right) and look at the cut lines preview. Red lines show where the blade will cut. If you see lines you don't expect, the design may have extra paths — use the Object panel to inspect and remove them.
Changing Colors
Select individual elements and use the Fill Color panel to change colors. This doesn't affect cutting — it's purely visual — but it helps you plan multi-color vinyl projects by matching screen colors to your vinyl sheets.
Ungrouping Layers
Multi-layer SVG designs often arrive as a single group. Right-click and select Ungroup to separate layers. You can then move, resize, or delete individual elements. Right-click and Group again when you're done editing.
Configuring Cut Settings
Click Send to open the cut settings panel. Choose your material from the list:
| Material | Blade Depth | Speed | Force |
|---|---|---|---|
| Adhesive vinyl | 1-2 | 5 | 5 |
| HTV / Iron-on | 2 | 5 | 8 |
| Cardstock (65 lb) | 3 | 4 | 8 |
| Sticker paper | 1-2 | 5 | 5 |
Important for HTV: You must mirror your design before cutting iron-on vinyl. Go to the Send panel and check the Mirror option for the page. Place your HTV shiny carrier sheet side down on the mat.
Cutting Your Design
Load your cutting mat into the machine, press the Bluetooth or USB connection button in Silhouette Studio, and click Send. The machine will begin cutting.
For your first cut, we recommend doing a test cut. Use the test cut option in the Send panel — it cuts a small square and triangle in the corner of your material so you can verify the settings before committing to the full design.
Working with Multi-Layer Designs
For designs with multiple colors, you'll cut each layer on a separate sheet of vinyl:
- Ungroup the design to separate the layers
- Select the first color layer and move the others off the mat (or hide them)
- Cut the first layer
- Load the next vinyl color, position the next layer, and repeat
- Weed each piece and layer them together using transfer tape
For a deeper look at multi-color techniques, see our guide on layered SVG designs.
Tips for Better Results
- Keep your blade sharp — A dull blade tears instead of cuts. Replace blades regularly.
- Clean your mat — Use a lint roller to keep your cutting mat sticky
- Check the preview — Always review the cut preview before sending. Zoom in to verify fine details.
- Use PixScan — If your Silhouette has PixScan capability, it's great for precisely positioning designs on printed material
Silhouette Studio vs. Designer Edition: Is the Upgrade Worth It?
If you plan to use SVG files regularly, the Designer Edition pays for itself quickly. Beyond SVG import, you get advanced features like nesting (to minimize material waste), rhinestone tools, and more design manipulation options. For serious crafters, the Business Edition adds even more including multi-page designs and commercial features.
Get Started
Browse our SVG design collections to find your next project. Every pack includes multiple file formats, so whether you're on the free edition (using PNG) or Designer Edition (using SVG), you're covered.
New to SVG files in general? Start with our beginner's guide to SVG files. Trying to decide between Cricut and Silhouette? Read our head-to-head comparison.