The first two layers went down beautifully. The third one is now sitting about a millimetre low and a hair rotated, it is stuck fast, and lifting it will stretch the vinyl and tear the layer underneath. Everybody who has made a layered decal has stood exactly there with a weeding hook in one hand and a decision to make.
The fix is not steadier hands. It is a sequence: decide the order before cutting, label the pieces as they come off the mat, and use a registration method that holds the alignment while you commit. Done that way, a four colour decal is not much harder than a one colour one.
Tip
Short answer: cut each colour separately, label the pieces immediately, then build from the bottom up using the hinge method. Tape one edge of the layer down so it can swing into position, check the alignment while it is hinged, then peel the backing and roll it into place from the taped edge.
Plan the stack before you cut a thing
Open the design and look at it as a set of pieces rather than a picture. Toggle the layers off one at a time from the top down and you will see the assembly order in reverse. Our guide to what SVG layers actually are covers the file side of this in more detail.
Write down three things. The order, bottom to top. The material colour for each layer. And which layer is the fussiest to weed, because that one should be cut first while the blade is at its best.
Recolour the layers in your software to match your real materials before you do anything else. The fill colours in the file are labels, so a design that arrives in black, grey and white can be cut in cream, walnut brown and copper. Recolouring takes seconds and turns the canvas into an accurate preview of the finished piece, which catches contrast problems before you have spent any material.
 Beautiful Butterfly Designs30 designs, commercial license included$3.99
Cutting each layer
In Cricut Design Space, Make It automatically splits the design by colour and puts each one on its own mat. Load the matching material for each mat in turn.
In Silhouette Studio, ungroup the design first, then select one layer at a time and send it to the cutter. It is more manual and it gives you more control over placement on the sheet, which matters when you are cutting from offcuts.
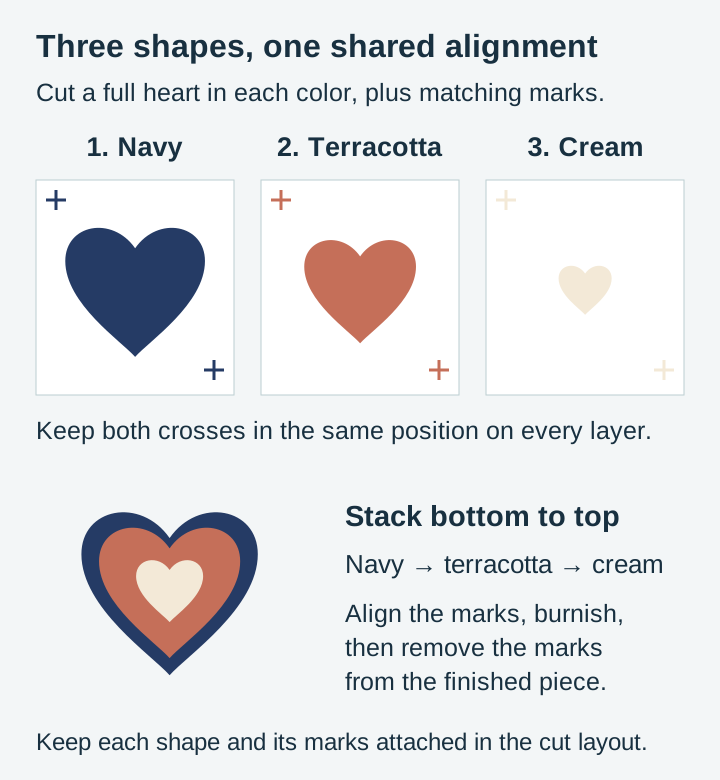
Two habits are worth building here. First, preserve the shared scale and the positions of pieces within each layer. Keep any registration marks attached to that layer in the cut layout. Different colors do not have to occupy the same physical place on their separate mats. Second, cut all layers before you weed any of them. Switching between cutting and weeding invites you to lose track of which piece is which.
Label the pieces the moment they come off the mat. A scrap of masking tape on the backing sheet with a number on it. Three weeded layers of dark vinyl on a workbench look remarkably similar to each other, and identifying them by eye after the fact is a genuinely miserable ten minutes.
Weeding a layered set
Weed each layer separately and completely. Work under raking light if you can, because a light source at a low angle throws shadows off the cut lines and makes them visible in a way overhead light does not.
Upper layers are usually more forgiving than they look. Small nicks and slightly torn edges on a middle layer often end up hidden under the layer above, so a minor mistake is not automatically a recut. The bottom layer is the one to be precious about, since its silhouette defines the outline of the whole piece.
If a thin element keeps tearing, it is a design problem rather than a technique problem. Very fine detail survives on screen and fails in real vinyl, which is why well built layered files thicken hairline elements or merge them into the shape they belong to before the file ever ships.
Registration: four methods, ranked by how much they forgive
The hinge method
The workhorse. It works on flat surfaces and gently curved ones, and it is the method to learn first.
- Apply the bottom layer to the surface and burnish it down properly.
- Apply transfer tape to the next weeded layer and leave its release backing in place.
- Position this backed sheet over the piece, check alignment, then run a strip of masking tape along one edge to hinge it to the surface.
- Swing the sheet up on the hinge and peel away its release backing while keeping the hinge fixed.
- Swing it back down and roll it into place from the hinged edge outwards, pushing air ahead of the squeegee.
- Remove the hinge tape, burnish, then peel the transfer tape back at a sharp angle.
The hinge does the holding while you do the looking. That is the whole trick.
Registration marks
Best for designs with many layers or awkward shapes where there is no obvious visual reference. Add two or three small crosses or dots outside the design area, in the same position on every layer, before you cut. Cut them along with each layer, use them to line the pieces up, then remove or trim them once the stack is assembled.
The marks need to be far enough outside the artwork that removing them will not disturb it, and small enough that they weed easily. Two marks on opposite corners fix both position and rotation, which is more than you get from a single mark.
Stack off the project
Instead of layering onto the final surface, build the whole decal on a single sheet of transfer tape laid sticky side up on your bench. Place the top layer first, then work downwards, each layer landing on the back of the one before it. When the stack is complete you apply it to the piece as a single decal.
The advantage is that assembly happens away from the final surface. Vinyl-to-vinyl contact can still be permanent, so check alignment before burnishing rather than assuming a misplaced layer will lift cleanly. The catch is that everything is mirrored in your head while you build, and a large pre-stacked decal is unwieldy on a curved tumbler.
By eye
Genuinely fine for designs where the top layer sits well inside the bottom one with generous overlap. A monogram on a solid circle does not need a hinge. Reach for a method when the tolerance is tight, not as a matter of ceremony.
| Method | Best for | Forgiveness | Speed |
|---|---|---|---|
| Hinge | Flat and gently curved surfaces, 2 to 4 layers | Good, you can check before committing | Moderate |
| Registration marks | Many layers, irregular shapes | Very good | Slow to set up |
| Stack off the project | Small detailed decals, flat surfaces | Check alignment before adhesive contact | Moderate |
| By eye | Big overlap, low layer counts | Low | Fast |
Layering by material
Adhesive vinyl
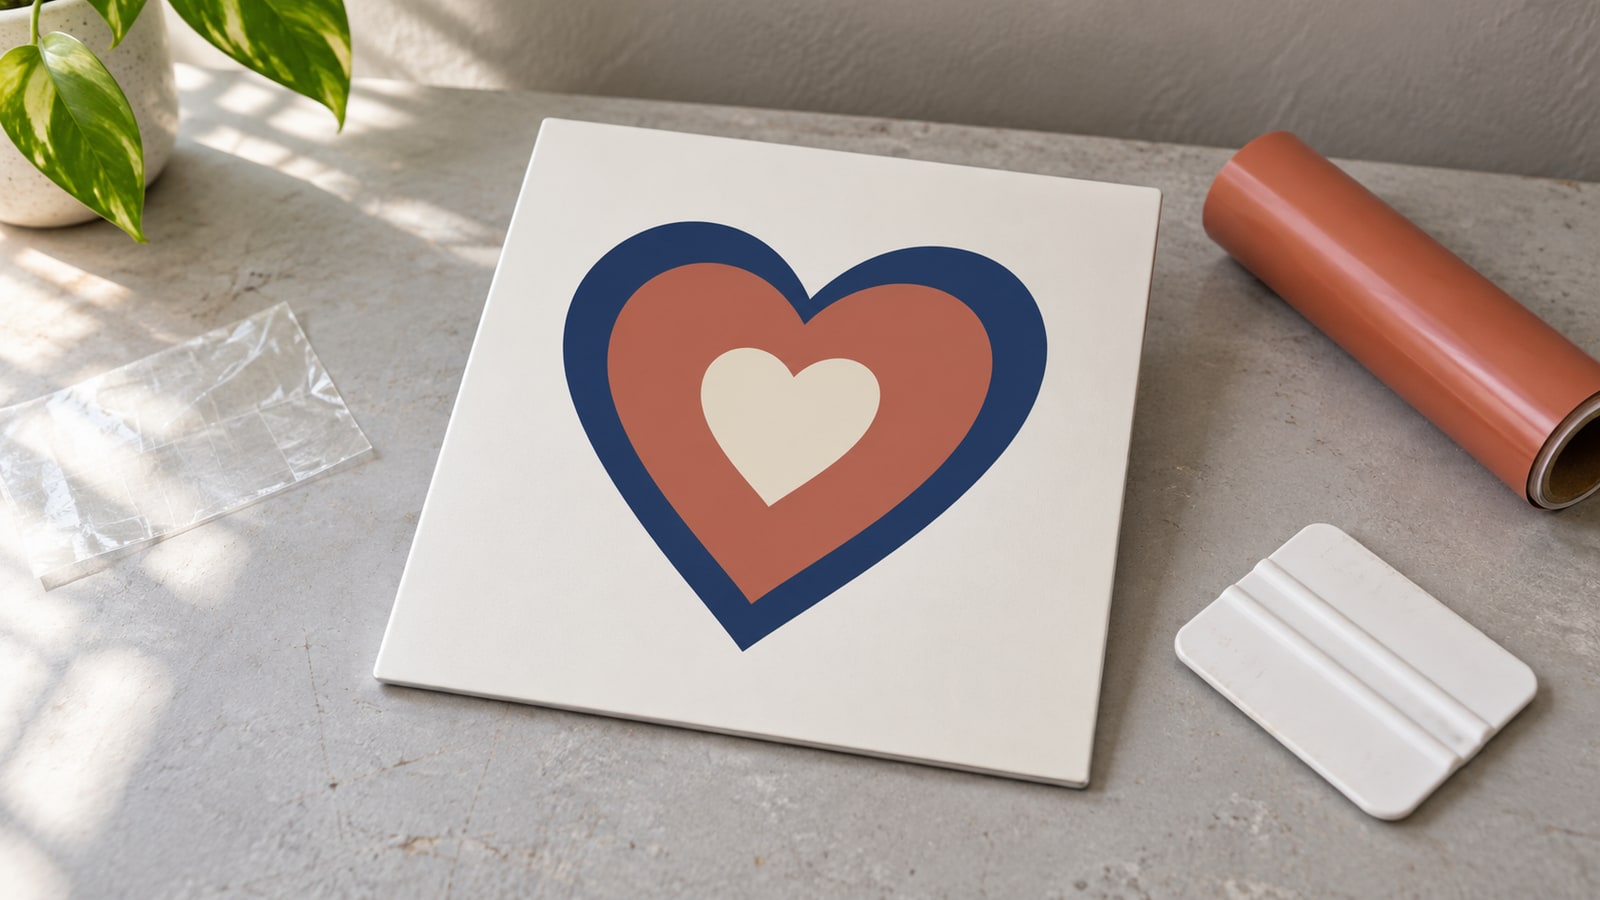
Each layer goes straight onto the one below. Burnish firmly between layers, because adhesive vinyl bonds to vinyl less enthusiastically than it bonds to a clean hard surface, and any trapped air under a middle layer will show as a bubble through everything above it.
Clean the base surface with isopropyl alcohol first and let it dry fully. Skipping that is the most common cause of a decal that looks perfect on day one and starts lifting at the edges in week three.
Heat transfer vinyl
HTV layering has one rule that matters more than all the others: do not fully press the intermediate layers. Every press reactivates the adhesive in the layers below, and repeated full presses are what makes the bottom layer let go around its edges later.
Manufacturers publish this properly. Cricut's online Heat Guide gives temperature, time and pressure per material and machine, and Siser's product instruction sheets include specific layering guidance for their films. Both describe the same pattern: a short tack press for each layer as it goes on, then one full press at the end once the stack is complete. Use their numbers for the exact film you bought rather than a generic figure, since a stretchy film and a glitter film behave nothing alike.
Two practical additions. Cover previously applied layers with a Teflon sheet or parchment when pressing the next one, which protects the finish on the layers underneath. And check whether your films are stated to be layerable at all, because some specialty finishes such as certain glitters and foils are documented as not suitable for layering on top of.
Our HTV t-shirt guide goes further into the fabric side of this.
Cardstock and paper
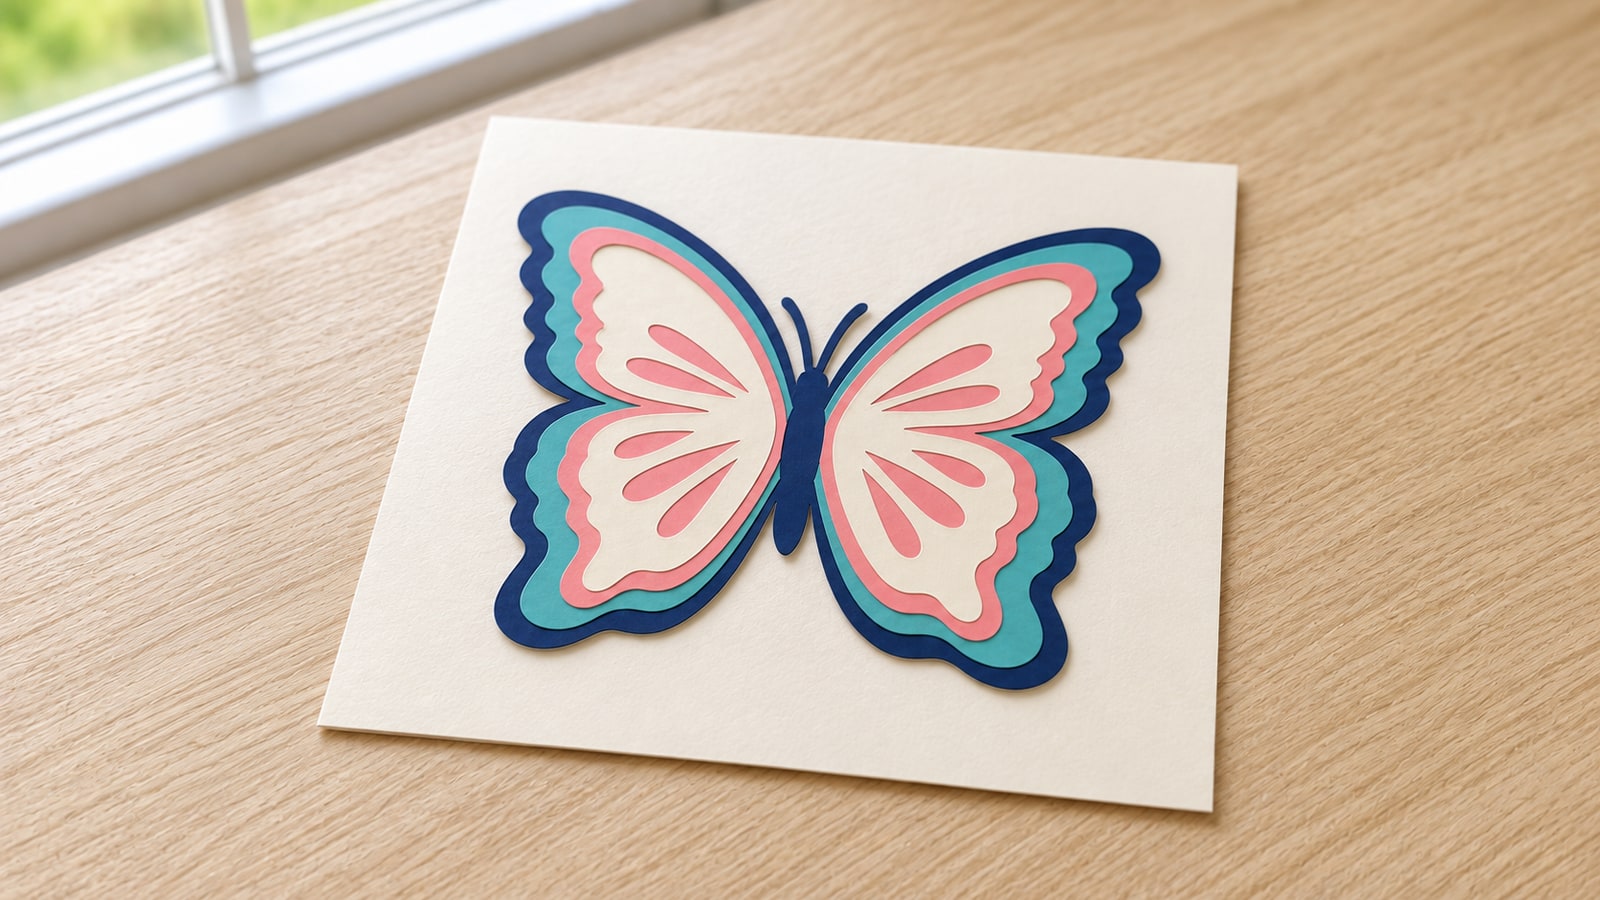
The most forgiving material and the most rewarding. Use a glue pen for flush layers, or foam adhesive squares to lift each layer a couple of millimetres above the one below.
Those foam squares are the entire reason layered paper art looks the way it does. The shadow gap between layers gives the piece real depth, which is why the technique dominates shadow boxes and framed papercut art. Put the squares under solid areas where they will not be visible through a cut opening.
Acrylic and wood
Layered acrylic uses the same design logic with a different assembly method. Cut each layer, then bond with acrylic cement or clear adhesive squares. Because the material has genuine thickness, the shadow effect is dramatic without foam.
A layered SVG can also drive a wood inlay, where the base layer is a pocket and the upper layer is the insert. That is a CNC job rather than a vinyl job, and our V-carving tutorial covers the router side of working from the same kind of file.
When it goes wrong
A hairline gap between two layers. This is a design issue, not an application issue. Layers that share an exact edge always show a gap when placed by hand. Well built layered files overlap the layers deliberately so a small placement error stays hidden. If you are editing a design yourself, grow the lower shape slightly rather than trying to place more accurately.
A layer lifted at the edges after pressing. Too many full presses, or not enough pressure at the end. Reactivate with a final full press through a Teflon sheet and apply firm even pressure.
Bubbles under a middle layer. Lift the layer while it is fresh if you can, otherwise pierce the bubble with a fine pin at the edge of the shape and burnish it flat. Prevention is burnishing every layer before adding the next.
Layers are the right size but will not line up. Somebody resized after ungrouping. Each piece scaled around its own centre instead of the shared centre. Go back to the original file, resize with everything grouped, and recut.
 Decorative Heart Designs Pack77 designs, commercial license included$3.99
 Split Monogram Designs50 designs, commercial license included$3.99
Choosing designs that assemble easily
Some layered designs are simply kinder than others, and you can spot them before you buy.
Look for a bottom layer that is a solid silhouette rather than a thin outline, since a solid base holds its shape through weeding and transfer. Look for upper layers that sit well inside the outline of the base, giving you visible margin to align against. Prefer two or three separations over six for anything you intend to make more than once, because assembly time is what turns a good product into an unprofitable one.
And check the smallest detail in the design against the material you plan to use. A pattern that works cut from cardstock at 12 inches can be unweedable cut from vinyl at 4 inches. Scaling down does not simplify a design, it only makes every thin part thinner.
Ready to build one
Start with a two layer design, get the hinge method into your hands, then move up. The technique does not change as layer counts climb, only the tolerance does.
Every pack in our catalogue is $3.99 and includes SVG, PNG, JPG, PDF and EPS, with a commercial licence included so you can sell the physical pieces you make. Browse the holidays collection for seasonal layered projects, the quotes and text collection for monograms and signs, or the full shop.
New to cut files generally? Start with the beginner's guide to SVG files, then come back here.
Designs for this project
Frequently Asked Questions
What is the hinge method for layering vinyl?
You tape one edge of the upper layer to the surface so it can swing like a door, line the design up while it is hinged, then lift it, remove the backing and roll it down from the taped edge. The tape holds your alignment while your hands do the fiddly part, which removes the guesswork of placing a sticky layer freehand.
Should I stack all vinyl layers before applying, or apply them one at a time?
Both work. Stacking the layers onto one sheet of transfer tape off the project lets you fix mistakes before anything touches the final surface, which suits small detailed designs. Applying one layer at a time is easier on curved surfaces like tumblers and mugs, where a big pre-stacked sheet fights you.
Do I need to press every HTV layer for the full time?
No, and doing so is the usual cause of lower layers lifting. Manufacturers such as Cricut and Siser publish layering instructions that call for a short tack press on intermediate layers and one full press at the end. Follow the heat guide for your specific film rather than a generic number.
How do I stop a gap showing between two vinyl layers?
Choose designs where layers overlap rather than butt against each other. A shared edge looks perfect on screen and shows a hairline gap in real life because hand placement is never exact. Well built layered files build in that overlap so a small misalignment stays invisible.