If you've opened an SVG file and seen multiple colored elements stacked on top of each other, you've encountered a multi-layer design. Understanding how layers work is key to producing multi-color vinyl projects, layered paper art, and more.
What Are Layers in an SVG File?
In an SVG file, "layers" typically refer to separate groups of elements that are intended to be cut from different materials (usually different colors). Each layer sits at a different level in the stacking order, and when assembled, they create a multi-color design.
Technically, SVG files can implement layers in two ways:
- Named groups — Elements are organized into <g> groups, each with a different fill color. Most SVG design files use this approach.
- SVG layers — Elements are organized into actual SVG layers using the Inkscape layer extension. Less common but works the same way.
For crafters, the practical difference doesn't matter — both methods result in separate colored elements that your cutting software handles the same way.
How Cutting Software Interprets Layers
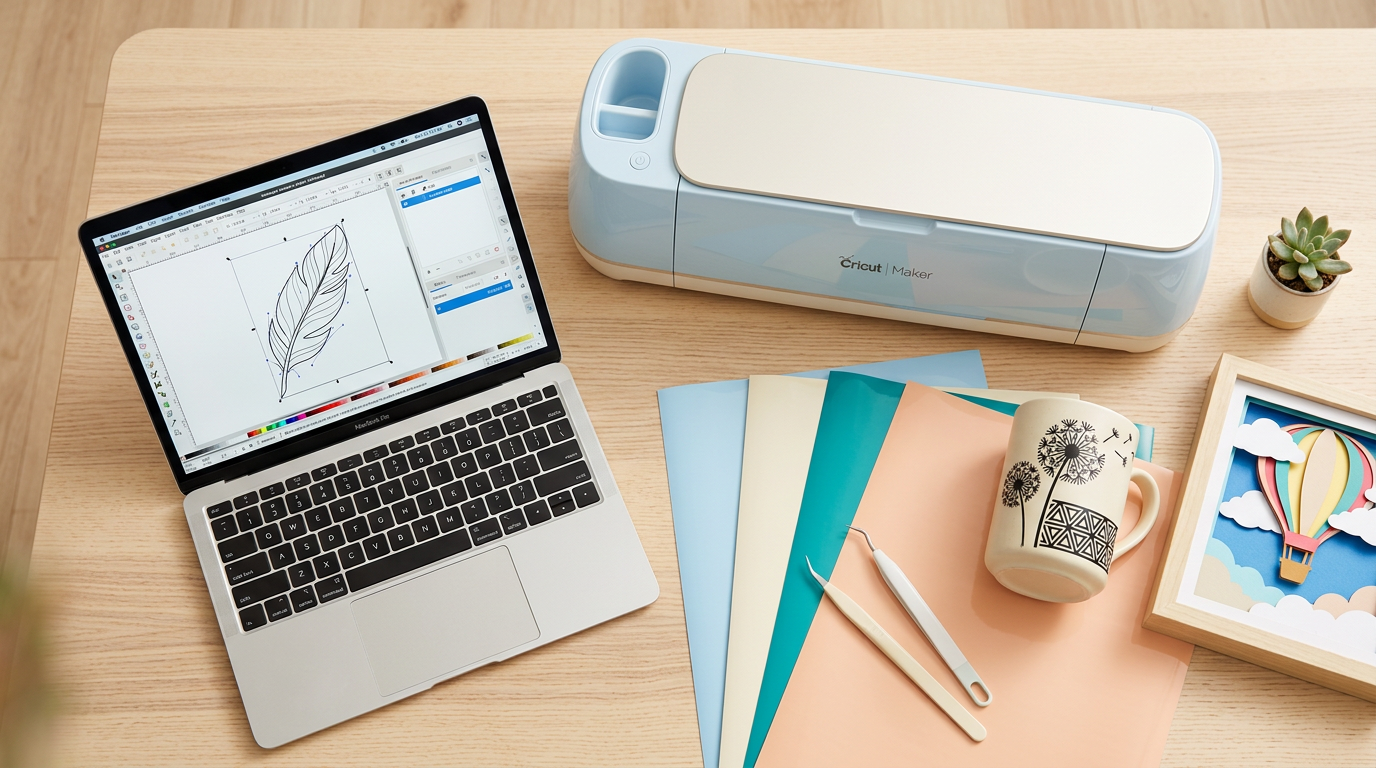
Cricut Design Space
When you upload a multi-layer SVG, Design Space automatically separates the layers by color. Each color appears as a separate entry in the Layers panel. When you click Make It, each color gets its own cutting mat.
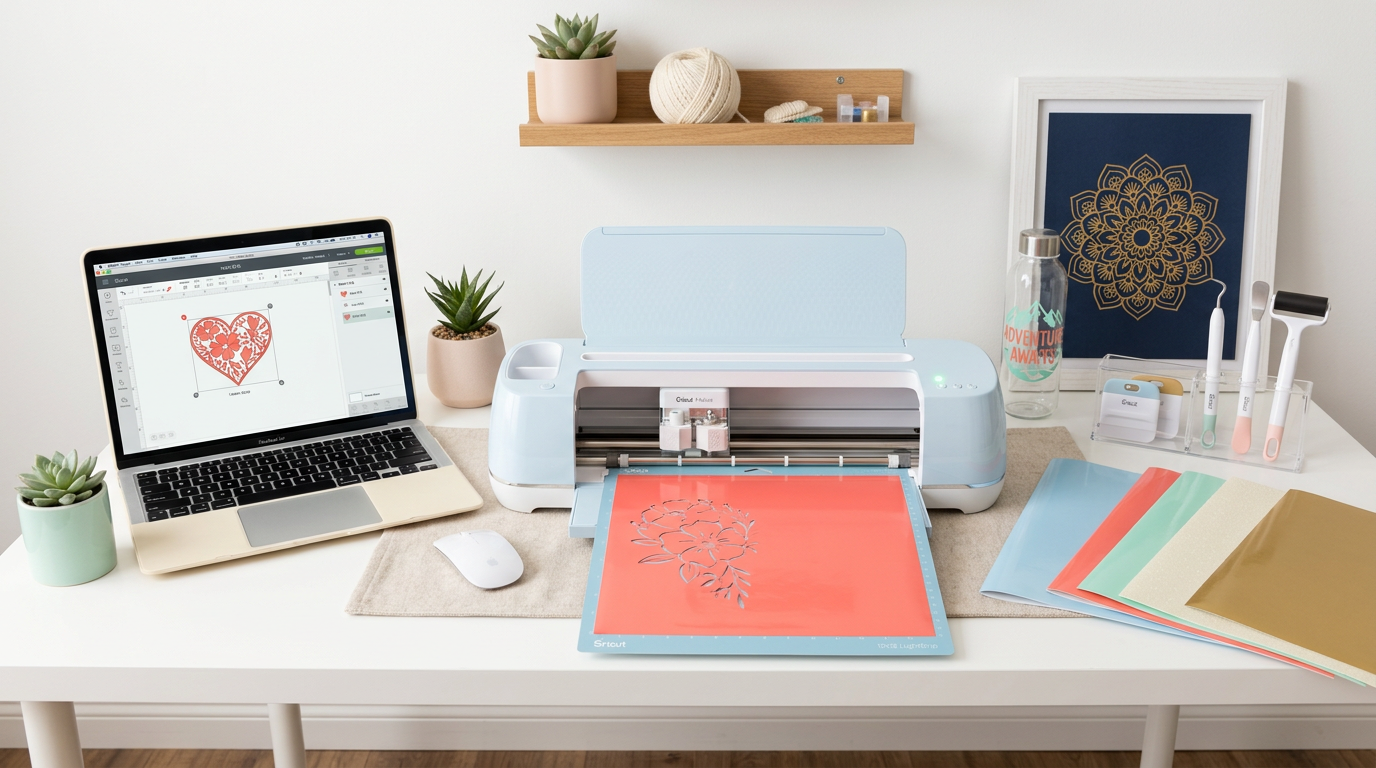
Silhouette Studio
Multi-layer SVGs import as grouped elements. Use right-click > Ungroup to separate the layers. Each layer can then be selected, moved, and sent to the cutter independently.
Inkscape
Inkscape shows all layers in the design. Use the Layers panel (Shift+Ctrl+L) to manage visibility and editing of each layer. Use Object > Ungroup to break apart grouped elements.
Common Layer Structures
Two-Layer (Shadow + Detail)
The simplest multi-layer design. A solid background shape (shadow layer) sits behind a detailed front layer. Cut the shadow from one color and the detail from another. This is the most common structure for beginner multi-color projects.
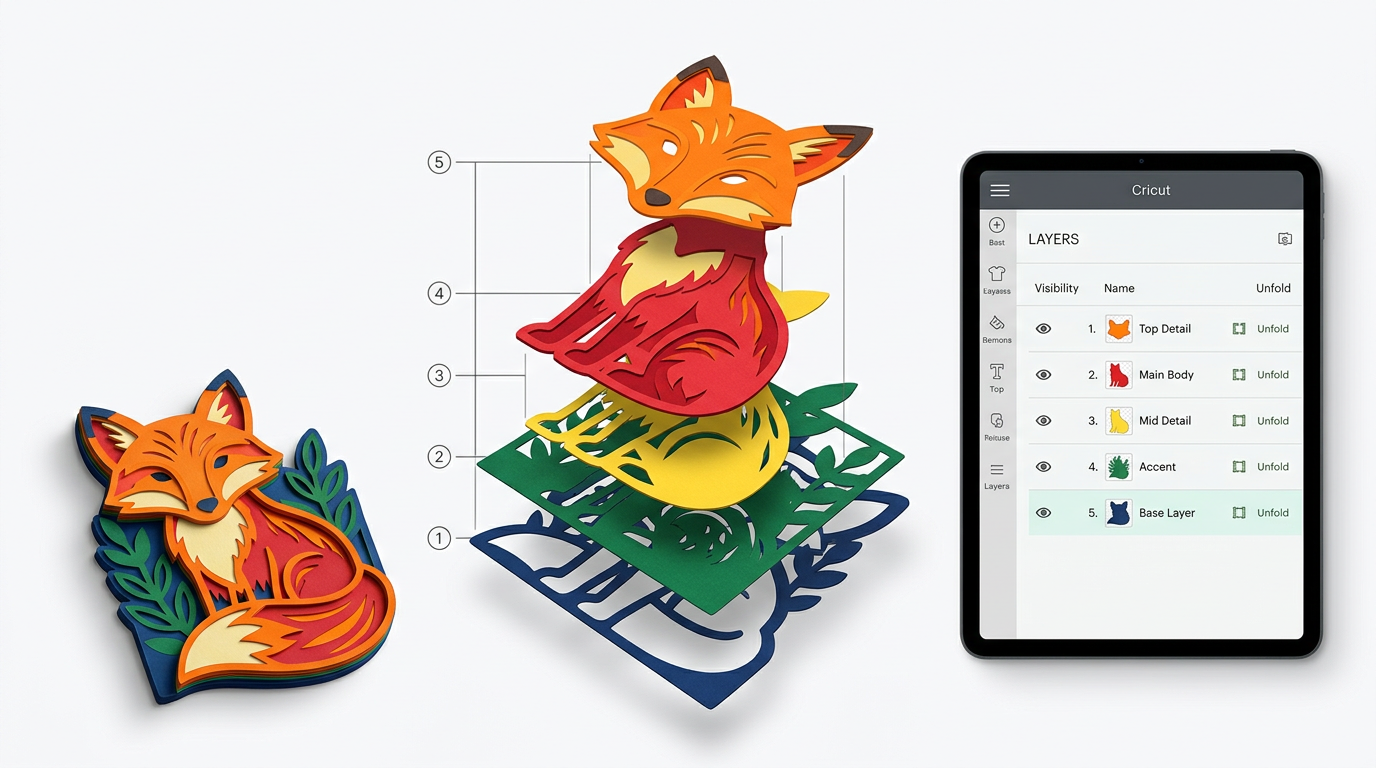
Three-Layer (Background + Middle + Top)
Adds an intermediate layer between the background and top detail. Each layer progressively gets smaller, creating depth. Common for animal designs, character designs, and detailed scenes.
Four+ Layers (Complex Designs)
Complex designs can have many layers, each representing a different color or detail level. These require more patience to assemble but produce the most impressive results.
Tips for Working with Layers
Identify the Assembly Order
The bottom-most layer is usually the largest (the background or base). Each successive layer sits on top. Before cutting, plan which layer goes where by hiding/showing layers one at a time.
Color Coding
The colors in the SVG file are there to distinguish layers — they don't have to match your final material colors. A red layer in the SVG can be cut from any color vinyl or paper you choose. Think of the SVG colors as labels, not instructions.
Sizing All Layers Together
Always resize the entire design while all layers are grouped together. Ungrouping and then resizing individual layers separately will misalign them. Group, resize, then ungroup for cutting.
Registration Between Layers
When assembling layers, alignment is critical. For detailed alignment techniques including the hinge method and registration marks, see our layered SVG assembly guide.
Troubleshooting Layer Issues
Layers Aren't Separating
If all elements appear as a single color or single layer, the SVG may need ungrouping. In Cricut Design Space, try Ungroup in the layers panel. In Silhouette Studio, right-click and Ungroup. You may need to ungroup multiple times for nested groups.
Elements on Wrong Layers
Sometimes an element is grouped with the wrong color. In Inkscape, you can drag elements between groups or use cut and paste to move them. Then change the fill color to match the intended layer.
Invisible or Hidden Layers
If a design looks incomplete, check for hidden layers. In Inkscape, open the Layers panel and click the eye icon to toggle visibility. In Design Space, scroll through the Layers panel to see all layers.
Converting Single-Layer to Multi-Layer
Automatic option: Craftgineer's StackLab automatically separates images into stacking layers — upload a photo or illustration and it generates individual layer SVGs ready for multi-color cutting.
In Inkscape, you can create layers manually from a single-layer design:
- Open the single-layer SVG
- Duplicate the design (Ctrl+D)
- On the copy, delete everything except the elements you want on a specific layer
- Change the fill color to distinguish it
- Repeat for each layer you want to create
- Stack and align all layers
This is an advanced technique but useful for creating custom multi-color versions of single-color designs.
Find Multi-Layer Designs
Browse our SVG design collections for files ready for multi-color cutting. Many of our packs include both single-layer silhouettes and multi-layer detailed versions.
For the complete assembly process, see our layered SVG cutting and assembly guide. New to SVG files? Start with our beginner's guide.