The first shirt most people press has something wrong with it. The text reads backwards, or an edge lifts in the first wash, or the design sits on the fabric like a plastic sticker instead of looking printed. Every one of those failures traces back to one specific step in the HTV process, and every one is avoidable once you know where they hide.
This is the full process for turning an SVG file into a shirt that survives the laundry: choosing the right vinyl, the mirroring step you must never skip, weeding, pressing, and the peel. It works the same on tote bags, hoodies, hats, and onesies, so learn it once and the whole fabric aisle is yours.
Tip
Short answer: mirror the design, cut with the shiny carrier side down, weed the excess, press vinyl-side-down at the time and temperature your vinyl's manufacturer states for that product, then peel the carrier warm or cold according to those same instructions. Mirroring and manufacturer settings are the two steps that decide whether the shirt works.
This walkthrough uses ordinary carrier-backed HTV. Printable iron-on and some patterned transfers need a different cutting orientation or a separate transfer mask; check the product instructions before using the steps below.
What HTV Actually Is
Heat transfer vinyl is a thin polyurethane film with a heat-activated adhesive on one face and a clear plastic carrier sheet on the other. You cut the design through the vinyl from the adhesive side, weed away everything that is not the design, then press the whole thing onto fabric. Heat melts the adhesive into the fibers, and the carrier sheet peels away leaving the design bonded to the garment.
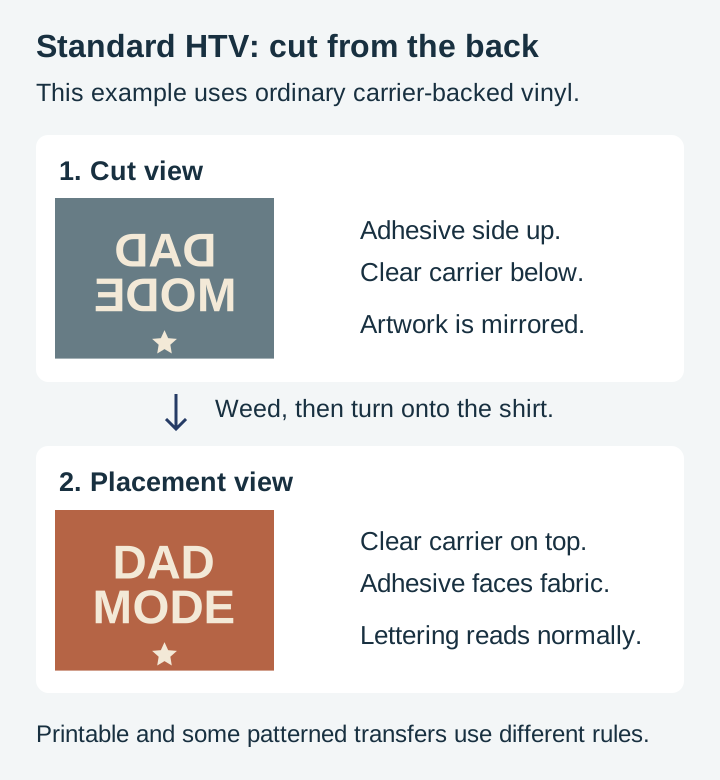
That construction explains the two rules beginners trip over. The carrier sheet is why HTV needs no transfer tape: the design arrives pre-mounted on its own carrier. And cutting from the back is why every design must be mirrored, because the whole sheet flips over when it meets the shirt.
Types of HTV and When Each Earns Its Place
Standard HTV covers most projects, but the specialty types exist for real reasons.
| Type | Best for | What to know |
|---|---|---|
| Standard | Everyday shirts, totes, most fabrics | Thin, matte, easiest to cut and weed. Start here. |
| Glitter | Statement pieces, kids' shirts | Thicker, so fine details are harder to cut and weed cleanly. Typically a cold peel; check your brand. |
| Flock | Varsity lettering, retro looks | Raised, velvety texture. Reads beautifully on bold shapes, poorly on thin lines. |
| Patterned | Multi-color looks without layering | Some products use a separate transfer mask and a different cut orientation. Check the exact product. |
| Stretch | Athletic wear, leggings, fitted shirts | Flexes with the fabric instead of cracking. Worth it on anything with spandex in it. |
| Metallic and foil | Accents, small elements | Show every fingerprint and crease; handle by the edges. |
Fabric matters as much as vinyl. Cotton, polyester, and cotton-poly blends accept standard HTV happily. Nylon, waterproof coatings, and heavily textured fabrics need vinyl specifically rated for them, so check the manufacturer's compatibility list before pressing an expensive jacket.
What Makes a Design Work in HTV
This is the part we know from the file side, because designing cut files is our whole job. Fabric moves, and a pressed design flexes with it, so HTV punishes certain design choices that would be fine in a print.
Line weight is the big one. Elements thinner than roughly 2 to 3 mm at final cut size are fragile twice: fragile to weed without tearing, and fragile on the shirt where a hairline of vinyl has almost no adhesive holding it down. Our sayings and silhouette packs are drawn with stroke weights that stay above that threshold at normal shirt sizes, which is a deliberate choice, not an accident.
Counters and islands need anchoring. Every enclosed hole, like the inside of an O or A, is a separate weed. Every disconnected floating piece has to be placed by the carrier sheet exactly where the designer intended. Clean single-path designs with sensible connections press as one coherent unit instead of a scatter of confetti.
Single-color designs are the honest default. A one-color design is one cut, one weed, one press. Multi-color HTV layering is a real technique with its own alignment and pressing rules, covered in our layered SVG guide, but a bold single-color design on a contrasting shirt is what most professional-looking custom apparel actually is.
Sayings packs are the natural fit here, since text designs on shirts are the bread and butter of HTV.
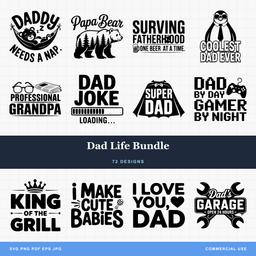 Dad Life Bundle72 designs, commercial license included$3.99
Step 1: Size and Mirror the Design
Open the SVG in Cricut Design Space or Silhouette Studio and size it for the garment. Do not guess: lay a tape measure across the shirt where the design will sit. A full-front adult design commonly runs 9 to 11 inches wide, a left-chest design around 3 to 4 inches, and a onesie around 5 inches, but the tape measure on your actual garment beats any chart.
Then mirror. Flip the design horizontally using your software's mirror or flip option, and make it the final action before cutting so it becomes muscle memory. Cricut's iron-on workflow prompts you; Silhouette's depends on your settings. An unmirrored cut of a text design will read backwards on the shirt, and the smell of a wasted sheet of glitter HTV is a lesson nobody needs twice.
Step 2: Cut
Place the HTV on the mat shiny side down. The shiny face is the carrier sheet, which goes against the mat so the blade cuts through the dull vinyl-and-adhesive side. This feels backwards the first time, since with adhesive vinyl the pretty side faces up. For this standard carrier-backed workflow, the carrier faces the mat.
Select your machine's iron-on or heat transfer setting for the specific vinyl type. Then, before unloading the mat, check for a kiss cut: lift a corner of one cut element and confirm the vinyl separates while the carrier sheet stays intact. Glitter and flock are thicker than standard HTV and often need a heavier setting, so a small test cut on a corner of the sheet is cheap insurance whenever you open a new type.
Step 3: Weed
Weeding HTV means peeling away every part of the vinyl that is not your design, leaving the design stuck to the clear carrier. A few things make it go faster:
- Light from behind. Cut lines on HTV can be genuinely hard to see. Hold the sheet up to a window or set it on a light box and the lines appear.
- Weed the big field first, islands second. Peel the surrounding excess away in one slow sheet, then pick out letter centers and small holes with the hook point.
- Use the product’s weeding guidance. Do not rely on heat from cutting; some films benefit from controlled warming and others do not.
- When a piece resists, cut it free. Forcing it stretches the vinyl and distorts the design. A resistant piece means the cut did not go deep enough at that spot.
Do a last scan against the light before pressing. A missed letter-center pressed onto a shirt is permanent, and it is always the middle of an e.
Step 4: Press
Set up on a hard, flat, heat-safe surface. An ironing board is too soft and springy to deliver real pressure; a wooden table protected with a folded towel or a proper pressing pad works far better.
- Preheat the garment with a few seconds under the press or iron. This drives out moisture and flattens wrinkles, both of which weaken the bond.
- Position the design vinyl-side-down on the fabric, carrier sheet up, exactly where you measured. For center placement, fold the shirt in half vertically and finger-crease a faint guide line.
- Cover with a pressing cloth or parchment to protect both the vinyl and the garment.
- Press with firm, even pressure for the time and at the temperature the vinyl manufacturer states for that product. Every reputable HTV brand prints its settings on the packaging and publishes them on the product page, per product and per fabric type, and those numbers are the ones that matter. Brands genuinely differ, which is why this guide gives you the method and the manufacturer gives you the numbers.
With a household iron, follow the manufacturer's iron-specific instructions, press straight down with body weight rather than sliding, keep steam off, and press in overlapping sections if the design is larger than the soleplate.
Step 5: The Peel
HTV is either warm peel or cold peel, and the manufacturer's instructions tell you which. Warm peel carriers come off shortly after pressing; cold peel vinyls, glitter frequently among them, must cool completely first, and rushing them is a classic cause of lifting.
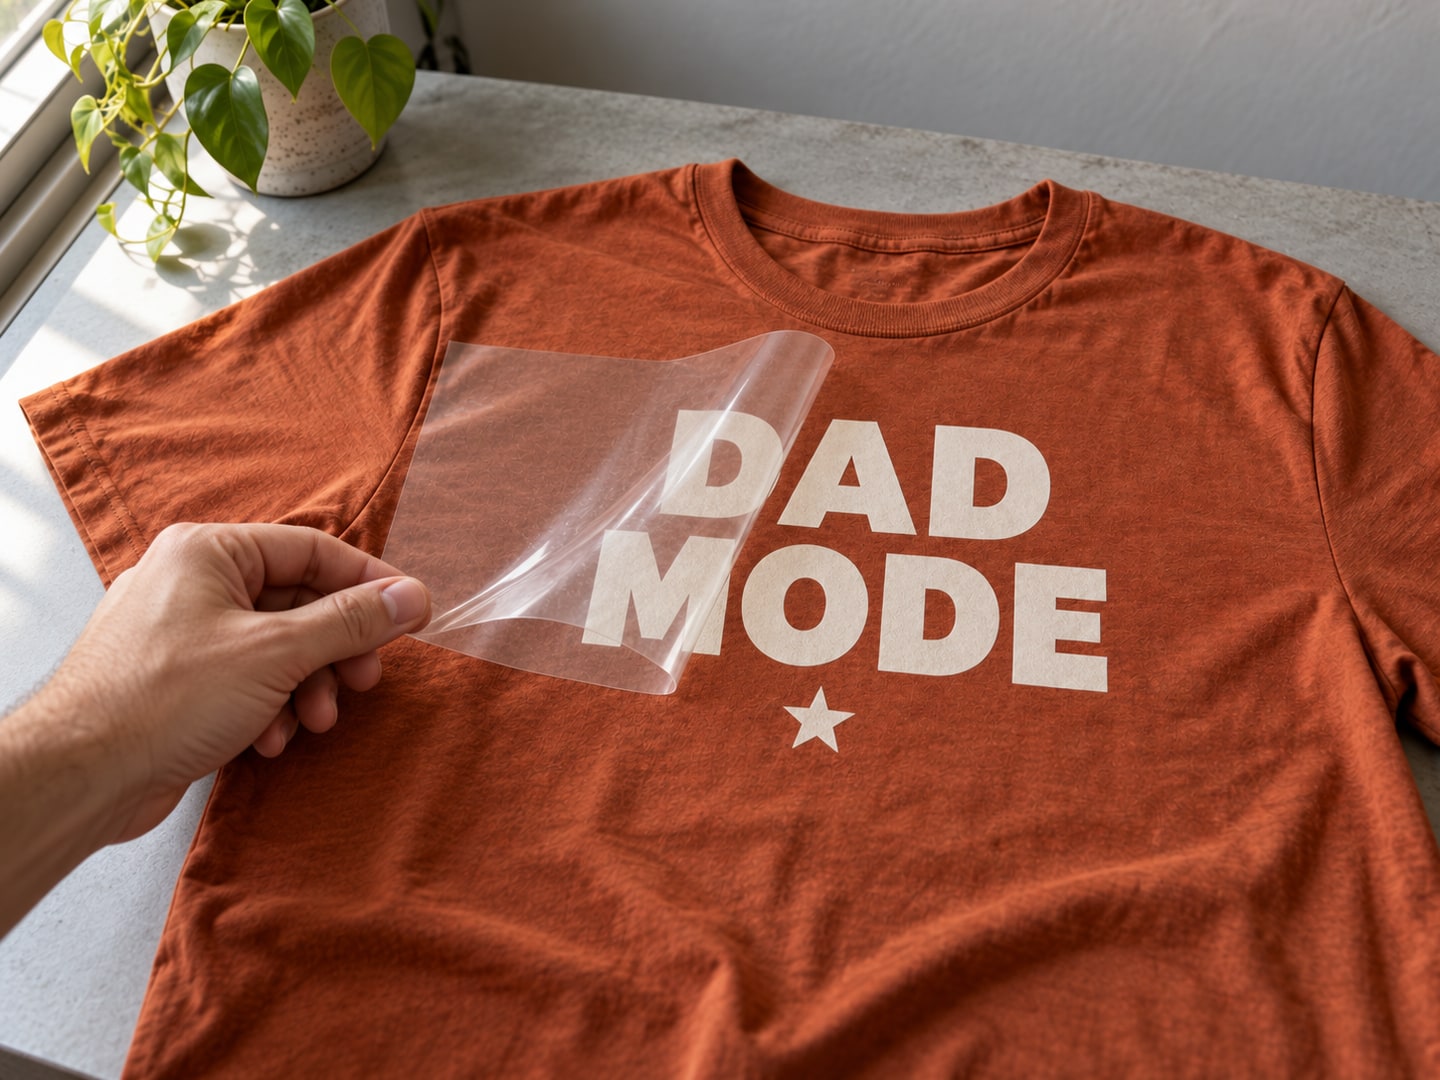
Peel the carrier back low and slow, folding it against itself rather than pulling upward. If any edge lifts with the carrier, stop, lay the carrier back down, cover, and press that area again before continuing. Fabric texture may show through a thin film, but appearance alone does not prove a durable bond. Follow the product’s time, temperature, pressure and peel instructions, then check the edges after cooling.
For a specific standard film example, see Siser’s EasyWeed instructions. Its peel and application rules should not be copied to a different film.
Making It Survive the Laundry
The press creates the bond; the first week of care preserves it.
- Wait 24 hours before the first wash.
- Wash inside-out in cold water, gentle cycle.
- Skip fabric softener, which works against adhesives.
- Tumble dry low or hang dry.
- Never iron directly on the design. If the garment needs ironing, go inside-out or cover the vinyl with parchment.
Troubleshooting
| Symptom | Likely cause | Fix |
|---|---|---|
| Text reads backwards | Design was not mirrored | No recovery; recut. Make mirroring your pre-cut ritual. |
| Edges lift immediately after peeling | Peeled at the wrong temperature, or under-pressed | Lay the carrier back and re-press; check warm vs. cold peel for your vinyl |
| Peeling after several washes | Incomplete bond from heat, time, or pressure | Re-press following the manufacturer's settings; confirm the vinyl matches the fabric |
| Design looks melted or shiny | Over-pressed or too hot | Follow the stated settings; always use a cover sheet |
| Tiny details tore during weeding | Details too thin for HTV | Size the design larger, or choose designs with heavier line weights |
| Vinyl cracked after wear | Rigid vinyl on stretchy fabric | Use stretch HTV on anything with elastane |
From One Shirt to a Table Full
Custom shirts are also one of the most sellable things a cutting machine produces. Every PrintCutCarve design costs $3.99 and includes a commercial license with no unit cap, so shirts made from our files can go straight to a craft fair table or an Etsy shop. Our Etsy selling guide covers pricing and listing when you get there.
These packs are built for apparel: bold sayings and clean silhouettes with the line weights that weed easily and wear well.
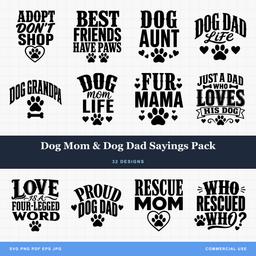 Dog Mom & Dog Dad Sayings Pack32 designs, commercial license included$3.99
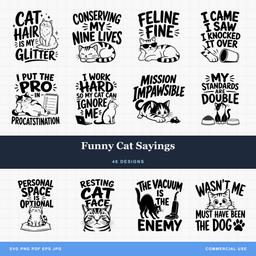 Funny Cat Sayings48 designs, commercial license included$3.99
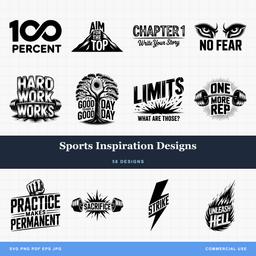 Sports Inspiration Designs58 designs, commercial license included$3.99
Mirror the design, trust the manufacturer's settings, and peel like you mean it slowly. The first shirt that comes out right is the one that starts the pile of blanks in your closet. Browse the design library and pick what is going on it.
Designs for this project
Frequently Asked Questions
Do I always have to mirror my design for HTV?
For ordinary carrier-backed HTV, yes: cut from the adhesive side with mirrored artwork, then flip it onto the shirt. Printable iron-on and some patterned products use different workflows, so follow the instructions for the exact material.
Can I use a household iron instead of a heat press?
You can, and many crafters start that way. An iron struggles with even pressure and consistent temperature, so press on a hard flat surface rather than an ironing board, use body weight, keep steam off, and follow the vinyl manufacturer's iron instructions. A small heat press is the upgrade that makes results repeatable.
Why is my HTV peeling after washing?
Almost always an incomplete bond: not enough heat, time, or pressure at pressing, or the wrong settings for that specific vinyl. Re-press the design following the manufacturer's stated settings, and check the vinyl suits the fabric, since standard HTV can struggle on stretchy or coated garments. Washing inside-out in cold water helps it last.