Layered butterflies are the design everyone tries first and a lot of people quietly abandon. The listing photo shows a jewel-toned insect with depth and shadow. What comes off the mat is eight nearly identical wing pieces, two of which are already curling, and no memory of which one was supposed to go on top.
The technique side of that is solved, and our layered SVG guide covers the hinge method, registration marks, and the weeding order in full. This post is the other half: which butterfly designs are worth layering in the first place, what colours to put on them, and how big each material needs the wings to be.
Tip
Short answer: three or four layers, colours that step in value rather than jumping in hue, and a body layer on top that hides the seams. More separations add assembly work, so time a sample before planning a batch.
Why butterflies layer better than almost anything
A butterfly has a structure that suits stacking, which is not true of most subjects. The wings are large flat plates, they are bilaterally symmetrical, and the body runs straight down the middle covering every seam where the two halves meet.
That gives a well drawn layered butterfly a natural build order:
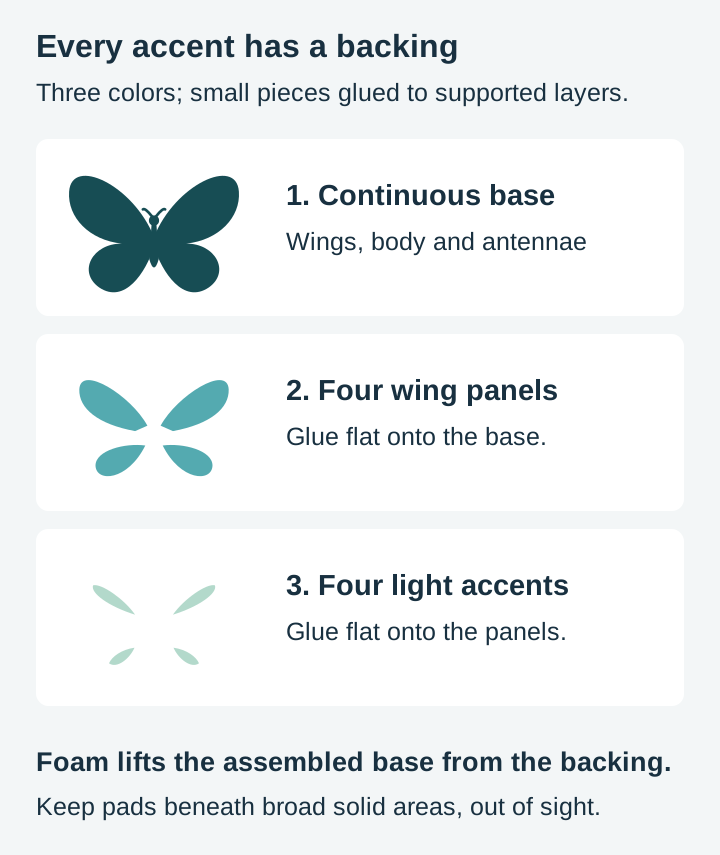
- Base wing silhouette. The full outline in the darkest colour, slightly larger than everything above it. This is the shape the finished piece reads as from across the room.
- Wing fill. The interior cells in a mid tone, sitting inside the base so a rim of the dark colour shows as an outline.
- Pattern or veining. Spots, bands, or the vein structure in a lighter or metallic tone.
- Body and antennae. A single narrow piece straight down the centre line, which conveniently covers the join between left and right.
The reason the rim in step two matters is that it does the job an outline stroke does on screen. Without it, a mid-tone wing sitting on a pale wall has no edge and the butterfly looks washed out. With a two millimetre dark border showing all the way round, it reads as a deliberate illustration.
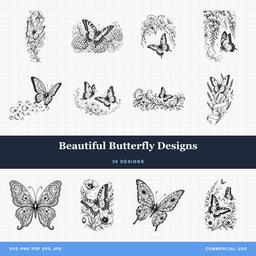 Beautiful Butterfly Designs30 designs, commercial license included$3.99
The colour decision people skip
Most disappointing layered butterflies are a colour problem, not a cutting problem. Three colours picked because they were the three nearest sheets on the shelf will fight each other no matter how well they are registered.
Two palettes do the heavy lifting:
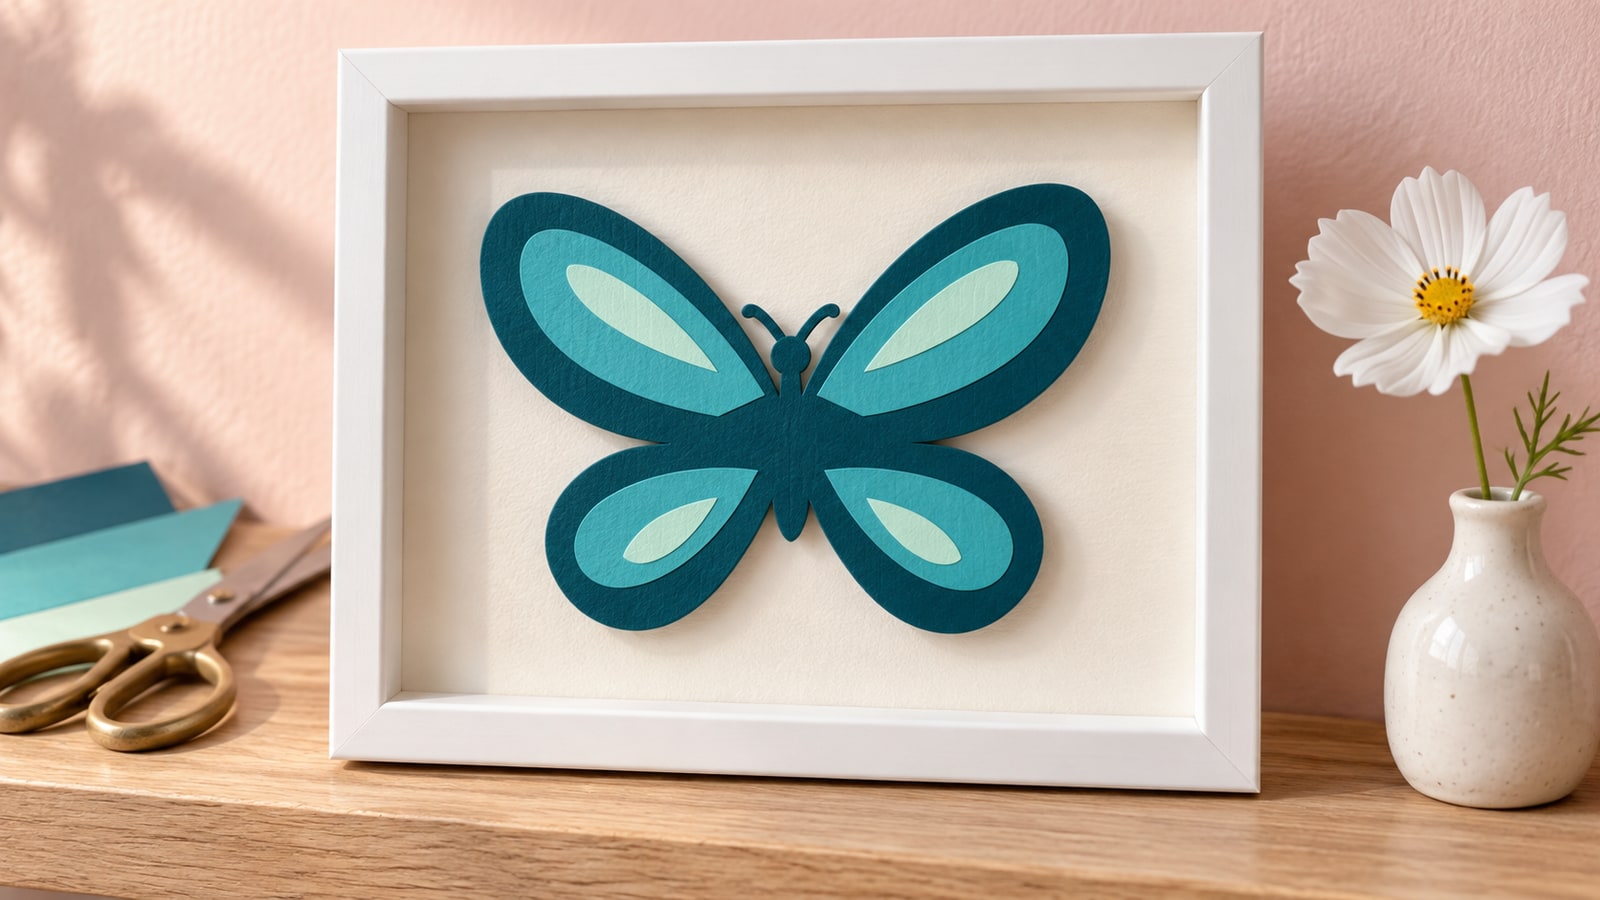
Step in value, stay in hue. Deep teal, mid aqua, pale mint. Or plum, orchid, blush. Because the colours sit next to each other on the wheel and only change in lightness, the layers read as one object catching light rather than three stickers stacked up. This is the safe choice and it is what makes a piece look professionally made.
Real species palettes. Monarch orange over black, with white spot detail. Blue morpho: an almost black base with brilliant blue fill. Swallowtail: black base, yellow fill, small blue and red accents. These carry instant recognition, and the dark base is doing exactly the outlining job described above, which is why real butterflies look the way they do in the first place.
The palette to avoid is three fully saturated colours from different families. Red, green, and purple wings at equal intensity give the eye nowhere to rest and the layers visually detach.
Metallic and glitter films work best on the smallest top layer only. A whole wing in glitter vinyl obscures the shape it is meant to decorate, and some specialty films are documented by their manufacturers as unsuitable for layering under anything else, so check the product sheet for the film you actually bought.
Projects that use the depth
Layering is only worth the assembly time when the finished piece shows off the depth. These do.
Shadow box wall art. The classic, and still the best. Foam adhesive under broad, connected layers creates real depth and shadow. Glue small accent pieces directly to a supported layer, or give each its own secure support. Hide foam beneath solid areas; it should not be visible through an opening. The example here lifts the whole assembled butterfly from the backing.
A wall cluster in three sizes. One design cut at 3, 5, and 8 inches, in a single palette, arranged as if the butterflies are drifting up a wall. Nine pieces from one file. This is the highest value-per-design project in the whole category and it sells as a set rather than as items.
Layered acrylic suncatchers. Cut each layer from a different tinted acrylic, bond with clear adhesive squares, and hang it in a window. Acrylic has genuine material thickness, so you get the shadow effect without foam, and light passing through tinted layers doubles the colour where they overlap. Our acrylic guide covers cutting and edge finishing.
Tumblers and drinkware. A two or three layer butterfly wrapping a matte tumbler. Keep the layer count low here, because a large pre-stacked decal fights a curved surface.
Apparel. Layered heat transfer vinyl on a shirt or tote, with a short tack press between layers and one full press at the end. Butterfly apparel also runs well through print-on-demand, which our licence permits and most design sellers do not, so a design you cut by hand for local sales can be earning on Redbubble or Printful at the same time.
Cards and invitations. A single butterfly on foam squares turns a plain card into something people keep. Fast to make, and the offcuts from bigger projects are usually enough material.
Framed birth month pieces. A butterfly paired with the recipient's birth month flower, layered together in one frame, is a gift with a name attached to it. The Birth Month Flower Designs pack gives you all twelve to pull from.
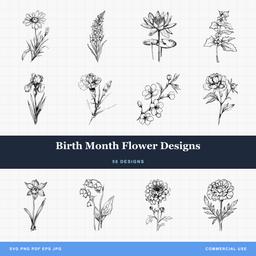 Birth Month Flower Designs50 designs, commercial license included$3.99
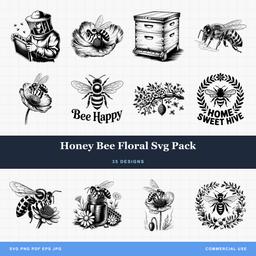 Honey Bee Floral Svg Pack35 designs, commercial license included$3.99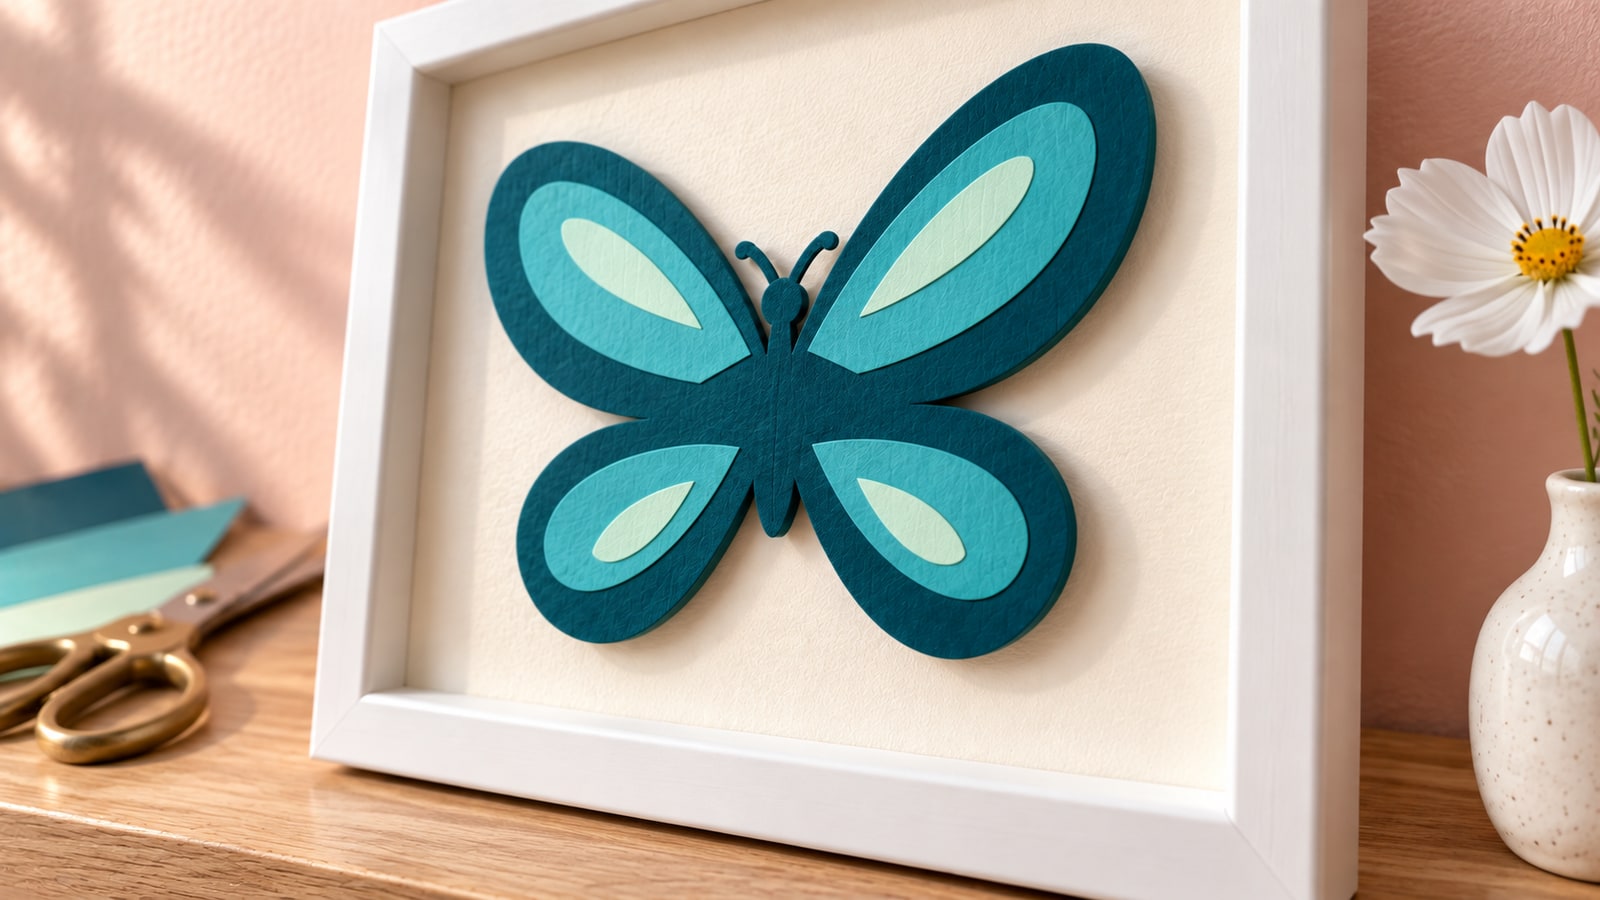
Sizing by material
Wings scale beautifully. Antennae do not, and they are the part that fails first in every material.
| Material | Example starting size | Watch out for |
|---|---|---|
| Cardstock | 3 in | Antennae tear when the layer is lifted off the mat, so cut them as part of the body piece |
| Adhesive vinyl | 4 in | Thin vein lines lift with the weeding, not with the design |
| Heat transfer vinyl | 4 in | Keep small spots supported on the carrier; follow the film’s layering rules |
| Tinted acrylic | 5 in | Narrow antennae snap at the bond line; thicken them or leave them off |
| Wood, cut | 5 in | Wing cells become fragile bridges, and thin bridges break at the sanding stage |
| Wood, engraved | 2 in | Check contrast, line spacing and the actual material |
Those example sizes are not minimum capabilities. Test the chosen geometry and material. The rule underneath that table is simple: scaling down does not simplify a design, it only makes every thin part thinner. A butterfly that cuts perfectly from cardstock at 8 inches is a weeding nightmare in vinyl at 3. If you want a small one, pick a design drawn bolder rather than shrinking a detailed one.
If the layer structure of a file is unfamiliar territory, our explainer on SVG layers covers what those separations actually are inside the file and why toggling them off in order tells you the assembly sequence.
Dragonflies, bees, and moths handle differently
Butterflies get the attention, but the three neighbouring subjects each solve a different problem and are worth stocking alongside.
Dragonflies are the best of the group for acrylic and for jewellery scale. Their slender bodies and wing joins need checking at small sizes, and the wings are naturally drawn as open lattice work that looks like real membrane when cut from clear or lightly tinted material. They also skew less feminine than butterflies, which widens who will hang one.
Bees bring a built-in two-colour palette and an audience that is not the same audience. Bee designs sell into kitchen decor, garden signs, and honey packaging rather than wall art, and they pair with florals and honeycomb geometry instead of standing alone. Hexagon backgrounds also tile perfectly, which makes larger compositions easy to lay out.
Moths are the dark counterpart, and a genuinely underserved one. Luna moths, death's-head moths, and symmetrical moth forms sell into the gothic, celestial, and tattoo-adjacent decor markets, where the buyer is shopping year round. A moth in three tones of charcoal and bone on a dark frame is a completely different product from a teal butterfly, made with exactly the same technique.
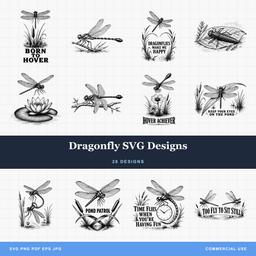 Dragonfly SVG Designs28 designs, commercial license included$3.99
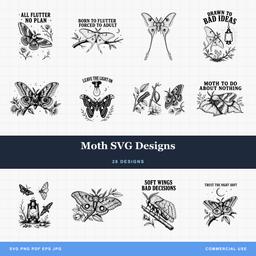 Moth SVG Designs28 designs, commercial license included$3.99
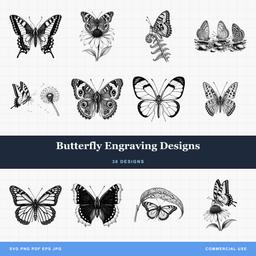 Butterfly Engraving Designs30 designs, commercial license included$3.99
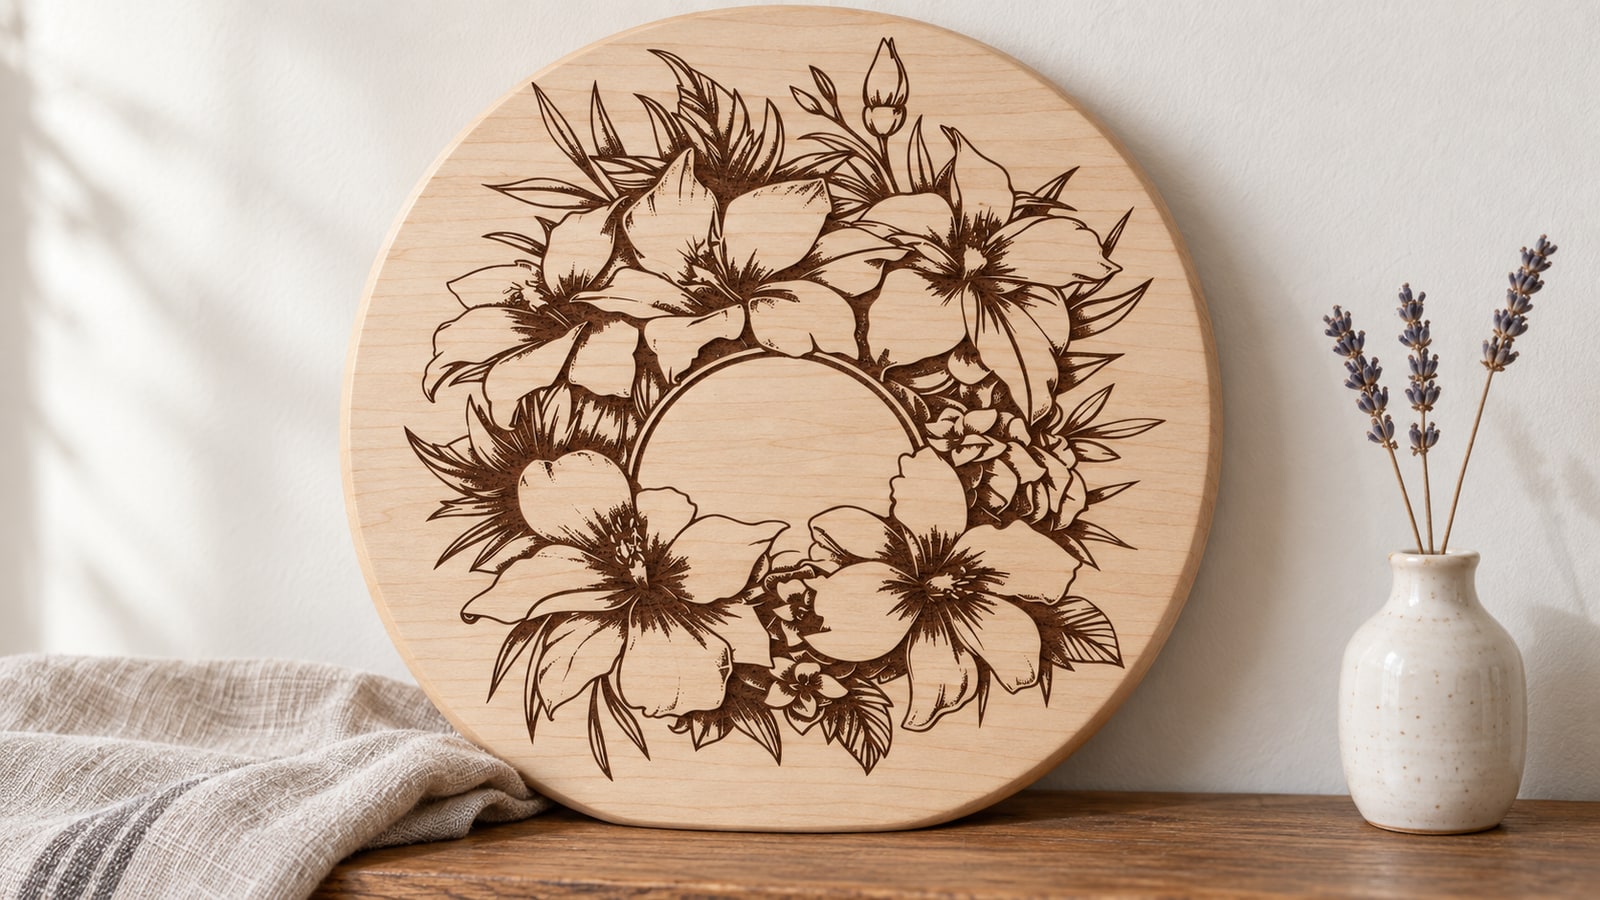
The engraving-specific butterfly pack is worth calling out separately, because those designs are not built as separations at all. They provide wing detail as prepared artwork. A laser can use both line and filled-area operations, and layered cut files may also be adapted. Neither file type creates 3D depth automatically; that requires an appropriate source and workflow.
What to check before you buy a layered design
Four things, and you can see all of them in the preview:
- Layer count. Three or four for production work. Six is a one-off showpiece.
- Overlap, not butt joins. Look at whether the wing fill sits inside the base with visible margin, or lines up exactly with its edge. Shared edges leave less room for placement error; inspect whether the assembly uses overlap, a backing or a deliberate border.
- Antenna thickness. If they look like hairs at listing size, they will be hairs at cutting size.
- A solid bottom layer. A base drawn as a thin outline distorts during weeding and transfer. A solid silhouette holds its shape.
Pick a palette and cut one
Start with a three layer design, one hue in three values, and a shadow box. Get that build in your hands and everything above scales up from it.
Every pack here is $3.99 with a commercial licence included and ships as SVG, PNG, JPG, PDF, and EPS, with no cap on the finished pieces you sell. Browse the full reptiles and bugs collection for the butterflies, dragonflies, bees, and moths, or the nature and outdoors collection for the florals to pair with them.
Designs for this project
Beautiful Butterfly Designs30 designs, commercial license included$3.99Butterfly Engraving Designs30 designs, commercial license included$3.99Dragonfly SVG Designs28 designs, commercial license included$3.99Honey Bee Floral Svg Pack35 designs, commercial license included$3.99Moth SVG Designs28 designs, commercial license included$3.99Birth Month Flower Designs50 designs, commercial license included$3.99Frequently Asked Questions
How many layers should a butterfly SVG have?
Three or four is the sweet spot for something you intend to make more than once: a base wing silhouette, one or two wing fills, and the body and antennae on top. Six or more layers look impressive in the listing photo and turn a fifteen minute product into an hour, which is what kills the margin.
Why does a gap show between my butterfly wing layers?
Gaps can come from misalignment, cutting variation or edge-to-edge shapes with no overlap allowance. A continuous base and inset upper pieces give you room for small placement errors. Check the assembly preview: some designs intentionally share an outer edge or use separate inset panels.
Can a layered butterfly SVG be engraved instead of cut?
Often, yes, after preparing the intended marks and operations. A laser can engrave filled regions, score lines, or cut separate material layers. A layered cut file does not automatically contain depth data; inspect the geometry and preview the result for your chosen process.