Somewhere in the world right now there is a shirt with backwards lettering on it, still warm from the press, being held at arm's length by someone who did everything else perfectly. It happens to everyone once. The design was sized right, the weeding was clean, the peel was flawless, and one checkbox that takes half a second to tick was never ticked.
The opposite mistake is quieter and shows up later. Someone mirrors a design out of habit, cuts it in adhesive vinyl, sticks it on a sign, and only notices three days after delivery that the water tower is on the wrong side of the town name. Mirroring is not a setting you turn on and leave on. It belongs to specific processes, and knowing which ones saves both the shirt and the sign.
Tip
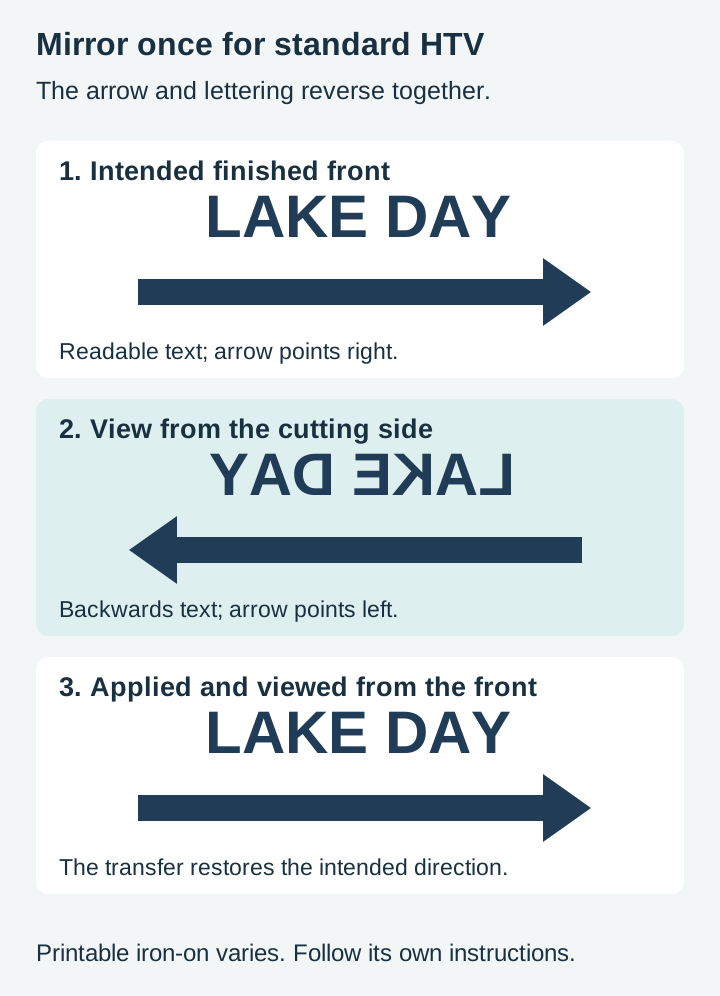
Mirror for the finished viewing direction and the specific product. Standard HTV and ordinary face-down sublimation transfers usually need one mirror. Printable iron-on varies; Cricut Printable Iron-On is not mirrored. Front-applied adhesive vinyl usually stays normal, while a decal viewed through glass needs reversing.
One question decides it
Before you touch a mirror button, ask whether the design is going to end up facing you or facing away from you at the moment it touches the material.
Face-down processes reverse the design for you. You hand the machine a backwards design so the transfer hands the surface a forwards one. Face-up processes never reverse anything, so a mirrored file stays mirrored forever.
That single question resolves almost every case:
| Process | Mirror? | Why |
|---|---|---|
| Standard HTV / iron-on | Usually yes | Cut carrier-side down; verify specialty-film instructions. |
| Ordinary face-down sublimation transfer | Usually yes | Mirror once in the design or print workflow; verify the blank’s viewing side. |
| Printable heat transfer / printable iron-on | Product-specific | Cricut Printable Iron-On is printed without mirroring; other products have different instructions. |
| Infusible Ink transfer sheets | Yes | Pressed face down, same as sublimation. |
| Adhesive vinyl on the front of a surface | No | Cut, weeded and applied face up throughout. |
| Adhesive vinyl inside glass or behind acrylic | Yes | Read through the panel from the other side. |
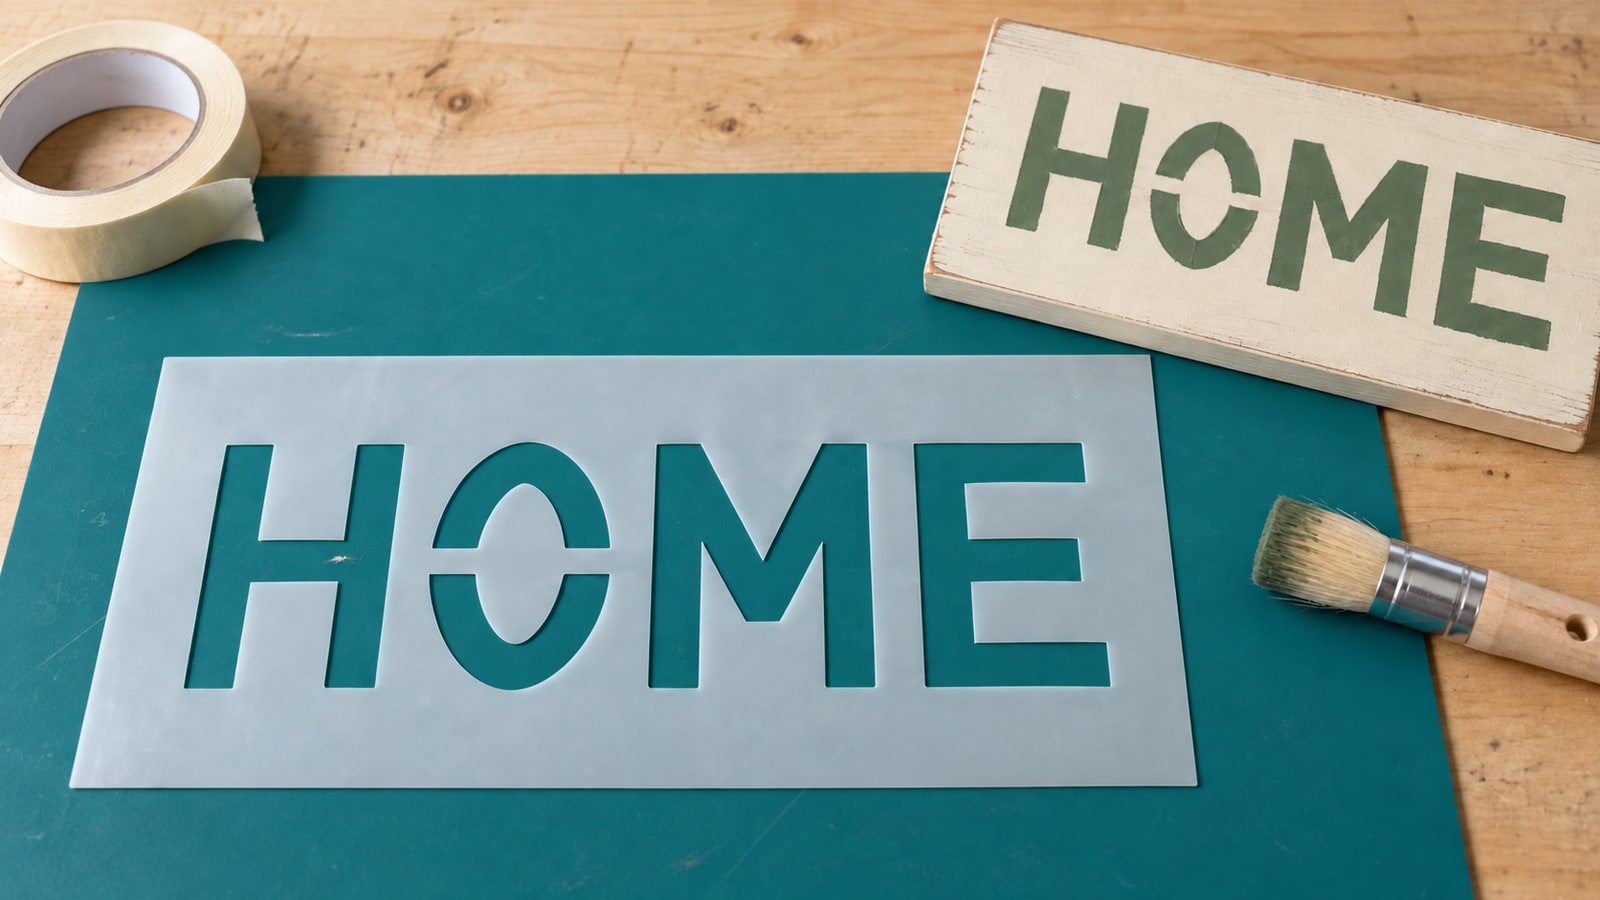
| Stencils for paint or etching cream | No | The stencil sits face up on the piece. |
| Paper, cardstock, felt, leather | No | Nothing turns over. |
| Laser engraving on the back face of clear acrylic | Yes | Viewed through the sheet from the front. |
The pattern underneath the table is worth more than the table itself. Follow the film or blank instructions and track the final viewing direction. The words “face down” alone do not settle every specialty transfer workflow.
The full pressing sequence for iron-on, including the cut settings, the peel timing and what makes a design survive the wash, lives in our heat transfer vinyl walkthrough. The sublimation guide does the same for mugs and tumblers. This post is about the flip itself, which is the step both of those workflows share and the step that goes wrong most often.
What a flip actually does to the file
Here is the reassuring part, and it is the part we know from the drawing side rather than the machine side.
Mirroring a vector design is not an edit in any meaningful sense. It is a negative scale on one axis, so a horizontal reflection around x = c maps each coordinate to 2c − x. Nothing is redrawn, nothing is approximated, no nodes are added or removed. A 900 node design mirrors into a 900 node design with identical curves.
That means a few useful things:
- A flip is free and reversible. Flip twice and you are back to the original coordinates exactly. An accidental mirror costs nothing until material has been cut.
- Detail survives. Mirroring a design with hairline flourishes does not thin them, thicken them or blur them. Feature widths remain the same, although directional material or machine effects can still change the physical result.
- Holes stay holes. A flip reverses the direction each subpath travels, so an outer shape that ran clockwise now runs counter-clockwise. Both the outline and the counters inside it reverse together, so the relationship between shape and hole is preserved. Letters keep their middles.
The only file-level thing worth watching is where the flip gets stored. Some editors bake the reflection into the path coordinates, and some hang a transform attribute on the object instead, leaving the original coordinates underneath. Both are valid SVG and both display identically. Older cutting and CAM software occasionally ignores a nested transform on a group, which produces the memorable result of a design that looks mirrored on screen and cuts un-mirrored on the mat. Inkscape lets you choose the behaviour under Preferences, Behavior, Transforms, where "Store transformation" can be set to Optimized, which pushes the flip into the path data where possible, or Preserved, which keeps it as an attribute. Optimized is the safer default for files heading to a machine.
What actually breaks
Mirroring never damages a file. It breaks meaning, and it breaks it in five recognisable ways.
Text, obviously and not so obviously
Backwards lettering is the failure everyone pictures, and it is genuinely the easy one because you can see it from across the room.
The dangerous version is the text you do not register as text. A single monogram letter. A script signature where the letterforms are already stylised enough that reversed looks merely fancy. A date, a house number, a set of initials tucked into a wreath. Reversed numerals in a small "Est. 1994" are missed constantly, because the eye reads the shape of the design rather than the characters.
Anything with a lowercase b, d, p or q deserves a second look too. Some of those shapes resemble one another when reflected, depending on the typeface, so a mirrored word can stay pronounceable while being completely wrong.
Handedness
Plenty of designs have a left and a right even with no text in them at all. Flip one and it does not look backwards, it looks subtly incorrect in a way that people notice without being able to say why.
State and country outlines are the sharpest example. A mirrored state shape reads as wrong to anyone who lives there, instantly, and no amount of good weeding rescues it. The same goes for a fish that should be swimming into the composition rather than out of it, a boot with the heel on the wrong side, a guitar with the strings running the wrong way, scissors, a coffee cup handle, a golf swing, a clock face, a hand of playing cards.
Our small town and hometown sign designs run straight into this, because most of them pair the words with a scene: a water tower, a grain silo, fields running to a horizon, a road disappearing into a treeline. The words tell you immediately if the design has been flipped, but the scene is what makes a flipped design look off even when the wording is symmetrical.
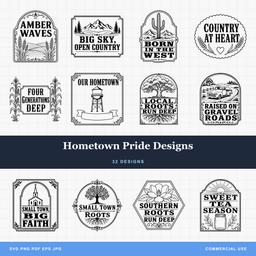 Hometown Pride Designs32 designs, commercial license included$3.99
We draw these with the direction chosen on purpose. A road leads toward the text rather than away from it, a silo sits on the side that balances the wording, and the negative space is weighted to one side. For a face-down process all of that comes back correct when the design flips onto the shirt, which is exactly the point. It is only when a mirrored file gets cut in adhesive vinyl for a face-up application that the composition ends up permanently reversed.
Logos, marks and anything you did not draw
A customer's business logo, a team mark, a school crest. These have a fixed orientation that is not yours to change, and a mirrored one is the kind of mistake a client remembers. If you are producing a shirt from someone else's artwork, mirror it for the press and check the on-screen result reads correctly reversed before you cut a single piece.
Asymmetric blanks and shaped pieces
This one catches people who are cutting the object as well as decorating it.
If a design includes the outline of the piece itself, a shaped plaque, an ornament, a keychain tag with the hole in one corner, then mirroring flips the blank too. The hanging hole moves to the other corner. A plaque cut to sit against a left-hand edge now wants a right-hand edge. Where the design is being applied to a pre-bought blank that is itself asymmetric, a mirrored decal simply will not sit in the space it was drawn for.
Layered designs
This is the one that generates the most confused messages, because the symptom looks like a machine problem rather than a mirroring problem. The layers cut fine, they weed fine, and then nothing lines up.
The layered rule: everything or nothing
A layered design is a set of shapes whose positions relative to each other carry the whole design. The top layer is drawn to nest into a gap in the layer below. Move any one of them and the design stops working.
Mirroring is safe for a layered design as long as the entire stack reflects as one unit, around one axis, at once. Every element ends up in the mirrored position of where it was, so the relationships are preserved perfectly. Registration is unaffected.
There are two ways to get this wrong.
Mirroring some layers and not others. Usually a top layer gets flipped while the base does not, and now a detail cut to sit inside a hole lands on solid material instead. In Cricut Design Space this happens through nobody's fault: the Mirror toggle lives on the Make It screen and applies to one mat at a time. A four colour design goes to four mats, and verify Mirror on every relevant mat, including any setting applied by Auto Mirror. Miss the third mat and the third colour is the one that will not fit.
Flipping each object about its own centre. Several editors offer a transform that reflects every selected item individually rather than reflecting the selection as a group. Illustrator's Transform Each with Reflect enabled does this, and it is the most destructive version of the mistake because at a glance the design still looks assembled. Each shape sits exactly where it was, reversed in place. Nothing registers, and the reason is invisible until you compare two layers side by side.
The safe habit is one flip on one selection. Select everything, or group it first, then flip once. In Inkscape, selecting several objects and pressing H reflects the whole selection around the selection's centre, which is the behaviour you want.
For layered heat transfer, preserve the assembled layout and make sure every required color is mirrored exactly once. A complete canvas reflection or the correct per-mat settings can work; do not apply both. The layered design guide covers the stacking order and pressing sequence once the pieces are cut.
Doing it in the software
The mechanics are trivial in every program. The difference between them is where the setting hides and whether it survives your next action.
Cricut Design Space. The Mirror toggle is on the Make It screen, on each mat preview, and Auto Mirror enables it for supported materials. Check the final state rather than toggling it blindly. Because it lives at the cut stage rather than on the canvas, the design on your canvas stays the right way round, which is genuinely useful for checking your work and genuinely easy to forget when you have several mats.
Silhouette Studio. Object, then Mirror, then Flip Horizontally reflects the selection on the canvas. Some versions also expose a mirror option in the Send panel, so if you are using both, use one and only one.
Inkscape. H flips horizontally, V flips vertically. With multiple objects selected the whole selection reflects together, which is exactly the behaviour a layered design needs. Object, Flip Horizontal does the same thing from the menu.
Print drivers and sublimation utilities. This is where the double mirror lives. Printer drivers, sublimation print managers and RIP software commonly carry their own mirror, reverse or flip horizontal checkbox. A mirrored file sent through a mirroring driver prints the right way round, which is the wrong way round for a transfer. Decide once whether mirroring happens in the design file or in the print dialog, then confirm the other one is off.
One geometric note that saves an argument with yourself: flipping vertically also reverses a design. A vertical flip is a horizontal flip plus a 180 degree rotation, so if you flipped the wrong axis and the design is now upside down but correctly reversed, rotate it 180 degrees. Flipping again would undo the mirror you just applied.
The thirty second check before you cut
Make it a ritual and it stops being a thing you can forget.
- Mirror last. Size the design, weld or attach anything that needs it, arrange the mats, and only then flip. A mirror applied early gets lost behind ten more actions.
- Find one asymmetric detail and look at it on screen. A letter, a boot, a leaf pointing one way. For any face-down process it should look wrong on screen. Backwards on the mat preview means forwards on the shirt.
- Check every relevant mat. Colors may occupy more than one mat; confirm Mirror wherever the material requires it.
- Check the driver too if anything is being printed rather than cut.
- On the first piece of an expensive run, cut small. A two inch test of one asymmetric element on scrap vinyl costs almost nothing and settles the question before a sheet of glitter HTV is committed.
Step two is the whole thing, honestly. Everything else is bookkeeping.
When it is already wrong
If the material has not been cut, there is nothing to fix. Flip it back, since mirroring is its own undo.
If the vinyl is cut but not pressed, the piece is scrap. A mirrored cut cannot be rescued by flipping it over, because HTV has adhesive on one face only and the carrier on the other. Turning it over presents the wrong face to the fabric rather than relocating the heat-activated adhesive to the other side.
If it is already pressed, it is on there. Removal treatments exist and they are unkind to fabric, and the honest arithmetic is usually that a fresh blank costs less than the hour you would spend and the shirt you would probably ruin. Chalk it up and set the pre-cut ritual so it does not repeat.
Sayings and sign designs are where this gets tested most, because text is the thing that cannot hide a flip and lettering is what most people press first.
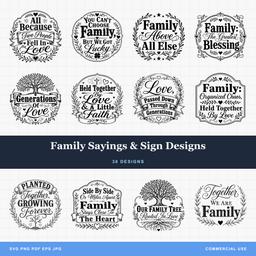 Family Sayings & Sign Designs30 designs, commercial license included$3.99
Every design is $3.99 with a commercial license included, so the shirts, totes and signs you make from them can go straight onto a market table or into an Etsy shop. Files arrive as SVG, PNG, JPG, PDF and EPS, which means the SVG is there for the cutter and the PNG is there for sublimation, and both mirror the same way in whatever software you already use.
Pick a saying, flip it once, and press it the right way round. The quotes and text collection is where the lettering lives.
Designs for this project
Frequently Asked Questions
Do I need to mirror a design for regular adhesive vinyl?
No. Adhesive vinyl is cut face up, weeded face up, lifted with transfer tape and applied face up, so the design never turns over. The one exception is a decal going on the inside of a window or the back of a clear panel to be viewed from the other side. That one gets mirrored, because it is being read through the glass.
Does mirroring an SVG damage the file or lose quality?
No. A flip is a negative scale applied to the coordinates, so nothing is resampled and no nodes are lost. The shapes come out the same size with the same node count, just reversed. Flipping twice returns the design exactly to where it started, which is why an accidental mirror costs you nothing until material has been cut.
Why did my sublimation print come out un-mirrored when I mirrored the file?
You almost certainly mirrored twice. Many printer drivers and sublimation print utilities have their own mirror or reverse checkbox, and a mirrored file sent through a mirroring driver arrives back the right way round. Pick one place to do it, in the design file or in the print settings, and turn the other one off.
How do I mirror a layered design without breaking the alignment?
Select every layer and flip once, so the whole stack reflects as a single unit. The trap is a transform that flips each object about its own centre, which reverses each shape while leaving it in its original position and destroys registration. In Cricut Design Space the mirror toggle lives on each mat separately, so check the final mirror state on every mat. Auto Mirror may already enable it for supported materials.