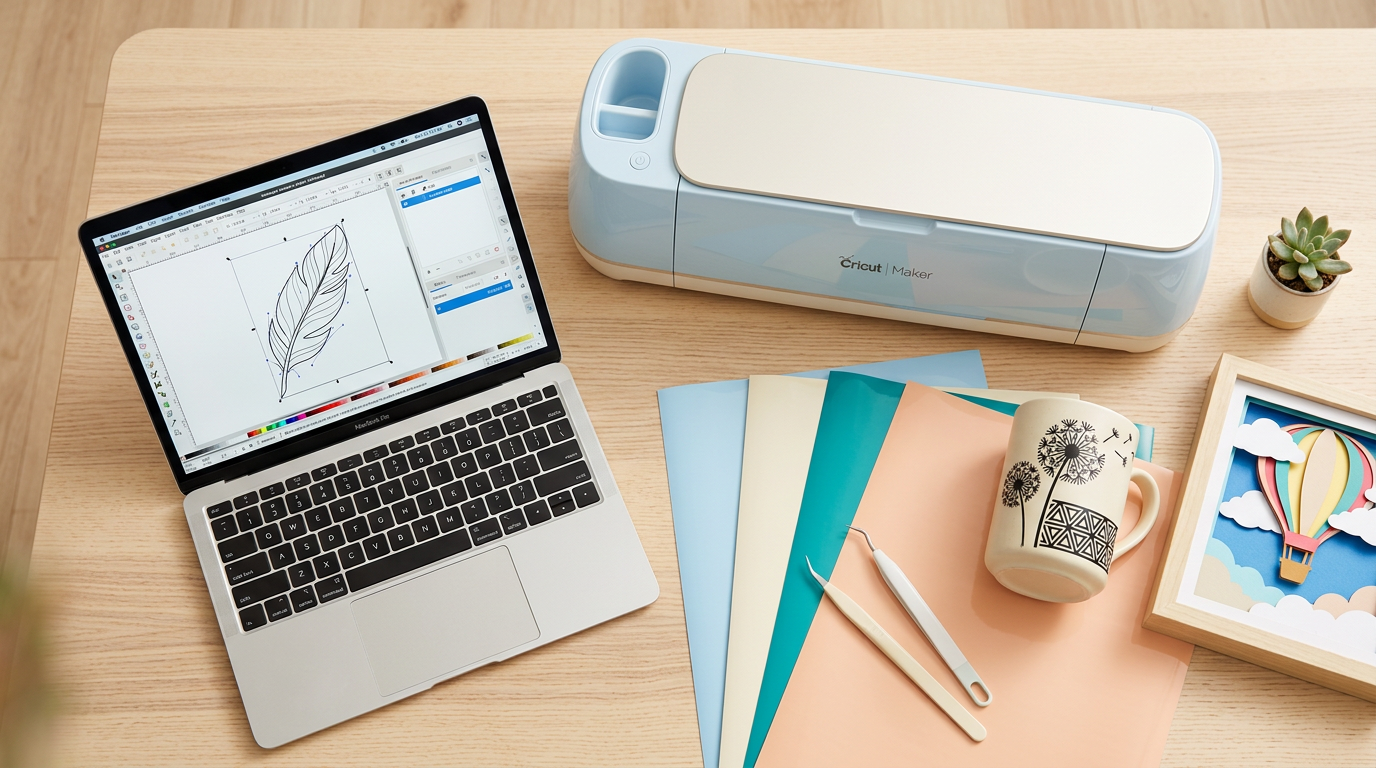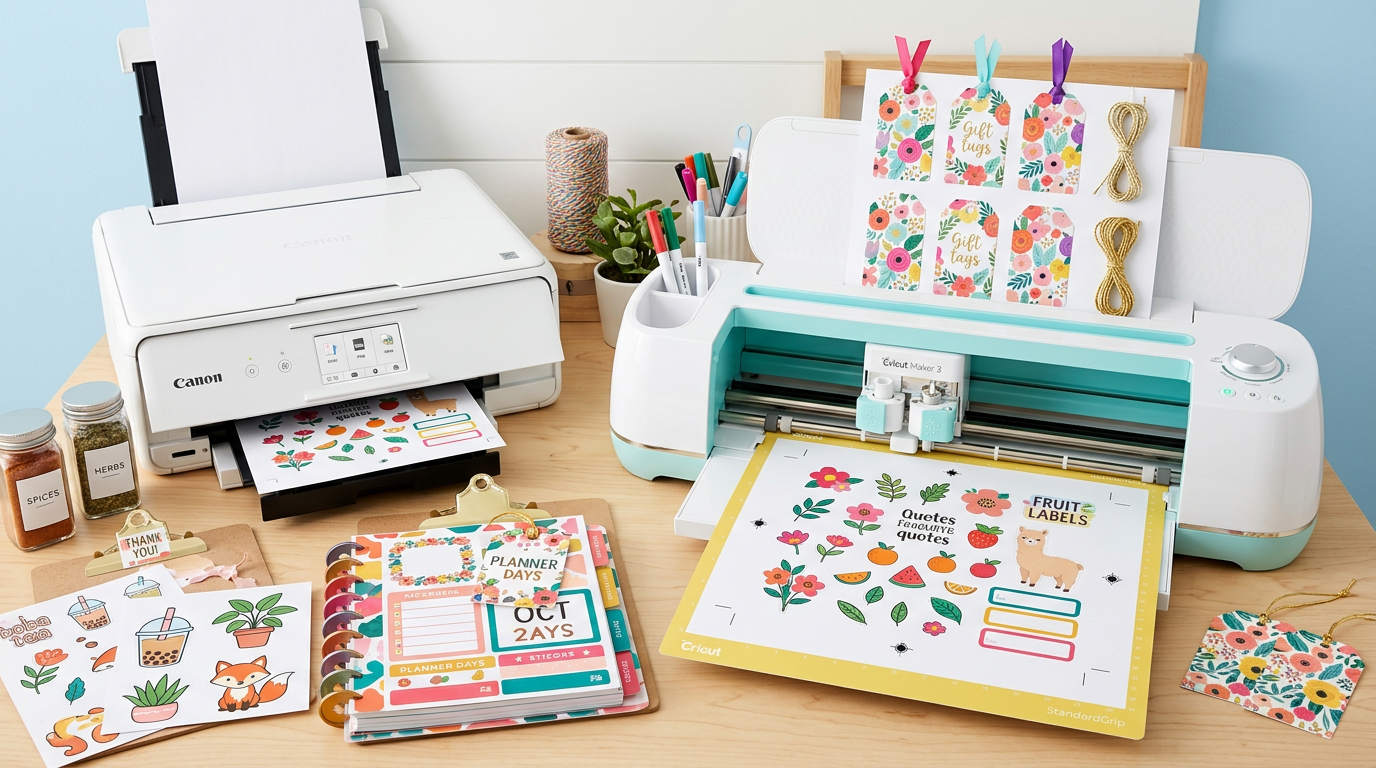
Cricut's Print Then Cut feature lets you print a full-color design on your home printer, then use the Cricut to cut precisely around it. It's perfect for stickers, labels, iron-on transfers with detailed colors, and any project that needs more color detail than vinyl cutting can provide.
What Is Print Then Cut?
Standard Cricut cutting traces outlines — great for solid-color vinyl. Print Then Cut flips the process: your home printer handles the colors and details, and the Cricut cuts the outline shape. The Cricut reads registration marks printed on the page to align its blade precisely with the printed image.
When to Use Print Then Cut
- Stickers — Print on sticker paper, cut the outlines automatically
- Labels — Product labels, organization labels, address labels
- Party decorations — Full-color cake toppers, banners, place cards
- Planner accessories — Custom planner stickers and tabs
- Iron-on transfers — Print on printable iron-on for multi-color fabric designs
Why PNG Files Work Best
PNG files are the ideal format for Print Then Cut because they support transparent backgrounds. When you upload a PNG with transparency, Design Space sees the image and cuts around its visible edges — not a white rectangle.
SVG files can also work for Print Then Cut, but you'll need to flatten them first (which merges all layers into a single printable image). PNG files are already in the right format.
Every design pack from our store includes high-resolution PNG files with transparent backgrounds, ready for Print Then Cut.
Step-by-Step: Print Then Cut
Step 1: Upload Your PNG
In Design Space, click Upload > Upload Image. Select your PNG file. Since it has a transparent background, Design Space should show the image without a white background. Click Upload to add it to your library.
Step 2: Add to Canvas and Size
Click the uploaded image and select Add to Canvas. Resize to your desired dimensions.
Size limits: Print Then Cut has a maximum printable area of 6.75" × 9.25" (on a standard letter-size sheet). Your design must fit within these boundaries.
Step 3: Choose Flatten or Use As-Is
If your PNG is a single image (most common), it's ready to go. If you've combined multiple elements on the canvas, select all of them and click Flatten to merge them into a single printable image.
Step 4: Click Make It
Click Make It. Design Space will show the print layout with registration marks (a black rectangle border) around the image. Check that everything looks correct.
Step 5: Send to Printer
Click Send to Printer. Design Space opens your system print dialog. Use these settings:
- Paper size: Letter (8.5 × 11)
- Quality: Best (highest resolution for clean results)
- Scaling: 100% — do not let the printer shrink to fit
- Color management: Let the printer manage colors
Print the page. You'll see your design surrounded by the registration mark border.
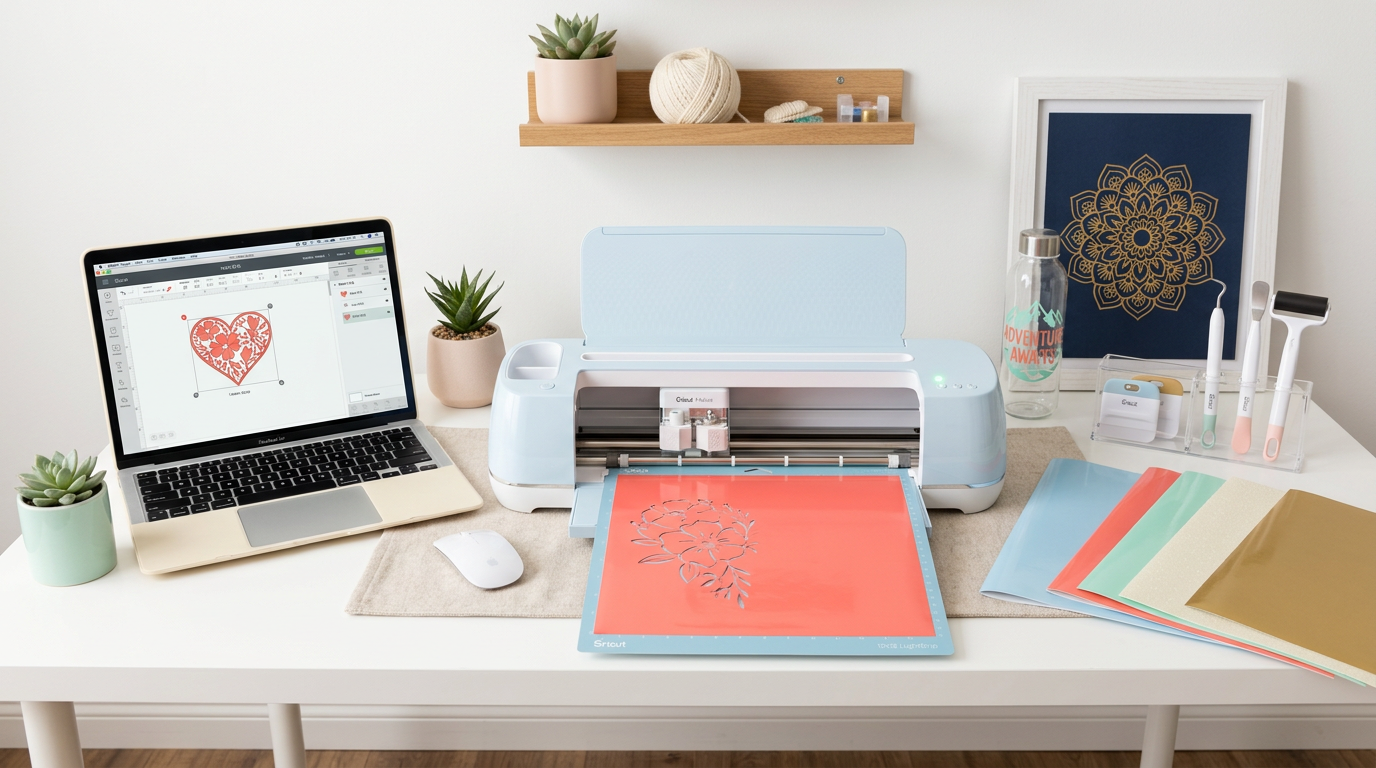
Step 6: Load and Cut
Place the printed sheet on your LightGrip cutting mat with the printed side up. Load into the Cricut. The machine's sensor reads the registration marks, aligns itself, and cuts around the printed design.
Troubleshooting
Cricut Can't Read the Registration Marks
- Make sure there's good lighting on the mat — too dark or too bright causes reading errors
- Clean the Cricut's sensor lens with a soft cloth
- Make sure the registration marks printed cleanly with no smudging
- Use a white or light-colored mat — dark mats can confuse the sensor
Cut Is Slightly Offset
Run the Cricut calibration for Print Then Cut. Go to the menu (three horizontal lines) > Calibration > Print Then Cut. Follow the on-screen instructions to fine-tune alignment.
Print Quality Is Poor
Make sure your printer is set to highest quality. Check ink levels. Use the right paper type setting for your material (e.g., "glossy photo paper" for sticker paper).
Best Materials for Print Then Cut
| Material | Use Case | Notes |
|---|---|---|
| Printable sticker paper (matte) | Planner stickers, labels | Most versatile, easy to use |
| Printable sticker paper (glossy) | Product labels, decorative stickers | More vibrant colors, water-resistant |
| Printable vinyl | Waterproof stickers, outdoor labels | Apply laminate overlay for durability |
| Printable iron-on | Fabric transfers | Remember to mirror before printing! |
| Cardstock | Gift tags, decorations, toppers | Standard white works well |
Start Creating
Browse our design collections for high-resolution PNG files with transparent backgrounds, perfect for Print Then Cut projects. Every design pack includes PNG alongside SVG, PDF, EPS, and JPG formats.
For more about file formats and when to use each, see our format comparison guide. And for standard Cricut cutting, check our Cricut SVG guide.