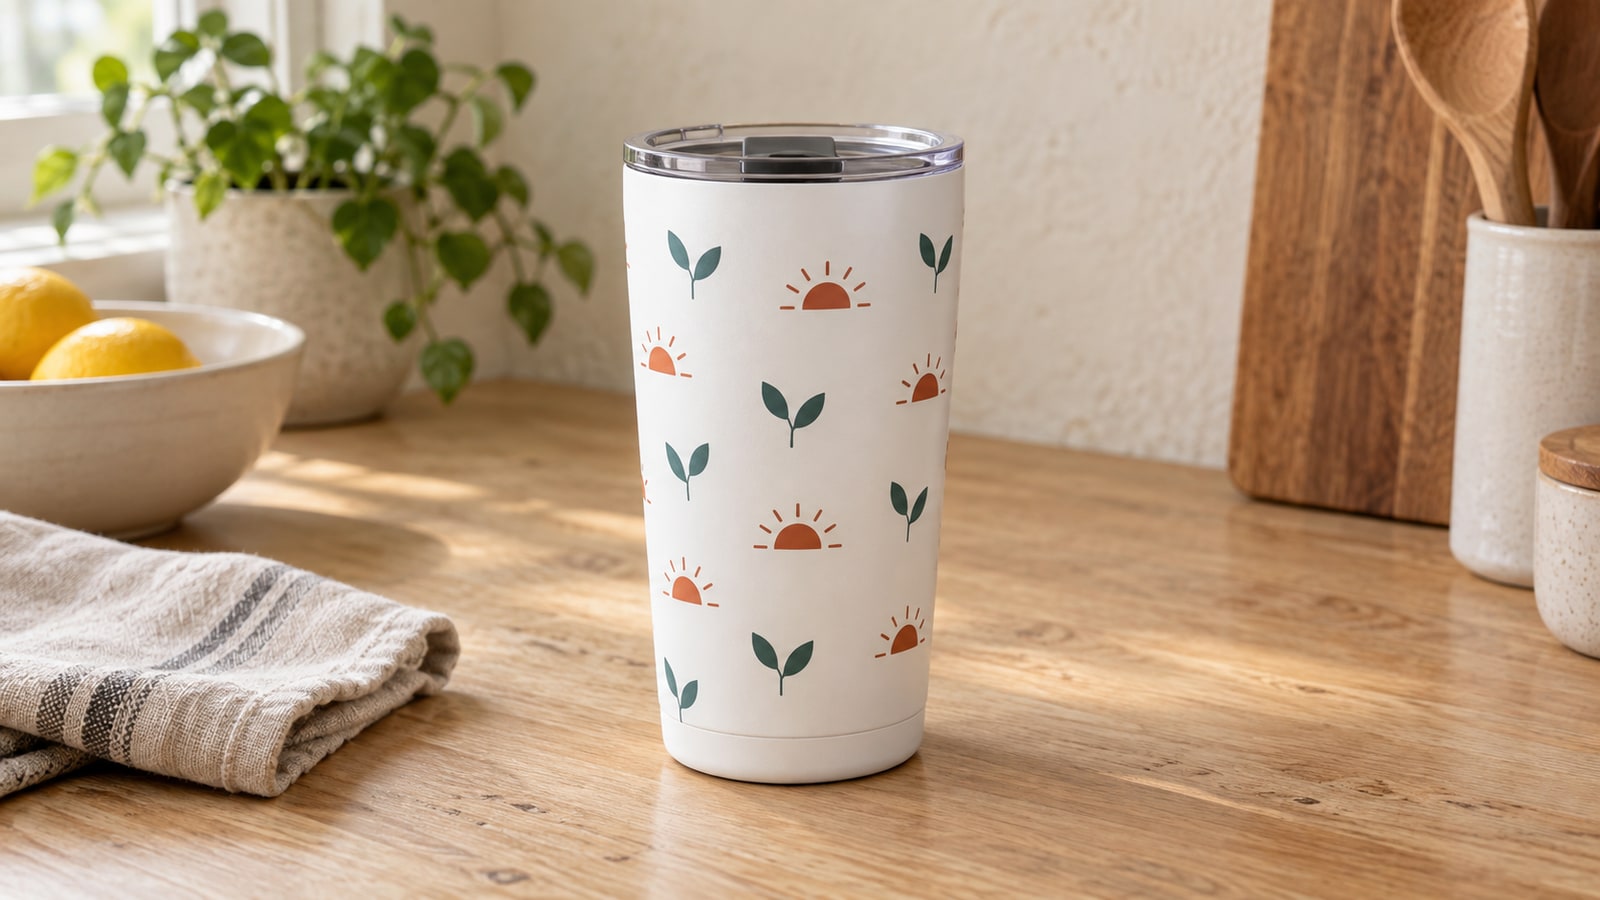
You size the design, print it, wrap it around the tumbler, and the two ends refuse to meet. There is a wedge of bare steel at one edge and an overlap at the other, and the horizontal line you drew across the middle now climbs uphill like a road sign on a hillside. Nothing was wrong with the file. The problem is that the tumbler is not the shape you assumed it was.
Tip
Short answer: a straight-sided mug unrolls into a rectangle, so a rectangular design works. A tapered tumbler unrolls into a curved band, so a rectangular design tilts and gapes at the seam. Build the template from the blank's top diameter, bottom diameter, and slant height, put the seam at the back, and pick designs that can absorb a seam in the first place.
The Easy Case: Straight-Sided Mugs
Check whether the mug’s usable band is straight-sided; its advertised volume does not establish the shape. Cut a cylinder open and lay it flat and you get a plain rectangle: width equals the circumference, height equals the usable band. Every horizontal line in your file stays horizontal on the mug, and text sits level all the way around.
So mug wraps are a layout problem, not a geometry problem. The thing that actually constrains a mug is the handle. It splits the visible surface into two faces of roughly equal size, and most people looking at your mug only ever see one of them at a time.
That is why the strongest mug designs are not wraps at all. They are one confident subject centred on each face, with the handle acting as the natural break. A single character, a monogram, or a short stack of words reads instantly from across a room, which a wrapped scene never quite does.
 Coffee Cup Cartoon Characters30 designs, commercial license included$3.99
If you do want a genuine full wrap on a mug, plan the design to pass behind the handle rather than butt against it. Leave about half an inch of quiet space on each side of the handle mounts so nothing important gets clipped, and treat the two handle joints as the seams.
Why a Tumbler Fights You
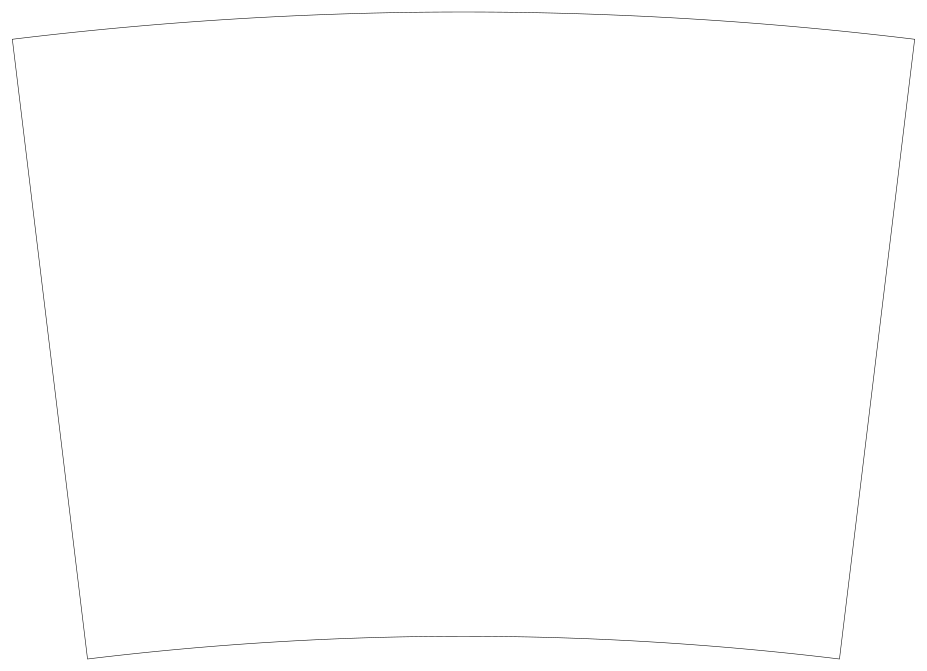
Now the awkward one. Some skinny tumblers are straight-sided; others taper. A uniformly tapered decorated band is approximately a truncated cone, and a cone does not unroll into a rectangle. It unrolls into a curved band, a slice cut out of a big flat ring.
Here is the piece that makes the whole thing click. On that flat band, a line that will look level on the finished tumbler is not straight. It is an arc, concentric with the ring. And a line that will look vertical on the tumbler, running from base to rim, points at the centre of that ring like a spoke. The layout grid of a tumbler wrap is polar, not square.
A straight line on the flattened sector does not generally remain at a constant radius from the sector center, so it does not form a level ring on the vessel. It may bow or slope depending on placement; it is not necessarily a spiral.
There is good news buried in this. A cone is what mathematicians call a developable surface, meaning it can be flattened without stretching anything. Flattening an ideal conical surface preserves local surface distances. That does not mean a flat circle looks circular from every viewing angle, or that rectangular artwork can be moved into the sector without layout adjustments. That is why a tumbler is fixable with a template, while a round ball ornament, which cannot be flattened at all, needs the design chopped into segments.
Measure First, Then Decide If You Even Care
Before building anything, find out how tapered your blank actually is. You need three numbers, all taken from the blank itself rather than from a product listing.
- Rim diameter, measured across the outside of the tumbler at the top of the area you will decorate.
- Base diameter, measured the same way at the bottom of that area.
- Vertical height of that decorated band, not the full height of the vessel.
Multiply each diameter by 3.1416 to get the two circumferences. The larger their difference, the less suitable a rectangle becomes. Pattern, application method and tolerance decide what is acceptable; confirm with paper instead of using a fixed percentage cutoff.
That gap is the honest measure of the problem, and it is worth writing on a sticky note before you open your design software.
Building the Curved Template
The template is a sector cut from a ring: an outer arc for the rim, an inner arc for the base, and two straight radial edges that become the seam. Three numbers define it.
The figures below are geometry, not measurements taken off any particular blank, so run them on your own tumbler rather than borrowing someone else's template. Work in whichever unit your blank is labelled in and stay in it throughout.
For a uniformly tapered band with R greater than r, let r be the bottom radius, R the top radius, and h the vertical height. If the radii are equal, use a rectangle. Compound curves need a different template.
- Slant height
L = √(h² + (R − r)²). This is the real height of your template, measured along the side of the cone rather than straight up. On a gentle taper it is barely longer than h, but use it anyway. - Sector angle in degrees
= 360 × (R − r) ÷ L. This is how much of the full ring your wrap occupies. - Inner arc radius
= L × r ÷ (R − r), and outer arc radius= L × R ÷ (R − r).
A worked example makes it concrete. Say you measure a tumbler and get a rim diameter of 3 inches, a base diameter of 2.5 inches, and a usable band 6.5 inches tall. So R is 1.5, r is 1.25, and h is 6.5.
| Value | Result |
|---|---|
| Slant height L | 6.50 in |
| Sector angle | 13.8° |
| Inner (base) arc radius | 32.5 in |
| Outer (rim) arc radius | 39.0 in |
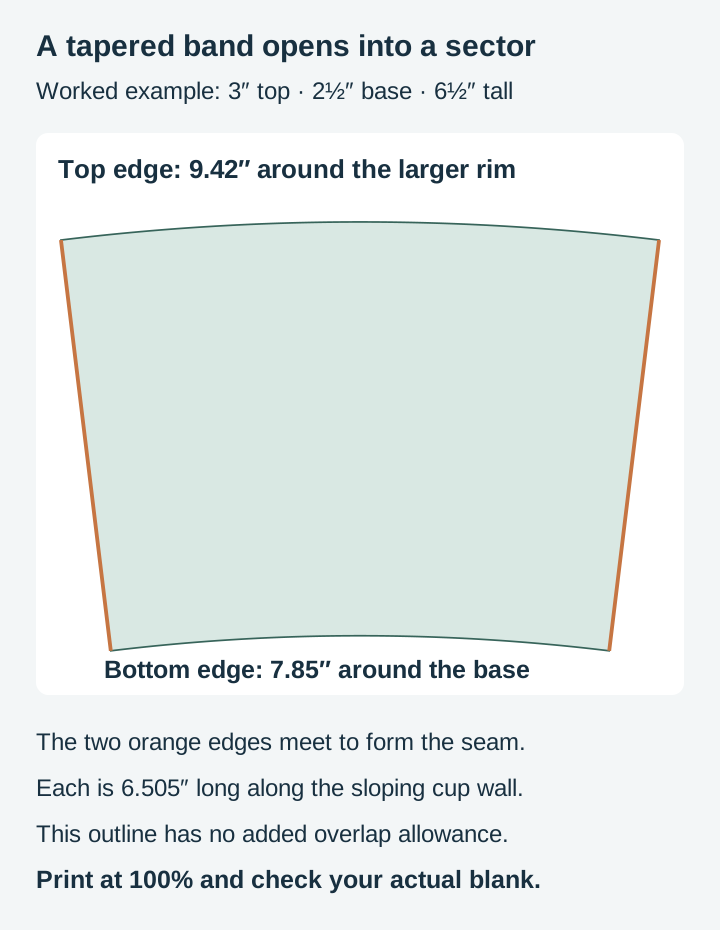
| Base edge length | 7.85 in |
| Rim edge length | 9.42 in |
Look at the last two rows. The rim edge of that template has to be about 1.6 inches longer than the base edge. A rectangle gives both edges the same length, so 1.6 inches of error has to go somewhere, and where it goes is into the tilt and the seam gap.
Note also how large the arc radii are. At 32 and 39 inches, the curve is gentle enough that it looks almost straight at a glance, which is exactly why the mistake is so easy to make and so hard to spot on screen.
Drawing It in Inkscape
Any vector editor will do this. Inkscape is free, so here is the route through it.
For the worked dimensions above, download the example sector outline and open it in Inkscape. It contains the actual curved band, with no overlap allowance. Print at 100% and check it against the intended blank; this example is not a universal tumbler template.
To construct another size manually, create two full circles with the calculated diameters, align their centers, subtract the smaller from the larger, then intersect the ring with a radial wedge at the calculated sector angle. Measure diameters while the shapes are still full circles. The width and height of an already-cropped pie segment are its bounding box, not the parent circle’s diameter.
Keep a copy of the original construction and place only the finished band on the export page. A supplier template for the exact blank is another useful starting point.
Now lay art inside that band using the polar rule from earlier. Baselines follow the arcs. Anything that should stand upright points at the ring's centre. Inkscape's Text on Path handles the first part: draw a construction arc concentric with the template, drop your text onto it, and the letters will fan out slightly in the flat file and read perfectly level once wrapped.
If you would rather nudge anchor points directly, NodeCraft on our sister site Craftgineer is a vector editor with real node and path editing. It is free to use and export with a free account, though saving a project needs a paid plan, which starts at $4.99 a month.
Delete the construction arcs before exporting, keep the template outline on its own layer, and export the artwork sized to the template.
Where the Seam Goes
Every physical wrap has a join to plan. Sublimation transfer joins can sometimes be made visually unobtrusive; poorly managed gaps or overlaps can leave a line or ghosting, vinyl butts or laps against itself, and a rotary engraving has a start and end point that rarely land perfectly on top of each other. Pretending otherwise is how you end up with a seam splitting the one element the whole design was built around.
Put it at the back, defined as the point opposite whatever you consider the front. On a mug the handle makes the decision for you. On a lidded tumbler nothing marks the back, so pick one and be consistent across a whole batch, otherwise your product photos will not match each other.
Then design for the seam rather than around it:
- Give it a quiet zone. Keep roughly a quarter to a half inch of empty space either side of the seam line so nothing important gets cut or doubled.
- Design the overlap in. For vinyl, a small deliberate overlap hides far better than a butt joint, which tends to open into a visible hairline as the film settles. Add that overlap width to the template rather than trimming it off the design.
- Never let a horizontal border cross the seam unless your template is exact. A stripe running round the rim is the single fastest way to expose a template that is a degree or two out.
Which Designs Survive a Wrap
Not every design should go all the way round. This one is a judgement call about the artwork itself, and it is worth making before you spend an hour on geometry.
| Design type | Full wrap? | Why |
|---|---|---|
| Scattered motifs on open space | Yes | Elements can be nudged off the seam, and there is no continuous line to expose the taper |
| Repeating pattern with a true repeat | Yes | Match the pattern at both seam edges in the actual wrap geometry |
| Vertical or arced text | Yes | Follows the polar grid naturally |
| A single centred subject | No | It has nothing to gain. Put it on the front, at a size that reads across a room |
| Straight horizontal text | No, not without arcing | The most visible victim of the tilt |
| Borders, stripes, plaid, grids | Only with an exact template | Every one of these advertises a taper error |
The repeat one deserves a note, because it is where seamless wraps genuinely come from. On a cylinder, six 1.57-inch tiles span 9.42 inches; 1.6-inch tiles do not divide that width evenly. A tapered sector is different: use angular repeats or a purpose-built warped layout so corresponding motifs meet along both radial seam edges. One fixed rectangular tile width cannot simply divide two different circumferences with the same repeat count.
Scattered designs are the forgiving middle ground. Because we draw each element as its own closed path, you can select a motif that lands awkwardly on the seam and simply move it, which is not something you can do to a single illustration.
 Summertime Fun28 designs, commercial license included$3.99
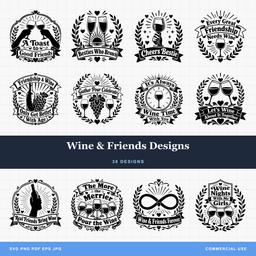 Wine & Friends Designs30 designs, commercial license included$3.99
Size to the Applicable Area, Not the Vessel
The last thing that ruins a wrap is measuring the whole tumbler. The decoratable band is always smaller than the object.
- Off the top: lid threads, a rolled or thickened rim, and the tight curvature right under the lip where vinyl lifts and transfer paper wrinkles.
- Off the bottom: the base fillet, where the wall curves in towards the foot. That curve is a compound one, and no flat material lies on it.
- Off both: a margin of a few millimetres so a slight misalignment does not put your artwork half off the edge.
If your blank supplier publishes a printable or applicable area, use their figure over your own tape measure, then subtract your margin from that. For sublimation specifically, check your press wrap limits before finalising a size, since a tumbler press band may not cover the full height you measured. The sublimation workflow guide covers the pressing side, including why the PNG in each pack is the file that goes to the printer.
For vinyl, a true conical band is developable; rounded shoulders and base fillets introduce compound curvature. Standard calendered craft film handles the horizontal wrap fine, and the tighter areas near the base are where cast film earns its price. Our guide to vinyl types goes through that trade-off.
Laser is the odd one out. A rotary workflow maps motion differently from a paper wrap. Cylinders often use a rectangular layout, but a tapered object can need physical alignment plus software taper correction. Check the machine and software documentation; a rotary does not automatically remove all taper distortion.
Test on Paper Before You Commit
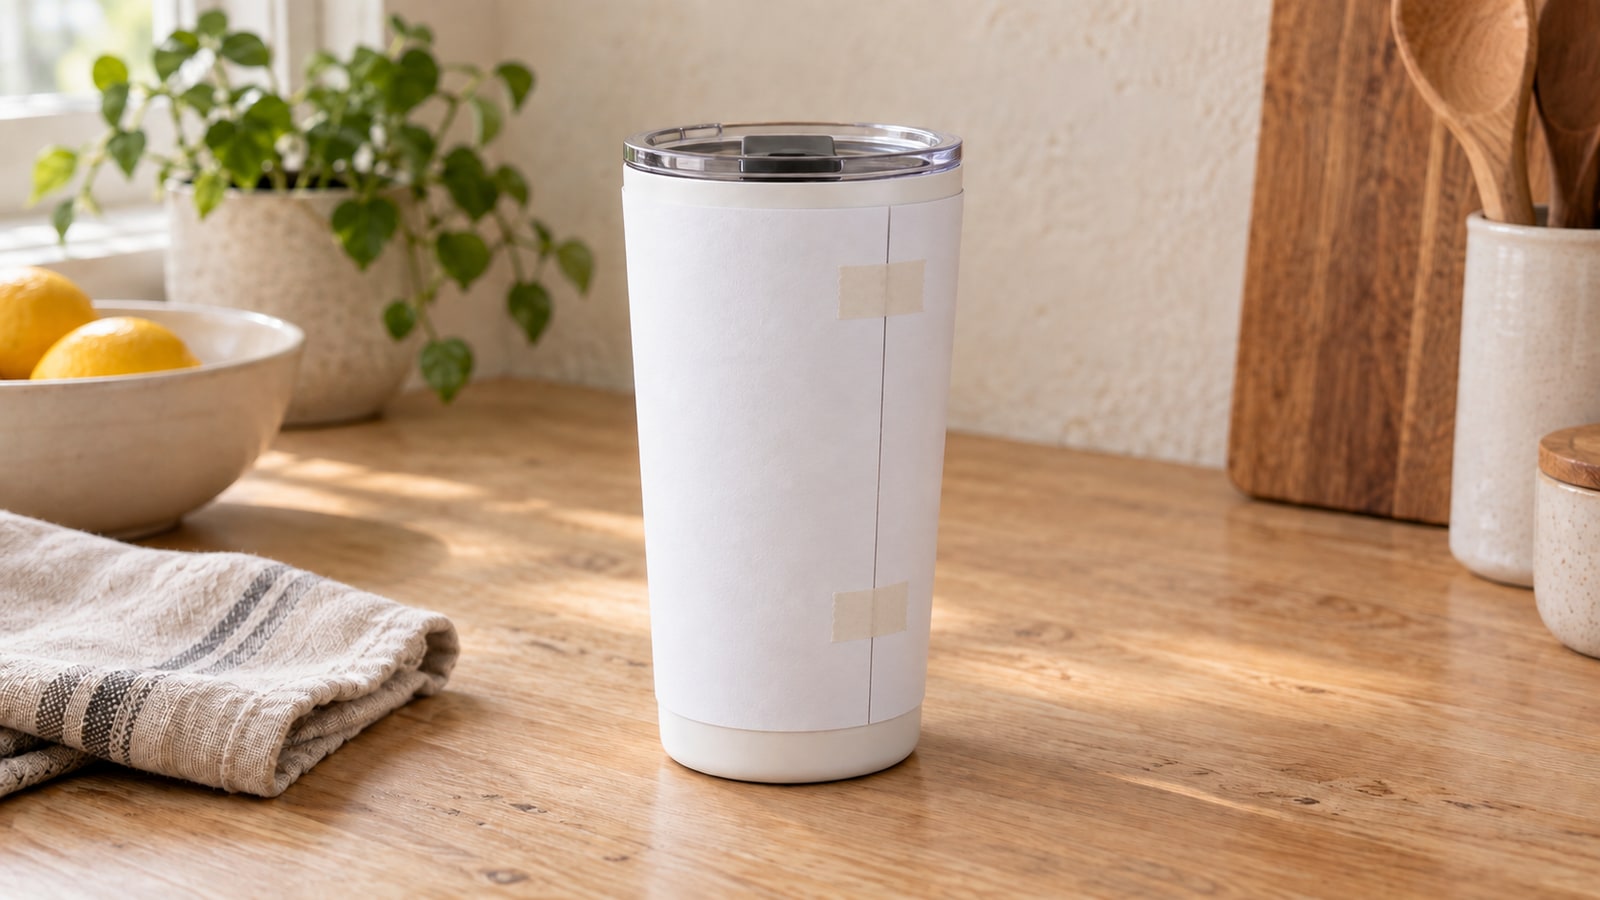
One habit saves more blanks than anything else here: print the template at 100 percent on plain paper, cut it out, and tape it to the tumbler dry.
You will know in ten seconds. The edges either meet or they do not, the drawn baseline either runs level or drifts, and the top and bottom edges either sit parallel to the rim and base or they wander. It costs a sheet of paper and about two minutes, against a ruined blank and a wasted transfer.
If it drifts or gapes, check print scaling, both diameters, band height, template construction and placement. The symptom alone does not identify one incorrect measurement.
Get the Art Sorted
Geometry is the part you only have to solve once per blank. Save that template as its own SVG, name it after the tumbler, and reuse it forever.
The artwork is the part that changes every time, and it is the part that sells. Every PrintCutCarve pack is $3.99, ships as SVG, PNG, JPG, PDF, and EPS, and includes a commercial license covering unlimited finished tumblers and mugs, including print-on-demand. Scattered motif packs and short quote sets are the ones that take a wrap most gracefully, and the full library is the place to go looking.
Designs for this project
Frequently Asked Questions
Why does my tumbler wrap look crooked even though the design was straight?
Because the tumbler is tapered and the design was not. A tapered vessel unrolls into a curved band, not a rectangle, so a straight baseline in a rectangular file does not generally map to a level ring. Depending on placement, it can slope or bow and misalign at the seam. The fix is a curved template built from the blank's top diameter, bottom diameter, and slant height.
Can I just use a rectangle template on a tapered tumbler?
Sometimes. Measure the circumference at the rim and at the base. A nearly straight blank with a sparse pattern may tolerate a rectangular layout, but there is no universal two-percent cutoff. Check a paper fit on the actual band. Anything with straight text, a border stripe, or a repeating grid will show the error, and the wider the taper the worse it gets.
Where should the seam on a tumbler wrap go?
Opposite the face you want people to see, and never through the middle of a subject. On a mug the handle decides it for you. On a lidded tumbler, pick a back and keep the seam there consistently across a batch so your product photos all match.