Twelve orders is a good week. Twelve orders made one at a time, each one meaning you set up the machine, cut, clean up, press, package, and then start the whole sequence again, is a bad evening repeated twelve times.
The fix is not working faster. It is working in stages, so that the setup you do once serves the whole run instead of one item. That change is worth more hours than any tool you could buy this year, and most of it happens before a machine ever switches on, in the file you feed it.
Tip
Short answer: approve one complete sample, then work through the run in stages. Cut everything, then weed everything, then assemble everything, then package everything. Build one master file per product so the layout, layer order, and spacing are decided once instead of every time.
The rhythm, and why it saves so much
One at a time looks like this: cut, weed, press, package, cut, weed, press, package. Every cycle repeats your setup. You reload material, re-check settings, clear the bench, find the heat press temperature again.
Batched looks like this: cut all, weed all, press all, package all. Setup happens once per stage. That alone typically accounts for most of the saving, and the rest comes from something less obvious: your hands get good at whatever you are doing right now. The tenth weeding job is faster than the first because you have stopped thinking about it.
There is a second, quieter benefit. Mistakes cluster in the switch between tasks. Forgetting to mirror a heat transfer design almost always happens on the first piece after doing something else, not on the fifteenth in a row.
The threshold is around five identical items. Below that, the flexibility of one-at-a-time wins. Above it, staging pulls ahead quickly and keeps pulling.
Step one: decide what deserves a batch
Batching everything is its own trap, because it turns a varied product line into a warehouse of slow movers. Pull your last sixty days of sales and find the handful of products that account for most of your revenue. Those are your batch candidates, and everything else stays made to order.
Look for three properties. The item sells steadily rather than in one freak spike. It has no personalization, or the personalization can be added at the very end. It is not so seasonal that unsold stock becomes dead weight in February.
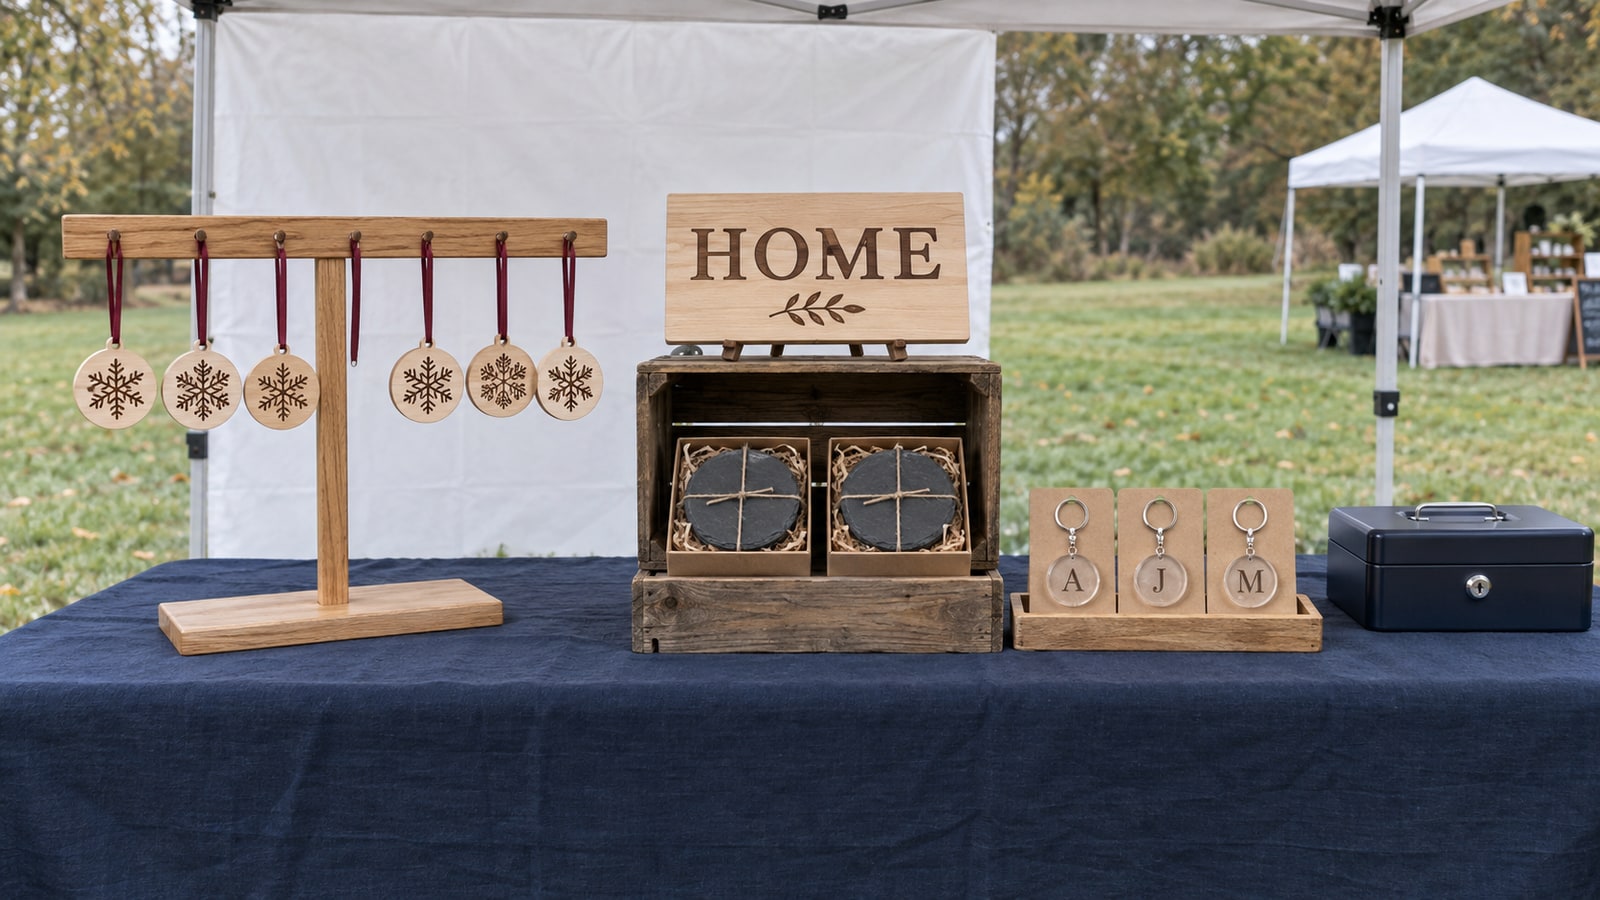
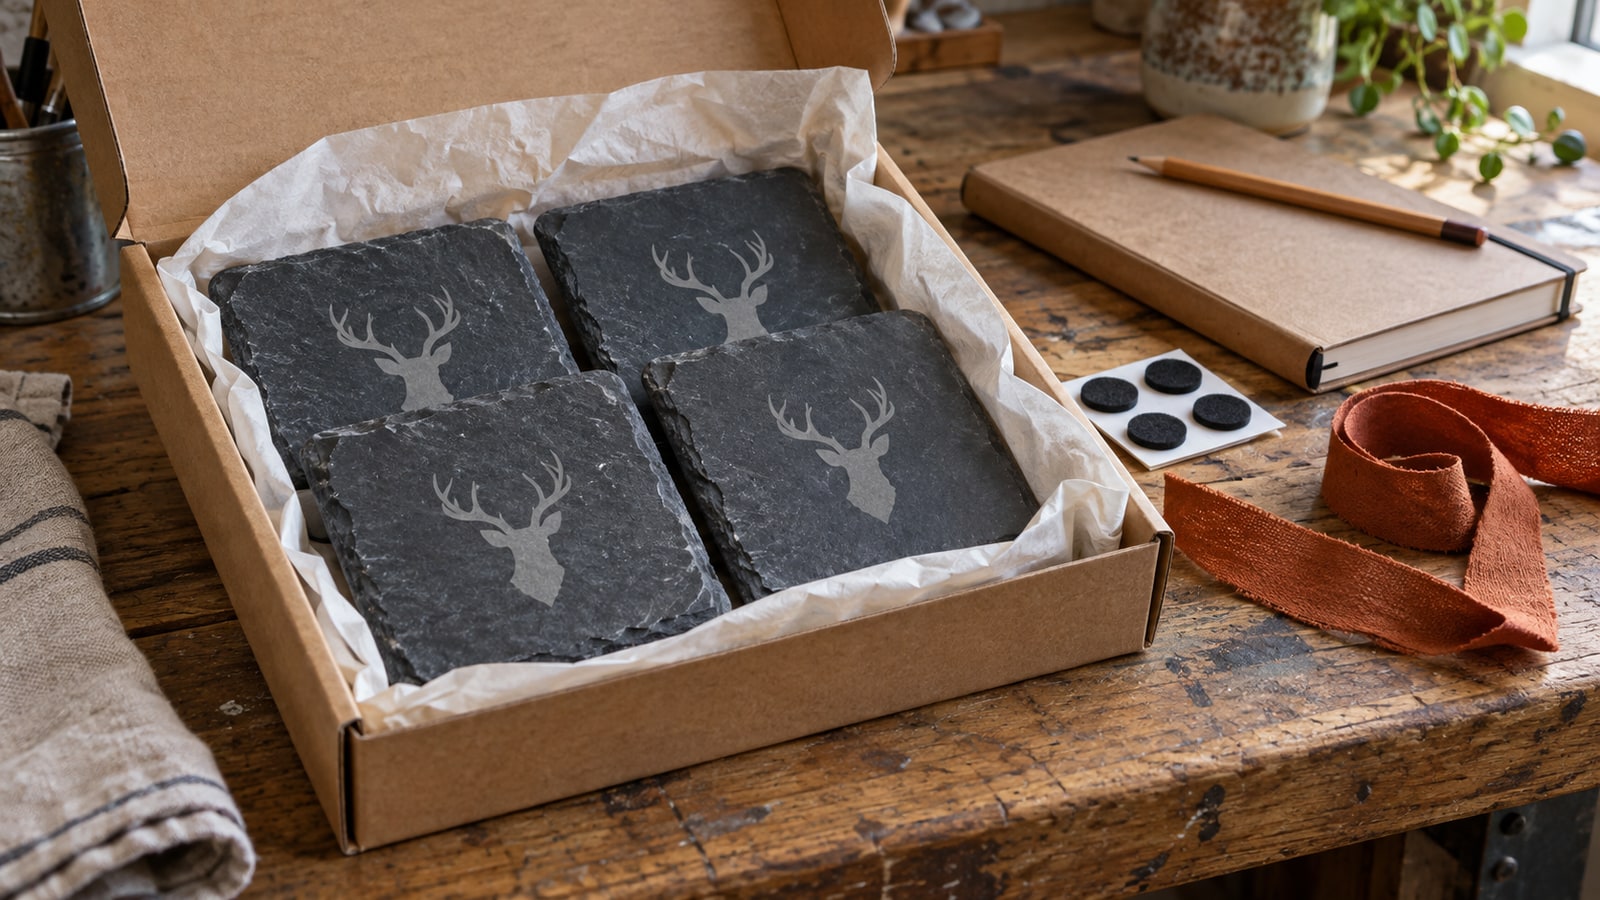
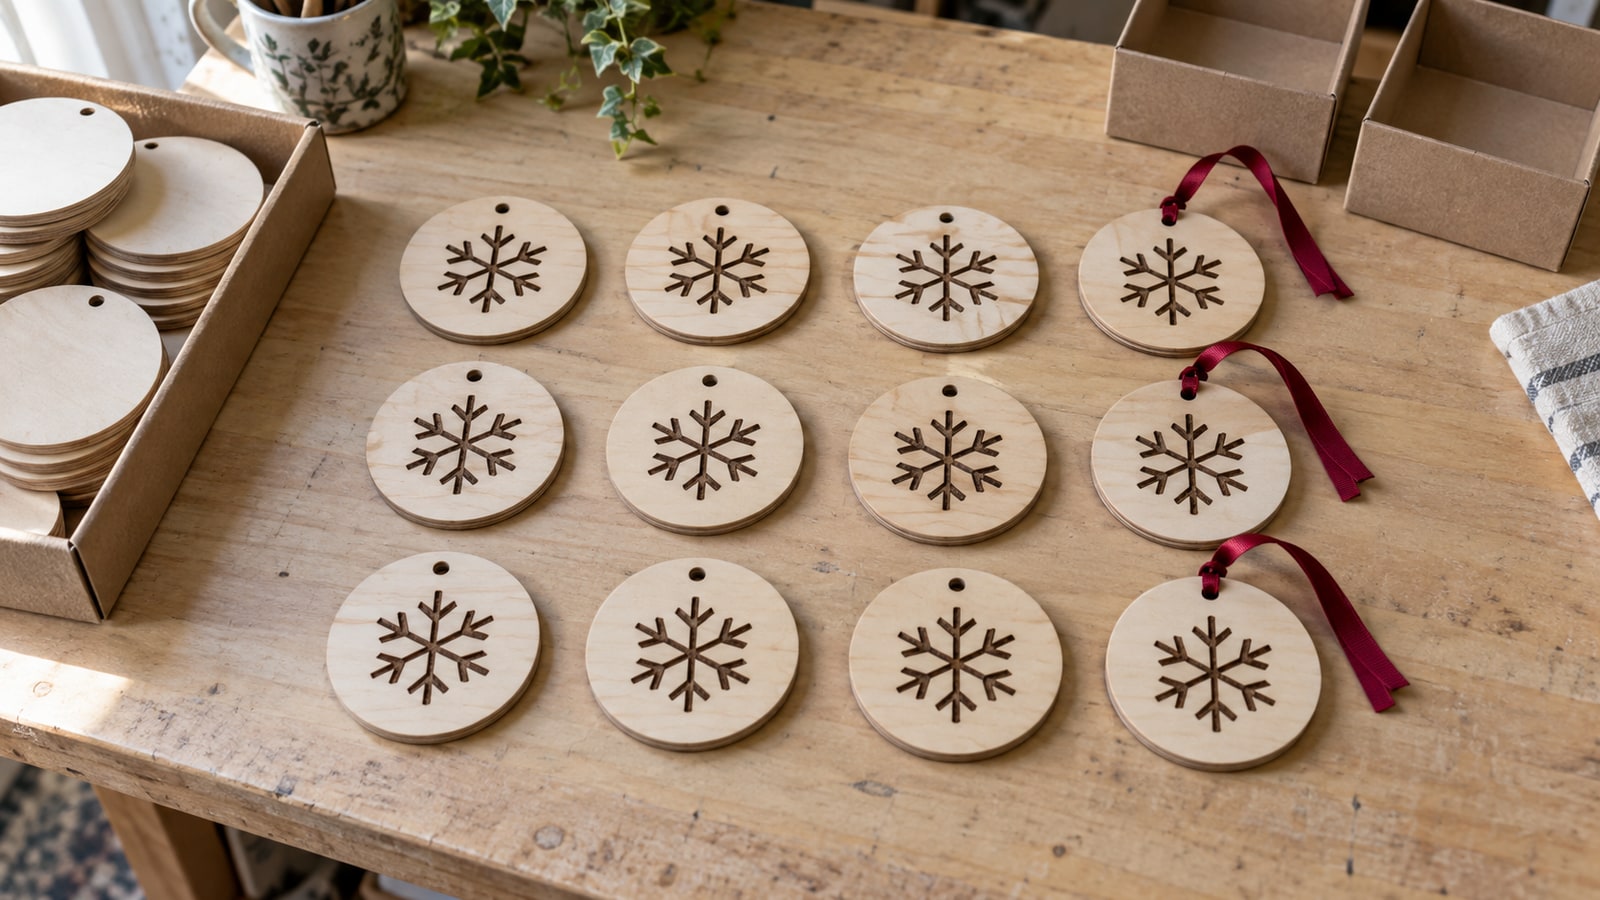
Ornaments, coasters, bookmarks, keychains, and cutting boards all pass this test easily. Large one-off signs usually do not, and that is fine. Batch the repeatable products and let the custom work stay custom.
 Christmas Ornament Designs38 designs, commercial license included$3.99
Step two: build a master file, not a fresh setup
This is the part most production guides skip, and it is the part we actually know inside out. A production run does not start at the machine. It starts with one file that has already answered every question the machine is going to ask.
A master file for a product should contain the design placed at final size, arranged in the layout you will actually run, with layers separated by operation. Save it, name it after the product, and never rebuild it. Every future run of that item begins by opening a file and pressing go.
Separate operations onto their own layers. Cut lines, engrave fills, and score lines belong in distinct layers, not merged into one shape you sort out at the machine. Beyond avoiding mistakes, it lets you order the whole run correctly: engrave every piece on the sheet first, then cut every piece. If you cut first, small parts shift or drop and the engraving lands crooked. Our guide to layered SVG files covers what that structure should look like when you open a file.
Clean the paths before the run, not during it. A design carrying thousands of unnecessary nodes from a rough auto-trace makes the machine hesitate through every curve. On one piece you barely notice. Multiply a few wasted seconds per piece by 200 pieces and you have lost an hour to a file you could have fixed once.
Check detail size against the material once, at the top of the run. Hairline interior details that look beautiful on screen behave differently at volume: they tear during weeding in vinyl, close up into a dark blob when engraved on wood, and snap when cut small in acrylic. A design intended for a production run should be chosen partly on how few fiddly islands it leaves behind, because every one of those is weeding time repeated once per unit.
Fix the origin. Decide where the design sits relative to the material and keep it there permanently. Half of all batch alignment problems are really one problem: a file whose position changes slightly every time it is imported.
Step three: nest the sheet, not the item
A single design centred on a 12 by 12 mat is a prototype. A production layout fills the sheet.
Work out how many units fit on one sheet of your standard material with sensible spacing, then build that arrangement into the master file. A mat can hold a lot of small decals. A laser bed fits rows of coasters or keychains. Every sheet you save is money that stays in the business, and every reload you avoid is a minute you keep.
Two things to leave room for. Keep a small margin between pieces so heat or blade drag on one does not affect its neighbour, and stay clear of the outer edge of the working area, where hold-down and focus are least reliable.
If your material comes in offcuts rather than full sheets, build a second, smaller layout for scrap. Being able to run four instead of twelve without rebuilding the file is what stops offcuts turning into a pile you never use.
Step four: jigs, so alignment stops being a decision
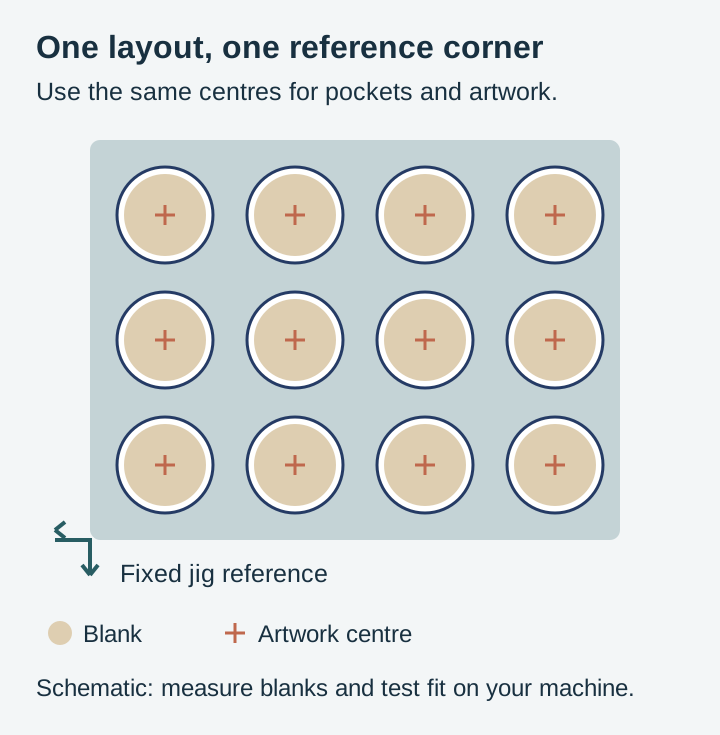
A jig is a physical template that puts the blank in exactly the same place every time. For anything engraved on a pre-made blank, it is the single highest-return thing you can build.
The arithmetic is simple. If aligning a blank by eye takes thirty seconds and a jig takes it to two, a run of 200 saves an hour and a half, and you get better repeatability at the same time. The jig pays for itself inside its first serious run.
- Ornament and coaster jigs. A flat board with the blank shapes cut out to a snug fit, so blanks drop in and cannot drift.
- Earring and keychain grids. A tray of small pockets that positions a whole batch of tiny blanks at once.
- Heat press alignment guides. A template that fixes garment placement so every shirt in a run has the design in the same spot.
- CNC fixture boards. A spoilboard drilled and dowelled so a workpiece returns to a known origin between operations.
Cut the jig from the same file that holds your production layout. If the pockets and the design positions share one origin, they line up by construction rather than by measurement, and that is the whole trick. Store jigs on a hook near the machine with the product name on them, because a jig you cannot find is a jig you did not build.
Step five: set up stations and stop clearing the bench
Give each stage its own space, even if that space is a labelled tray on a shelf rather than a dedicated table.
- Cutting and machine station. The machine, its consumables, and the material for the run.
- Finishing station. Weeding, sanding, painting, sealing, wiping soot from engraved edges.
- Assembly station. Ribbon, hardware, glue, the press.
- Packing station. Boxes, tissue, labels, thank-you cards, scales.
The point is not tidiness. The point is that clearing and re-laying a single bench four times per item is invisible work that never shows up in your cost per unit but eats the evening all the same.
Write a short checklist for each product and pin it up. It reads like something too basic to bother with until the first time it catches a missed sealant coat on a batch of forty. It is also what makes handing a stage to somebody else possible.
Step six: batch the calendar too
Task switching costs the same whether it is between two ornaments or between engraving and answering messages. Blocking your week by stage keeps the rhythm going.
| Day | Stage | Why it sits here |
|---|---|---|
| Monday | Material prep and cutting | Machine set once, all week's blanks produced in one session |
| Tuesday and Wednesday | Engraving and finishing | The longest stage, given the most room |
| Thursday | Assembly and packing | Everything dry and ready, one clean pass to boxed |
| Friday | Ship, list, plan | Admin batched too, instead of leaking into every day |
Adjust the shape to your own life, but keep the principle: one kind of work per block. The people who feel busiest are usually the ones doing all four stages every day.
Batching personalized orders without giving up the margin
Personalization looks like the enemy of batching. It is not, as long as you split each order into the part that is identical and the part that is not.
For a name sign, everything except the name is the same on every unit: the blank, the border, the finish, the hanging hardware. Prepare all of that as stock. Keep a shelf of finished blanks waiting, and when an order arrives you only produce the personalized element and attach it.
For engraved items, keep a single template file with the shared artwork placed and a text element sitting in its final position. Type the name, check the fit, run it. Setup drops to under a minute because every other decision was made months ago.
Batch the personalized runs themselves where you can. If four name orders come in on a Monday, do not run them on four separate days. Group them into one session, and treat the proofing step as its own stage as well. There is more on the file side of this in our guide to personalizing SVG designs for customers.
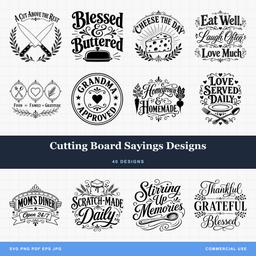 Cutting Board Sayings Designs40 designs, commercial license included$3.99
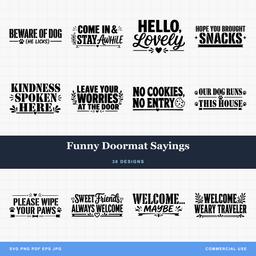 Funny Doormat Sayings30 designs, commercial license included$3.99
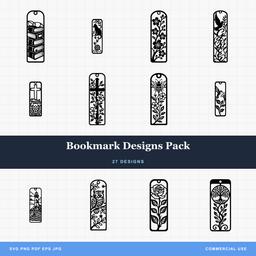 Bookmark Designs Pack27 designs, commercial license included$3.99
Materials: standardize before you buy in bulk
Bulk buying lowers your unit cost, but only if you actually use what you bought. The move that makes bulk safe is standardizing first.
Pick a small set of material sizes and stick to them across products. One thickness of plywood, one or two vinyl colours you use constantly, one blank size for ornaments. Standard materials mean interchangeable offcuts, fewer part-used sheets, and a reorder decision that takes ten seconds.
Track your usage rate roughly, per run rather than per item, and set a reorder point that gives you enough runway to survive a slow shipment. The most expensive material is the one you have to buy locally at retail on a deadline.
Pre-cut blanks during quiet time. Circles, rectangles, and ornament shapes can be produced in bulk when nothing is urgent, then pulled from a bin when orders land. It turns dead time into a shorter dispatch window later.
Quality control at volume
The risk of batching is that a mistake made once gets made a hundred times before anyone notices. Three habits keep that from happening.
Run a first article. Make one complete unit and inspect it properly before committing the sheet. This is the cheapest five minutes in the whole process.
Check again midway. Blades dull, bits wear, laser lenses pick up residue, and quality drifts downward gradually enough that you adapt to it without noticing. Pull a piece from the middle of the run and compare it against the first one.
Inspect at the stage boundary, not at packing. Catching a bad engrave before you spend assembly time on it saves the assembly. Catching it at the packing table means you have finished a defective product.
Knowing when to add capacity
If you are consistently working more hours than you want and orders still stack up, the constraint is real and no amount of workflow tuning will fix it.
A second machine is often the cheapest answer, because machine time is usually the bottleneck and a second machine does not need training, scheduling, or paying every month. Two cutters running the same file double your throughput on the stage that limits you.
People help most at the stages that need care but not judgement. Weeding, sanding, ribbon threading, and packing are all teachable in an afternoon. Keep the stages that need your eye, and hand off the ones that need patience.
Delegating only works if the process is written down, which is the second payoff of those station checklists. A helper can follow a checklist. Nobody can follow the sequence that lives in your head.
Build the run around files that were made for it
A batch is only as good as the design going into it. Look for packs with clean paths, sensible detail sizes, and layers already separated by operation, because those choices decide how long each of your 200 units takes.
Browse the full design library for the products you repeat most, or start with holiday designs and quote and sign designs, which are the two categories that batch best because their sizes and materials stay constant across a run. Every pack is $3.99, includes SVG, PNG, JPG, PDF, and EPS, and carries a commercial license covering unlimited physical products, including print-on-demand fulfilment.
When the run is done and it is time to get it listed, Craftgineer's ListingLab can batch-create the listings the same way you batched the making.
For what the run should be worth once it is finished, see our guide to pricing handmade crafts. For deciding which products to scale in the first place, our roundup of best selling craft fair items is a good place to start.
Designs for this project
Frequently Asked Questions
What is batch production in a craft business?
Completing one step for every unit in a run before moving to the next step, instead of finishing each item start to finish. You cut all the pieces, then weed all of them, then press all of them, then package all of them. The saving comes from setting up each station once rather than once per item.
How many units make batching worth it?
Roughly five identical items is where it starts paying, because that is the point at which repeated setup costs more than the discipline of running stages. Below that, the flexibility of making things one at a time is usually worth more than the time you would save.
Can I batch personalized orders?
Yes, by splitting the work. Everything except the name is identical across the run, so cut or engrave the shared elements as a batch, prepare blanks in advance, and leave only the personalized element to be added per order. That converts most of a custom order into stock work.