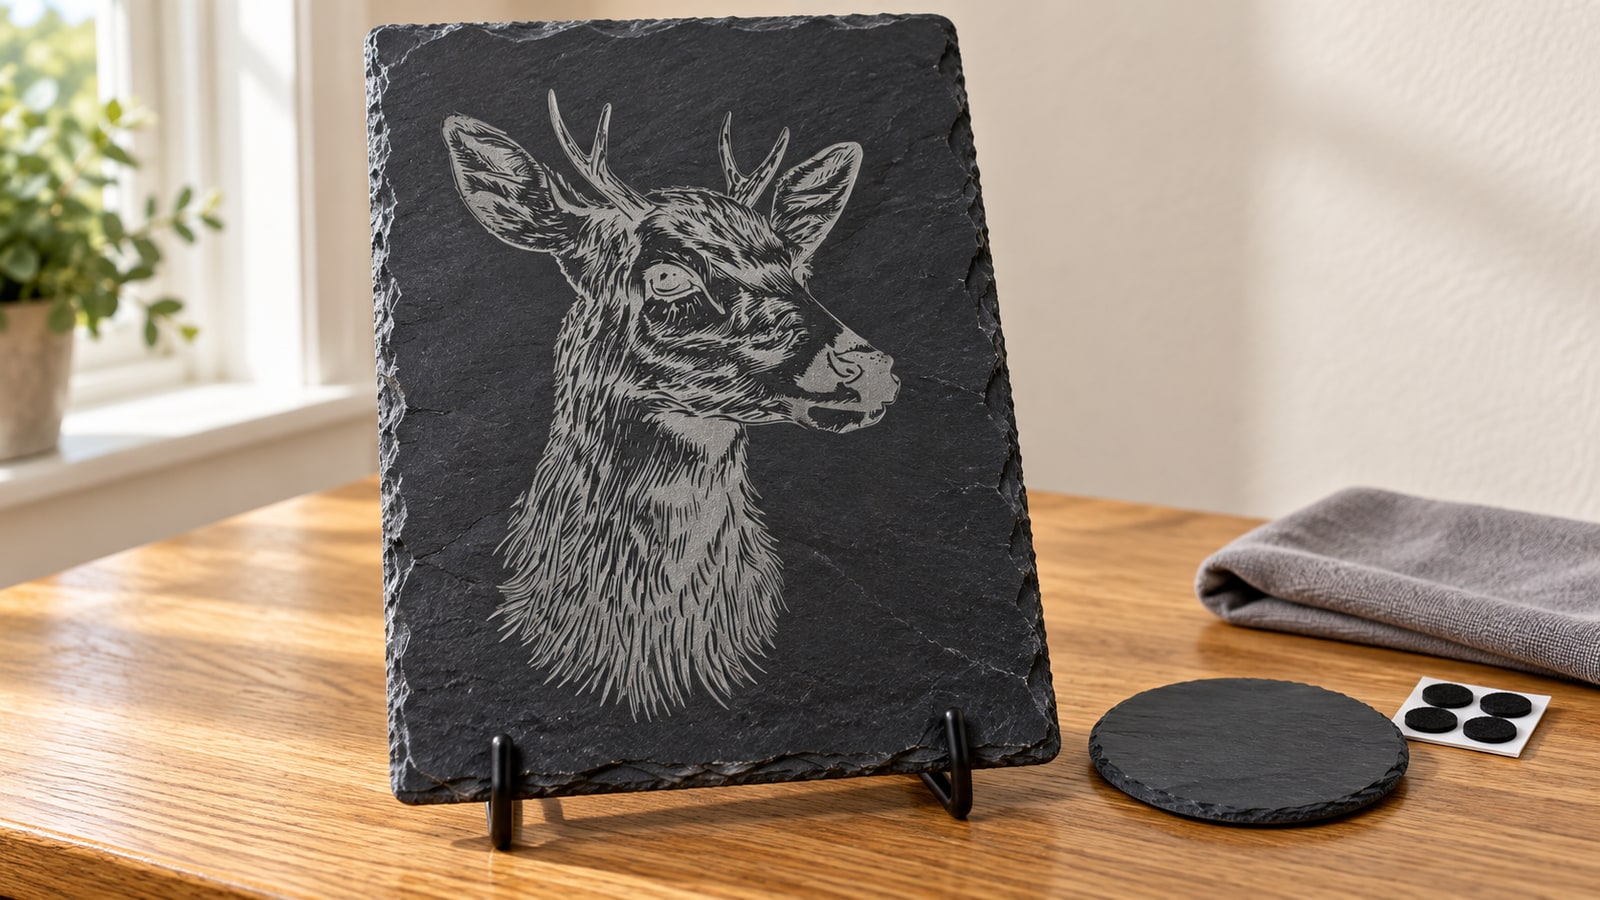
Slate is the material that makes new laser owners look like professionals. The stone is nearly black, the engraving comes out white to pale gray, and that contrast makes even a simple silhouette look like it belongs in a shop window. No paint, no coating, no ink: the mark is fractured stone, and it is permanent.
It is also cheap to learn on. Slate coasters cost a dollar or two each, they are sold everywhere, and one good test piece teaches you most of what this guide covers. Here is the full process, from picking stone to finishing a piece you can sell.
Tip
The short version: engrave the smooth face of clean, dry, dark slate. Focus on the actual engraving surface, run a small test grid to find your machine's sweet spot, use bold high-contrast designs, and finish with a wipe of mineral oil to make the mark pop.
Why slate works so well
A laser does not burn slate the way it burns wood. The beam's heat fractures the thin surface layer of the stone, and the fractured stone scatters light, which reads as white or pale gray against the dark unfractured surface around it.
Two useful consequences follow. First, the mark changes the stone surface, rather than adding a film that can peel. Wear, chipping and staining can still affect how it looks. Second, contrast depends on how dark and even the stone is to begin with, which is why the same file can look brilliant on one batch of coasters and muddy on another. The stone is half the result.
Slate is also unusually kind to diode lasers. Dark stone absorbs blue diode light readily, so machines that struggle with clear acrylic or glass mark slate with ease.
Step 1: choose good slate
Slate is a natural material and quality is all over the map. A few minutes of selection saves hours of disappointing tests.
- Buy dark and even. The darker and more uniform the stone, the brighter the contrast. Heavy veining, rust patches, and greenish tones all mute the result, unless you specifically want a rustic look.
- Prefer the smoother face. Most blanks have one flatter split face. Smoother stone holds finer detail and keeps focus consistent across the design.
- Buy extras from every batch. Even within one order, pieces vary. A couple of sacrificial coasters for testing is the cheapest insurance in laser work.
- Use pre-made blanks. Coasters, serving boards, and hanging plaques come pre-cut with finished, chiseled edges and often foam feet. Cutting slate to shape is not a laser job, so let the supplier do it.
Step 2: prepare the surface
- Clean it. Wipe the slate with a damp cloth to lift dust and loose flakes, then let it dry completely. Grit on the surface engraves as speckle.
- Level it. Slate blanks are rarely perfectly flat. Sit the piece on the bed so it does not rock, shimming under low corners if needed.
- Focus on the engraving surface. Slate thickness varies piece to piece, so focus on each piece rather than trusting a saved height. If the face is uneven, focus on the highest area the design covers.
Some engravers wipe slate with a very light coat of mineral oil before engraving to deepen the background, and others keep oil strictly for finishing. Try both on test pieces; the after-engraving wipe is the more predictable of the two.
Step 3: dial in settings with a test grid
You will notice we do not print a settings table here. We are a design shop, not a machine lab, and slate punishes borrowed numbers more than most materials: a 10W diode, a 40W CO2, and a 20W fiber all want wildly different values, and even two identical machines diverge on two batches of stone.
What transfers between machines is the method:
- Start from your manufacturer's material library. Glowforge, xTool, and OMTech all publish slate or stone starting settings for their machines, and LightBurn ships a material test generator built for exactly this job.
- Run a small power and speed grid on a spare coaster: a few squares stepping power one way and speed the other, at the resolution you plan to use.
- Read the grid. You want the brightest, most even mark with no chipping at the edges of the squares. Slate generally rewards more power and less speed than a wood engraving, up to the point where the surface starts to flake.
- Note what won and keep it with the batch. New supplier, new grid. It takes five minutes and removes all guesswork.
Two slate-specific behaviors worth knowing. Multiple lighter passes tend to chip less than one aggressive pass on fragile stone. And strong air assist can be counterproductive here: it blows pale slate dust across the clean dark surface, so many engravers run it low or off for slate and simply brush the piece afterward.
Step 4: choose designs that suit stone
This is the part we obsess over, because it is the difference between a coaster that sells and one that reads as a gray smudge.
Bold beats fine
Slate has natural texture, and texture eats hairlines. Designs built from strong silhouettes, thick strokes, and clear shapes come out crisp; dense fine hatching sinks into the stone. Detailed shading can work on very smooth slate, but treat it as an advanced move and test first.
The file renders in reverse
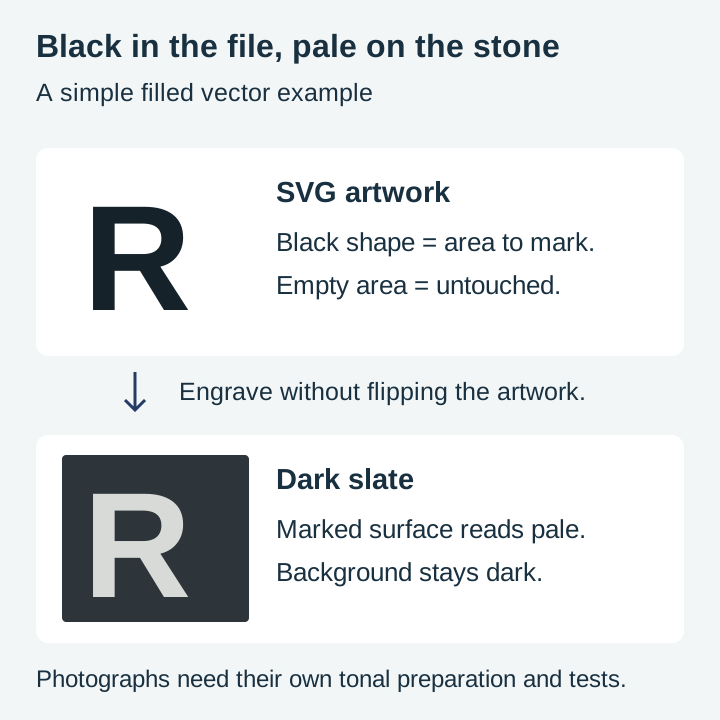
Engraving marks slate light-on-dark, so the black areas of your file become the bright areas on the stone. A standard silhouette design flips into a glowing white subject on black stone, which is exactly the drama slate is famous for. What does not work is artwork that depends on dark-on-light logic, like fine black outlines on a white background, which comes out as a thin pale wireframe.
Our slate category includes both bold shapes and detailed artwork. Choose the size for the actual stone texture, and test fine hatching before committing to a small coaster.
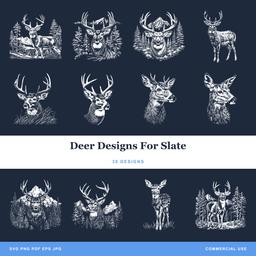 Deer Designs For Slate30 designs, commercial license included$3.99
Leave a margin
Keep the design at least half an inch off the edges. The border of dark, untouched stone frames the engraving, hides the natural roughness of chiseled edges, and reads as intentional. Edge-to-edge artwork on a natural material almost always looks cramped.
Step 5: engrave and clean up
Run the job with the settings your grid picked. When it finishes, resist wiping the piece with your thumb: fresh slate dust smears. Brush it off with a dry soft brush or cloth, or rinse the piece under water and dry it.
If the mark looks great dry, you are done. If it looks slightly gray, the oil step below will likely get you the contrast you were hoping for.
Troubleshooting slate
Slate problems are repetitive, which is good news: once you have seen each one, you can fix it on sight.
| Problem | Likely cause | Fix |
|---|---|---|
| Gray, dull mark | Underpowered, soft focus, or poor stone | Refocus on the engraving face, step up power or slow down, try another supplier |
| Chipping and flaking | Too much energy in one pass, or fragile stone | Split into two lighter passes; reject crumbly batches |
| Pale dust smeared on dark areas | Air assist blowing dust, or wiping before brushing | Lower or disable air assist, brush or rinse instead of wiping |
| One side of design sharper than the other | Piece not level, or uneven face | Shim the blank level, focus on the highest point of the design area |
| Speckled, noisy background | Dust or grit on the surface at engrave time | Clean with a damp cloth and dry fully before running the job |
| Design looks thin and wiry | Artwork drawn as outlines rather than fills | Use silhouette or filled designs; slate needs area, not hairlines |
The last row is the one we see most often, and it is a file problem rather than a machine problem. Outline-style artwork designed for pen plotting or coloring produces a faint wireframe on stone. Slate wants shapes filled with black, because every black region becomes bright fractured stone.
Batch production: jigs make it a business
Engraving one coaster is a hobby. Engraving forty for a market weekend needs a jig, and slate makes this easy because blanks from one supplier are close to uniform in outline.
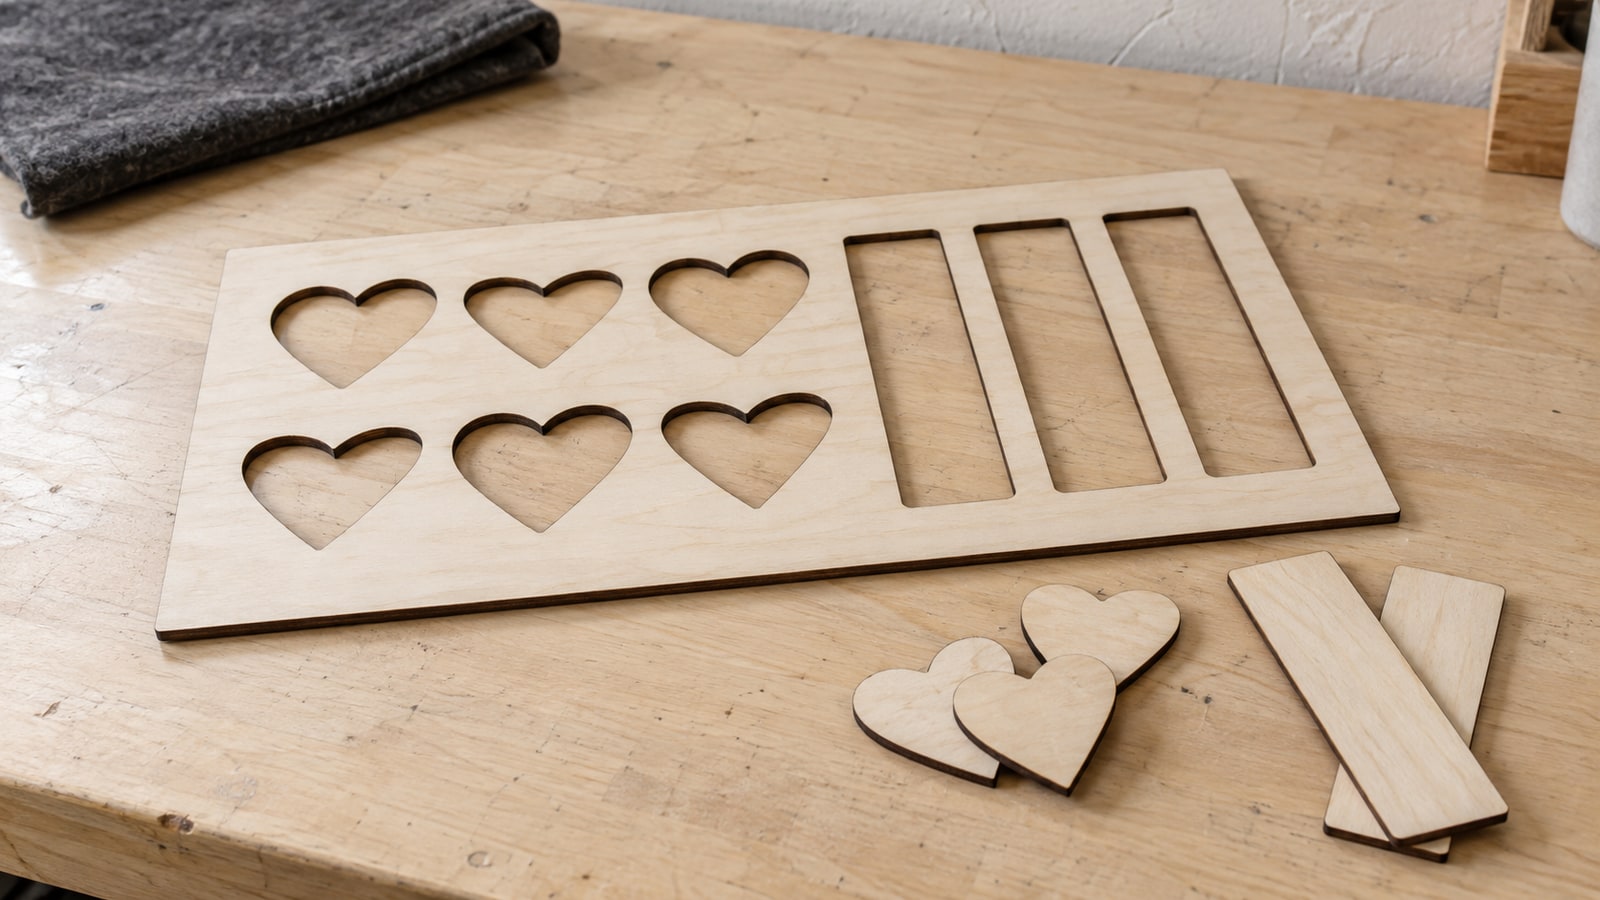
Cut a placement jig from scrap plywood or cardboard: a sheet with cutouts that hold each coaster in a known position on the bed. Now every blank lands in the same spot, your artwork positions are saved in your software, and a full bed of coasters runs as one job with no per-piece alignment. Mark the jig itself with an orientation arrow so it returns to the bed the same way every time.
Focus is the one thing a jig cannot standardize, since slate thickness wanders piece to piece. Sort blanks into rough thickness groups before a batch run and focus per group. It costs a minute and prevents the half-sharp, half-soft results that mixed thicknesses produce.
Selling slate work
Slate has friendly economics for a small shop. A coaster blank costs a dollar or two, engraves in minutes, and finished sets routinely sell for many multiples of the material cost at markets and online. Personalization pushes the margin further: a name or established design turns the same blank into a custom order.
Sets outsell singles. Four coasters with four related designs, a matched serving board and coaster combo, or a themed pair make better listings than one lonely coaster, and packs of related artwork exist for exactly this reason. Since every purchase from us includes a commercial license with no unit cap, one $3.99 pack can back an entire product line.
Finishing options
- Leave it natural. The raw result is already striking. Brush off the dust and it is done.
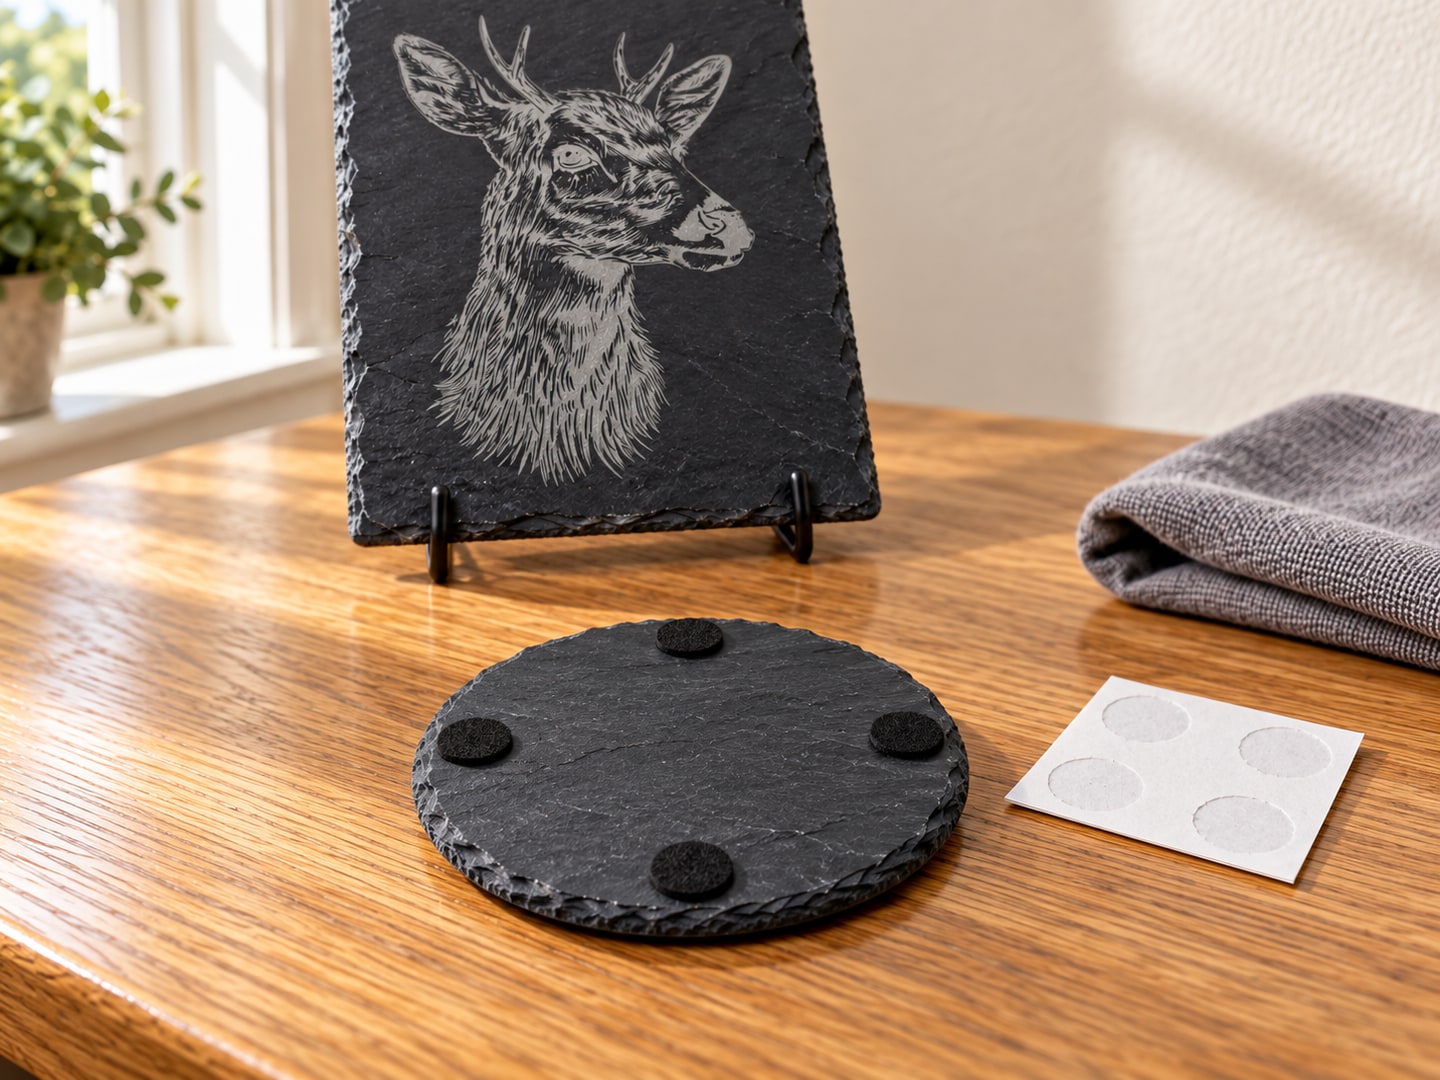
- Wipe with mineral oil. A light coat of food-safe mineral oil darkens the uncut stone dramatically while barely touching the pale engraving, so contrast jumps. This is the single most popular slate finishing trick, and it doubles as a moisture guard.
- Seal it. For coasters and serving boards, a food-safe stone sealer keeps water rings and oils from staining the surface. The engraving itself needs no protection.
- Add felt or foam feet. Slate scratches tables. Self-adhesive pads finish the piece and make it feel like a bought product rather than a craft experiment.
- Paint fill for color. Work acrylic paint into the engraving and wipe the excess off the flat surface. The paint stays in the fractured texture, giving you a colored engraving on dark stone.
Project ideas that earn their bench time
Coasters are the classic for a reason: cheap blanks, fast engraves, and a set of four is an instant gift. Animal designs, monograms, and family names are the perennial sellers.
Serving and cheese boards scale the same idea up. A large slate board with a family name or a stag across one corner is a wedding gift staple, and the blank still costs a fraction of hardwood.
Signs and plaques exploit slate's permanence. House numbers, garden markers, workshop signs: stone shrugs off weather that would destroy wood.
Memorial pieces are the most meaningful use of the material. Pet memorials in particular suit slate, where the permanence of the stone matches the sentiment, and a bold portrait silhouette renders beautifully.
Photo tiles for smooth slate: portraits and pet photos can engrave surprisingly well on high-grade smooth stone, though this is the deep end. Master silhouettes first.
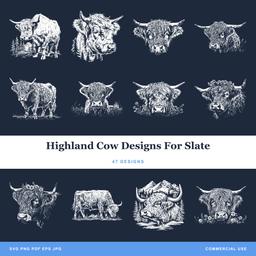 Highland Cow Designs For Slate47 designs, commercial license included$3.99
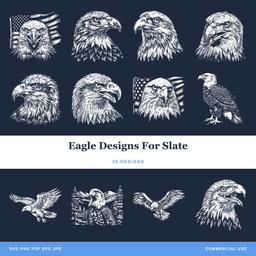 Eagle Designs For Slate30 designs, commercial license included$3.99
 Horse Designs For Slate31 designs, commercial license included$3.99
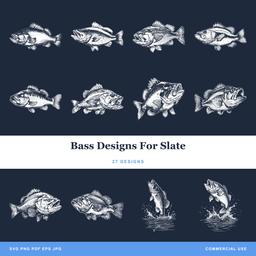 Bass Designs For Slate27 designs, commercial license included$3.99
Start engraving slate
Slate rewards exactly the things this guide covers: decent stone, five minutes of testing, and artwork drawn for light-on-dark contrast. Get those three right and the machine does the rest.
Our slate collection is drawn specifically for this material, with bold filled designs at $3.99 per pack, each shipping as SVG, PNG, JPG, PDF, and EPS with a commercial license included. Engrave a hundred coasters or a thousand; there is no unit cap. For the wider material landscape, see our best materials for laser engraving guide, and if your artwork lives in LightBurn, the LightBurn SVG import tutorial covers getting files in cleanly.
Designs for this project
Deer Designs For Slate30 designs, commercial license included$3.99Highland Cow Designs For Slate47 designs, commercial license included$3.99Eagle Designs For Slate30 designs, commercial license included$3.99Horse Designs For Slate31 designs, commercial license included$3.99Bass Designs For Slate27 designs, commercial license included$3.99Frequently Asked Questions
Which side of a slate coaster do you engrave?
The smoother face. Slate splits into layers, so most blanks have one flatter face and one rougher one. The smooth side holds detail better and keeps the whole design closer to a single focus height. Heavy texture can still look great, but treat it as a rustic effect you chose on purpose.
Does a diode laser work on slate?
Yes. Dark slate absorbs blue diode light well, so even modest diode machines mark it strongly. Slate is one of the most diode-friendly materials there is, which makes it a favorite first stone project.
Will a slate engraving wash off or fade?
The engraving changes the stone surface rather than adding a decal, so it does not wash off like ordinary ink. Abrasion, chipping, staining and finishes can still affect its appearance. Choose care and any sealer for the intended use.
Why is my slate engraving gray and dull instead of white?
Usually underpowering, soft focus, or the slate itself. Check focus on the actual engraving surface, run a test grid at higher power or slower speed, and try a piece from a different supplier. Slate quality varies enormously, and some cheap batches simply never produce a bright mark.