Vinyl cutting is one of the most satisfying entry points into crafting. With a cutting machine and a roll of vinyl, you can create custom decals, shirts, mugs, signs, and more — all from SVG design files. This guide walks you through your first project from start to finish.
What You Need
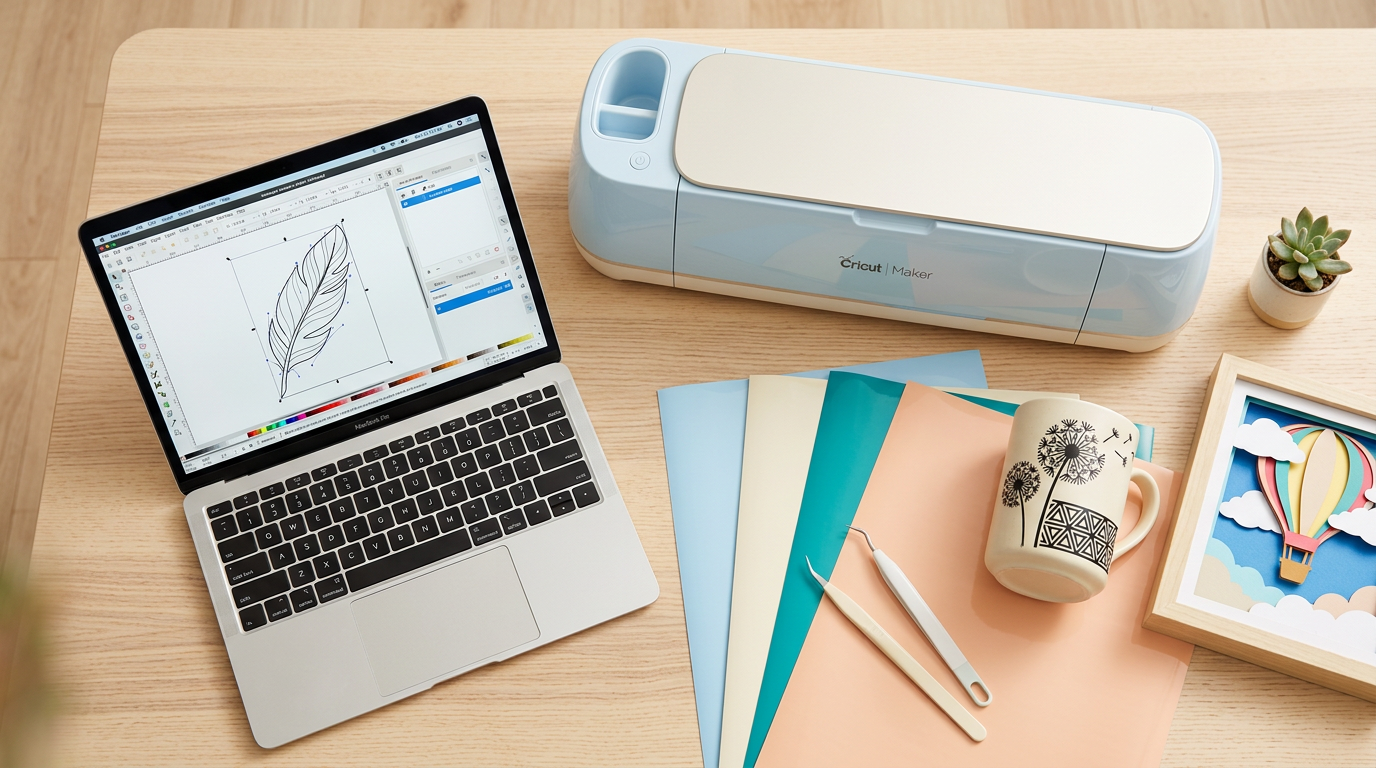
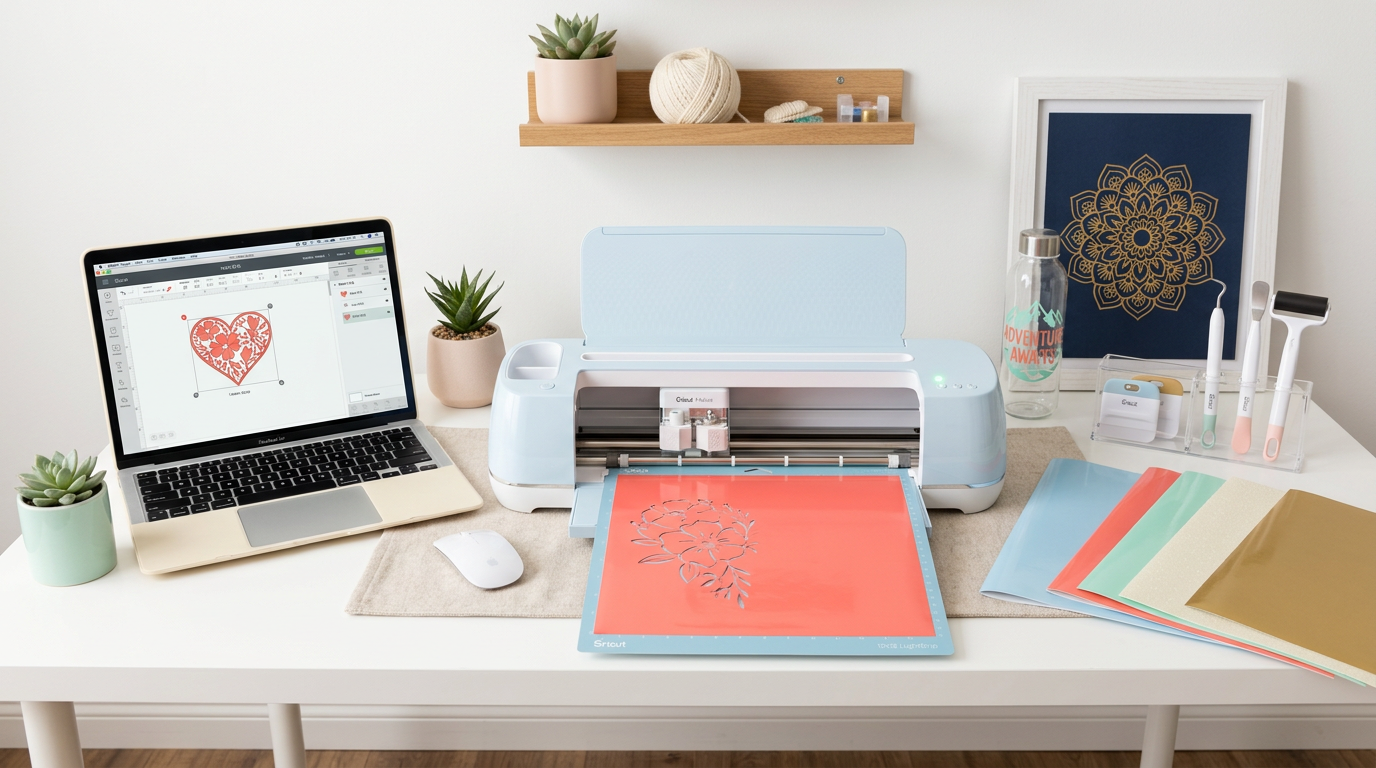
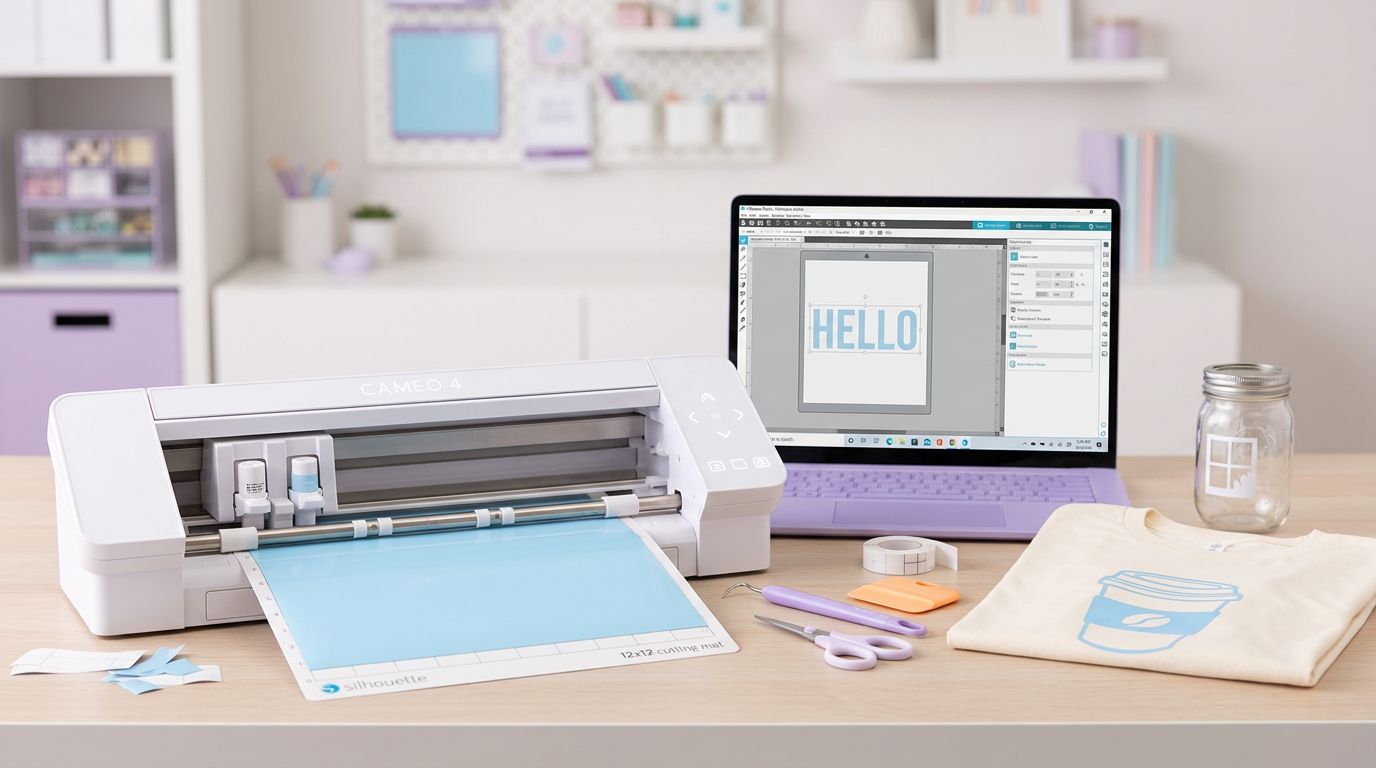
Cutting Machine
A Cricut (Explore, Maker, Joy) or Silhouette (Cameo, Portrait) machine. If you haven't picked one yet, our Cricut vs. Silhouette comparison can help you decide.
Vinyl
There are two main types:
- Adhesive vinyl (permanent or removable) — Sticks to hard surfaces like mugs, glass, wood, and walls. Permanent vinyl is waterproof and dishwasher-safe. Removable vinyl peels off cleanly.
- Heat transfer vinyl (HTV / iron-on) — Bonds to fabric with heat. Used for t-shirts, bags, hats, and other textiles. See our HTV guide for fabric-specific instructions.
Tools
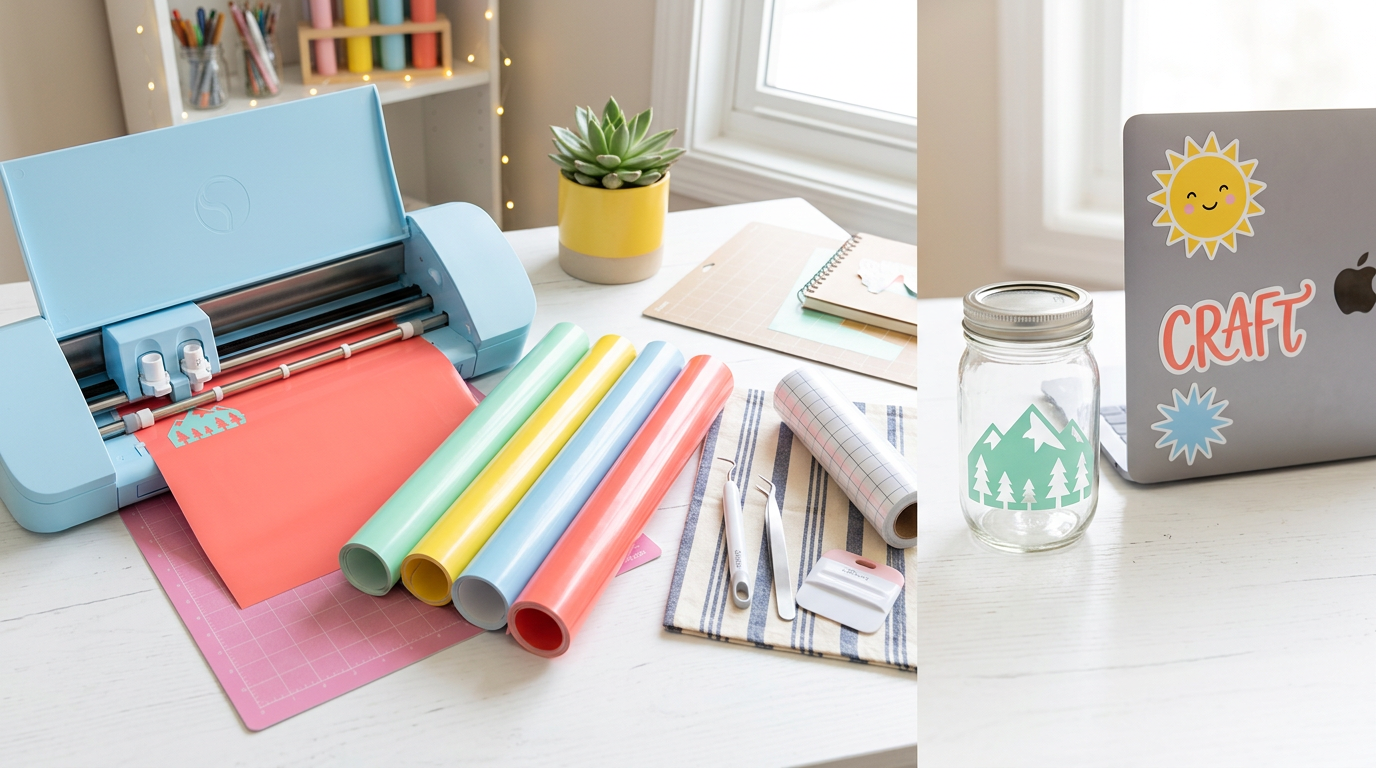
- Weeding tools — A hook tool and tweezers for removing excess vinyl around your design
- Transfer tape — Clear adhesive tape for lifting adhesive vinyl designs from the backing and applying to surfaces
- Scraper / burnishing tool — For pressing vinyl firmly onto surfaces
- Cutting mat — Comes with your machine; use the appropriate grip level for vinyl
Choosing Your First Project
For your first project, keep it simple:
- Simple design — Choose a bold silhouette or single-color design without tiny details. Intricate designs are harder to weed.
- Medium size — Something around 4-6 inches. Too small and details are hard to weed; too large and transfer is tricky.
- Flat, smooth surface — A tumbler, laptop, picture frame, or window. Curved or textured surfaces are harder for beginners.
Browse our SVG design collections and pick something that catches your eye. Animal silhouettes and simple quotes are great starting points.
Step 1: Prepare Your Design
Open your design software (Cricut Design Space or Silhouette Studio) and upload your SVG file. Size the design to fit your project. For adhesive vinyl, what you see is what you get. For HTV, remember to mirror the design before cutting.
Step 2: Cut
Place your vinyl on the cutting mat with the colored side up (for adhesive vinyl) or shiny carrier side down (for HTV). Load the mat into your machine, select the correct material setting, and press Cut.
After cutting, do a quick check: lift a corner of the cut design with your weeding tool. The blade should have cut through the vinyl but not through the backing. If it cuts through both, reduce your pressure or blade depth.
Step 3: Weed
This is where patience pays off. Use your weeding hook to peel away all the excess vinyl around your design, leaving only the design itself on the backing.
Tips for easier weeding:
- Start from an outer edge or corner and work inward
- Use bright light — it helps you see the cut lines
- For intricate designs, weed small sections at a time
- If small pieces won't peel, they may not be fully cut — adjust your blade depth
- A light box or bright window behind the vinyl helps you see cut lines on dark vinyl
Step 4: Transfer (Adhesive Vinyl Only)
Cut a piece of transfer tape slightly larger than your design. Apply it over the weeded design on the backing sheet, burnishing firmly with your scraper. Peel the transfer tape up — the vinyl design should stick to the transfer tape and lift off the backing.
Position the transfer tape (with your design) on your surface. Press firmly and burnish from the center outward. Slowly peel away the transfer tape, leaving the vinyl stuck to the surface.
Step 5: Apply (HTV Only)
Place your weeded HTV design face-down on the fabric (the carrier sheet will be on top). Press with a heat press or household iron:
| Tool | Temperature | Time | Pressure |
|---|---|---|---|
| Heat press | 305°F (150°C) | 10-15 seconds | Medium-firm |
| Household iron | Cotton setting | 15-20 seconds | Press firmly, no steam |
Let it cool for a moment, then peel the carrier sheet. If any edges lift, press again for a few more seconds.
Troubleshooting
Vinyl Isn't Cutting All the Way
Increase blade depth or pressure. Check that your blade is sharp — dull blades skip and tear instead of cutting cleanly.
Vinyl Tears During Weeding
The cut lines may not be deep enough, or the vinyl is cheap quality. Try a deeper cut setting or switch to a higher-quality vinyl brand.
Transfer Tape Won't Pick Up the Design
Burnish more firmly. If the vinyl sticks to the backing more than the transfer tape, try a stronger transfer tape or warm the vinyl slightly with a heat gun.
Bubbles Under Applied Vinyl
Small bubbles often work themselves out over a day or two. Larger ones can be pricked with a pin and pressed flat.
Beyond Your First Project
Once you're comfortable with single-color vinyl, try these next steps:
- Multi-color designs — Layer different vinyl colors using layered SVG files
- Mugs and tumblers — Use permanent adhesive vinyl or sublimation for drinkware
- Selling your work — Our designs include commercial licenses, so you can sell your vinyl creations at craft fairs or on Etsy. Read our guide to selling on Etsy.
Browse our design collections to find the perfect SVG files for your next vinyl project.